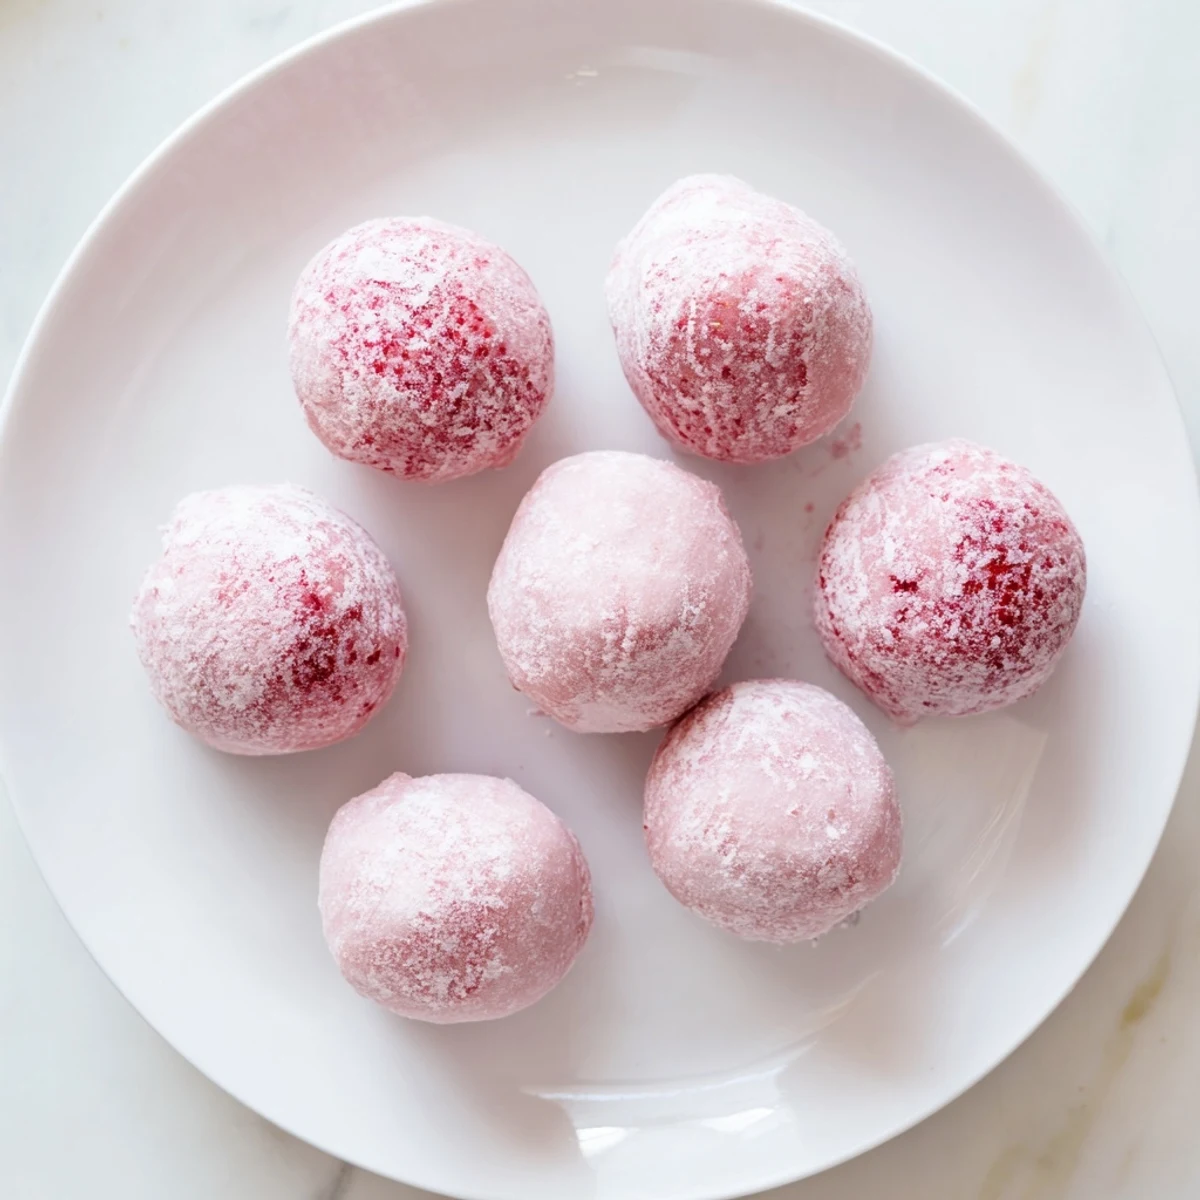
 Save Pin
 Create these delightful Japanese confections by blending fresh strawberries with creamy coconut milk, then churning into velvety dairy-free ice cream. Wrap scoops in homemade glutinous rice dough for that signature chewy texture. The natural beetroot powder gives the mochi a lovely pink hue while maple syrup provides gentle sweetness throughout. Best enjoyed after a proper freeze time for optimal texture.
The first time I attempted mochi ice cream, my kitchen turned into a sticky disaster zone. I had watched countless videos making it look effortless, but I ended up with rice flour everywhere and melting ice cream running through my fingers. That failure taught me everything about timing and temperature control. Now I can whip up these vegan strawberry gems while barely making a mess at all.
Last summer, I made these for a friend who had just gone dairy-free and was missing her favorite desserts. Watching her eyes light up after the first bite made all the experimentation worth it. We sat on my back porch eating them while the sun went down, and she told me they were better than any version shes had from fancy shops.
Ingredients
- Fresh strawberries: Use ripe, sweet berries for the best flavor and natural pink color
- Coconut milk: Full-fat canned coconut milk creates the creamiest vegan ice cream base
- Maple syrup: Adds gentle sweetness without overpowering the delicate strawberry flavor
- Sweet rice flour: Also called mochiko or glutinous rice flour, this essential ingredient creates the signature chewy texture
- Potato starch: Prevents the incredibly sticky mochi dough from clinging to everything during assembly
Instructions
- Prepare the ice cream base:
- Blend the strawberries with coconut milk, maple syrup, vanilla, and salt until completely smooth and no strawberry chunks remain
- Freeze until scoopable:
- Churn in an ice cream maker or freeze in a shallow dish, stirring every 30 minutes until creamy enough to scoop into balls
- Form the ice cream balls:
- Scoop 8 small balls and place them on a lined tray, then freeze until completely firm for at least 2 hours
- Mix the mochi dough:
- Whisk sweet rice flour, sugar, water and beetroot powder in a microwave-safe bowl until smooth and lump-free
- Cook the dough:
- Microwave covered for 1 minute, stir, then microwave another minute and continue in 30-second intervals until thick and translucent
- Cool slightly:
- Let the dough rest about 10 minutes until cool enough to handle but still warm and pliable
- Roll out the mochi:
- Dust your work surface generously with potato starch, roll the dough to 1/4-inch thickness, and cut eight 3.5-inch circles
- Wrap and seal:
- Working quickly, place a frozen ice cream ball in each mochi circle, pinch edges together to seal, and place seam-side down in cupcake liners
- Final freeze:
- Freeze the assembled mochi for at least 1 hour until firm enough to hold their shape when bitten
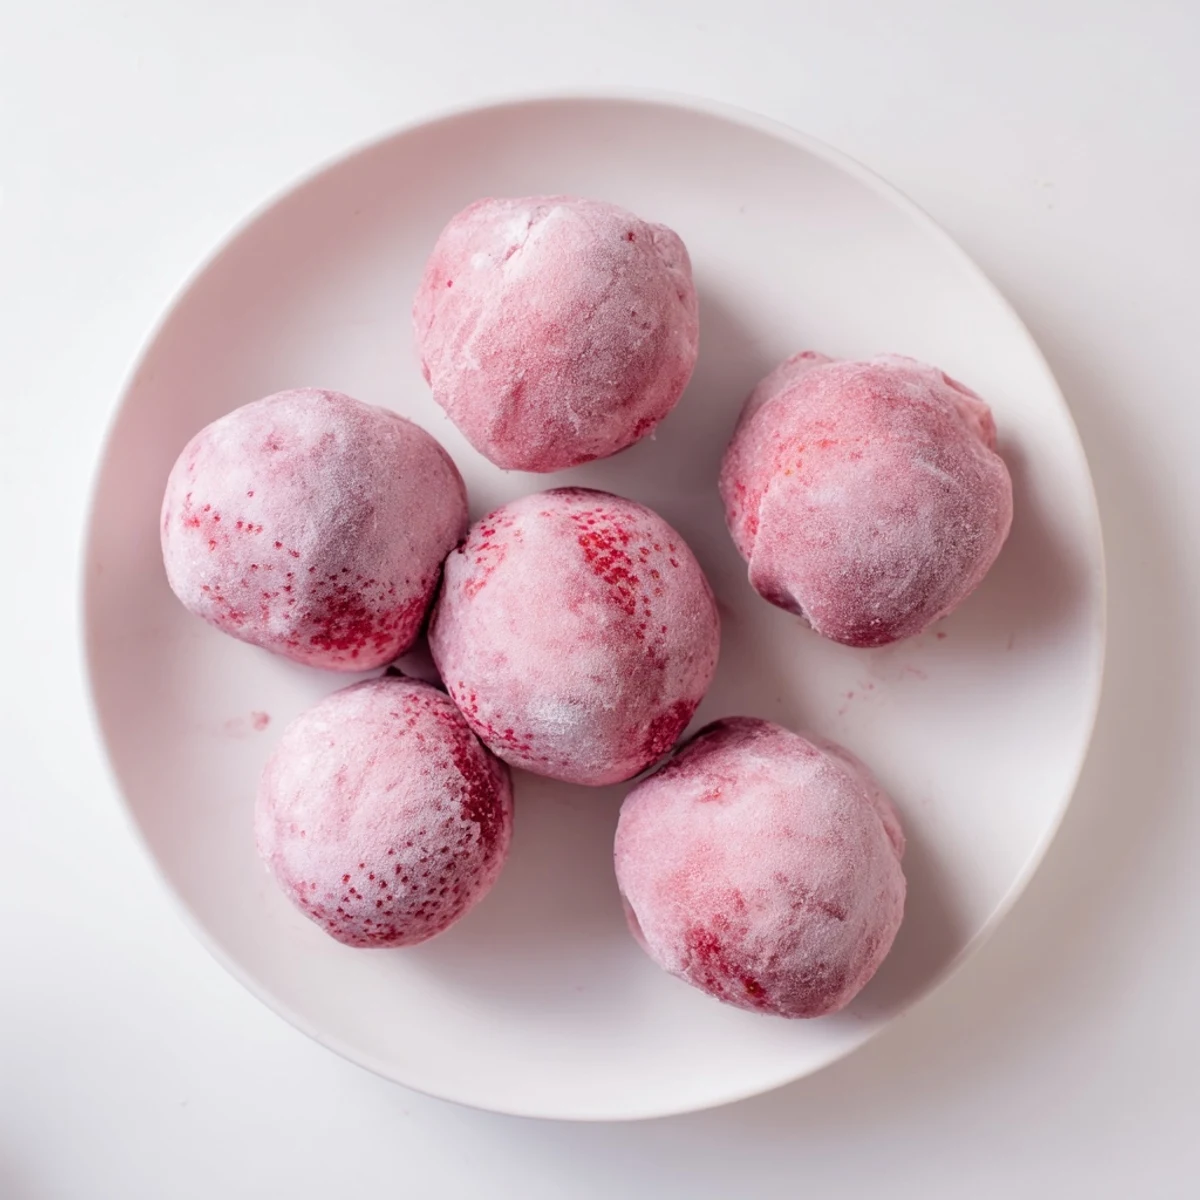 Save Pin
 My niece now requests these every time she visits, and we have a little ritual where we make them together. Shes become quite skilled at sealing the mochi balls, though half the strawberry ice cream somehow disappears during the process. Those stolen tastes while nobody is watching are half the fun.
Working With Mochi Dough
The dough starts out incredibly sticky and intimidating, but potato starch is your secret weapon. Generously dust your hands and work surface, and do not be afraid to add more starch if things start getting stuck. The dough should feel soft and pliable, like playing with warm marshmallow that is not actually sticky to touch.
Timing Is Everything
I have learned to prep all my tools and have the cupcake liners ready before I even touch the dough. Once you start assembling, you need to move fast because the ice cream starts melting immediately from the warmth of the mochi. Working with one piece at a time while keeping everything else in the freezer makes a huge difference.
Customization Ideas
While strawberry is classic, you can swap in any frozen fruit or ice cream flavor you crave. The beetroot powder adds a lovely pink hue without altering the taste, but matcha powder creates beautiful green tea mochi. You can also add a tiny dollop of fruit jam in the center for a surprise filling that bursts when you bite into it.
- Try using mango chunks for a tropical variation
- Chocolate ice cream pairs beautifully with the neutral mochi wrapper
- Sesame seeds pressed into the outside add delightful crunch
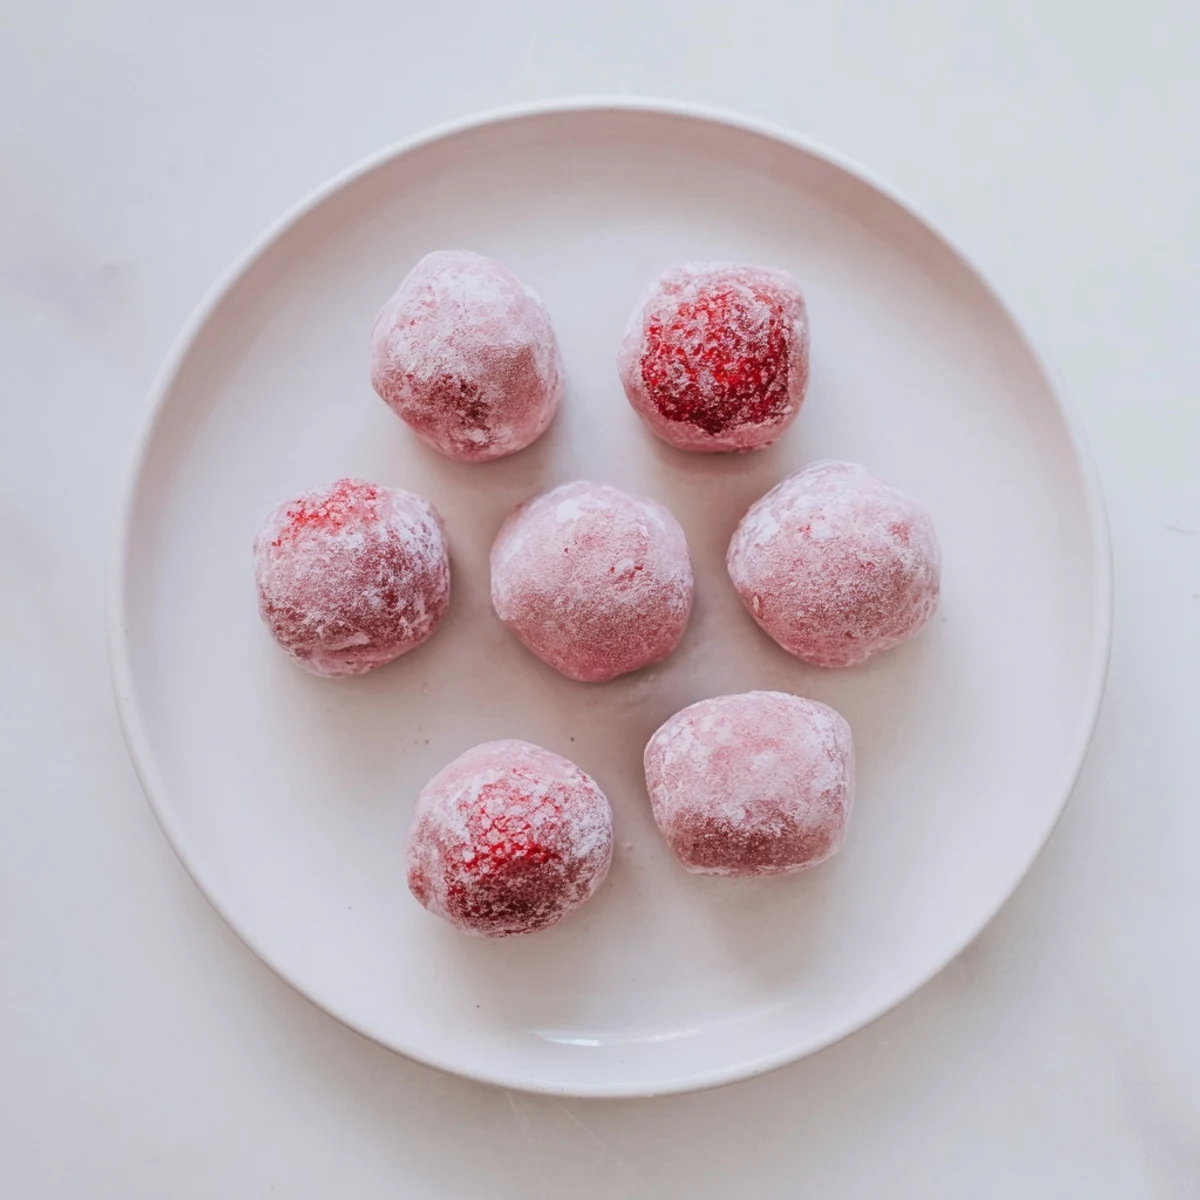 Save Pin
 These keep beautifully in the freezer for weeks, though they have never lasted that long in my house. Sometimes the simplest recipes bring the most joy to the people we love.
Recipe Questions & Answers
- → What makes the ice cream creamy without dairy?
-
Full-fat canned coconut milk creates the rich, creamy base. Its high fat content mimics traditional dairy cream while staying completely plant-based and naturally sweet.
- → Can I make the mochi dough without a microwave?
-
Yes, steam the mixture in a heat-proof bowl over boiling water for about 15 minutes, stirring occasionally until translucent and thick. The traditional steaming method yields identical results.
- → How long do these keep in the freezer?
-
Store in an airtight container for up to 2 weeks. Place parchment between layers to prevent sticking. Let thaw 2-3 minutes before eating for perfect texture.
- → What if I can't find sweet rice flour?
-
Look for glutinous rice flour or Mochiko brand at Asian markets. Regular rice flour won't work as it lacks the sticky proteins needed for proper chewy mochi texture.
- → Can I use other fruit flavors?
-
Absolutely! Try mango, matcha, or black sesame. Replace strawberries with equal amounts of your chosen fruit or flavoring agent, adjusting sweetener as needed.
- → Why is my mochi too sticky to handle?
-
Potato or cornstarch is essential for dusting. Generously coat your work surface, hands, and rolling pin. The starch prevents sticking while creating that signature powdery exterior.