 Save Pin
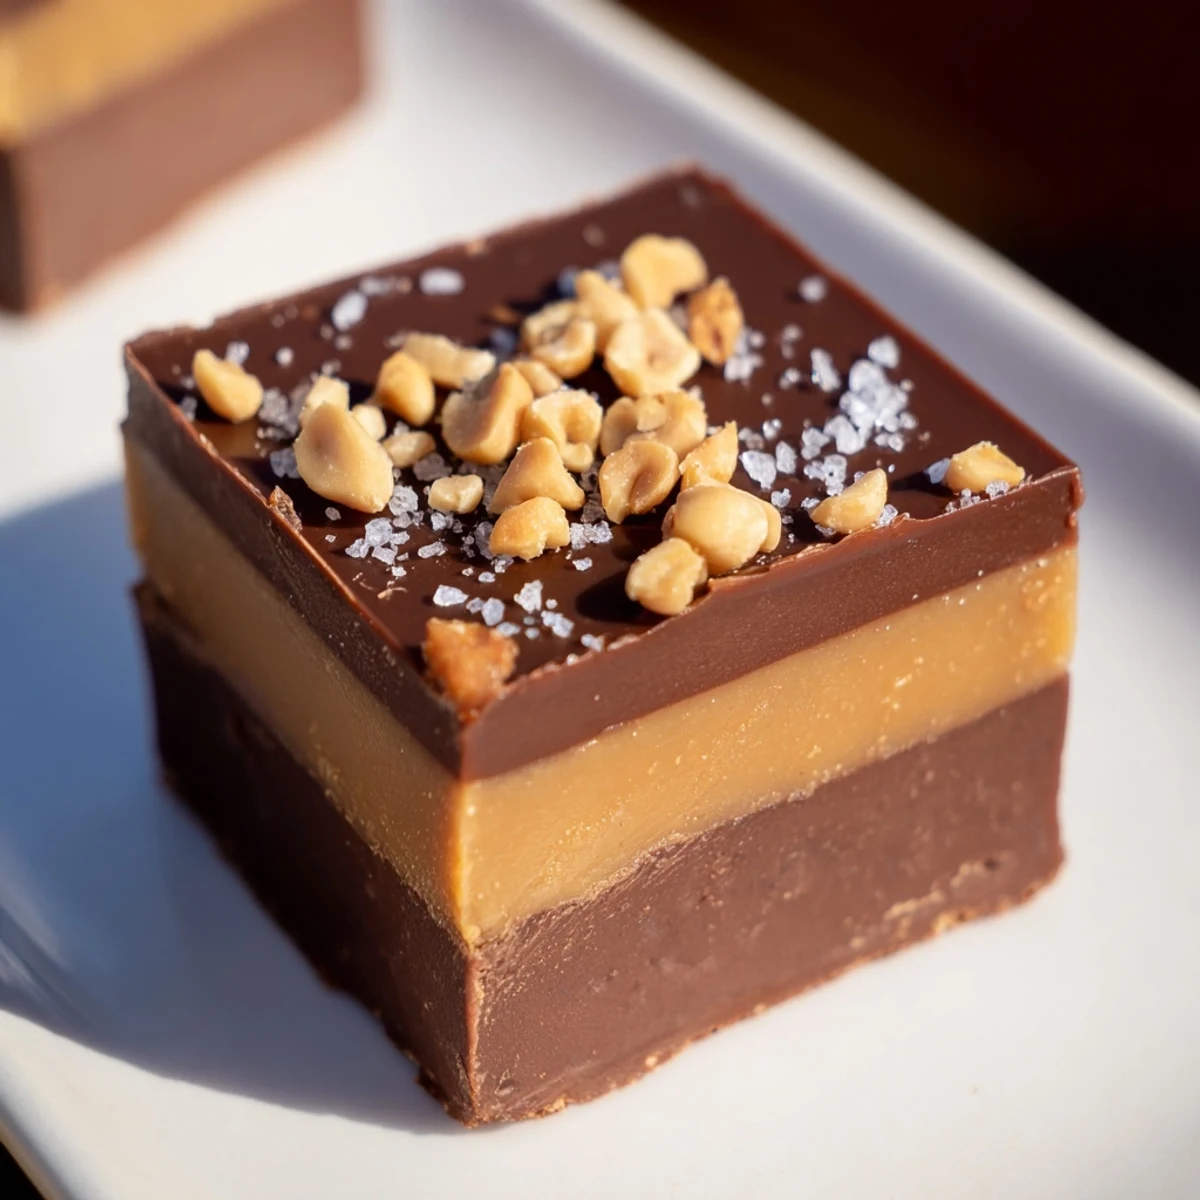
 This delightful Chocolate Peanut Butter Fudge offers a rich and creamy indulgence, perfect for satisfying any sweet craving. It's surprisingly easy to prepare, requiring minimal cooking time before chilling to perfection. You'll layer a smooth chocolate base with a delectable peanut butter filling, topped with more chocolate. Garnish with chopped peanuts and a sprinkle of sea salt for an extra touch.
Ideal for beginners, this treat comes together quickly using common pantry staples like semi-sweet chocolate chips, sweetened condensed milk, and creamy peanut butter. Just melt, spread, and chill for a truly irresistible dessert or snack.
The aroma of melting chocolate mingling with the rich scent of peanut butter always takes me back to a particular chilly autumn evening. I remember gazing out at the rain, feeling a sudden, intense need for something utterly comforting and decadent, but also quick to make. This chocolate peanut butter fudge, born out of that simple craving, transforms humble ingredients into pure magic, becoming a cherished, effortless indulgence.
I once brought a batch of this fudge to a friend’s potluck, and it vanished from the dessert table faster than anything else. I remember the delighted murmurs and wide eyes as people discovered the surprise peanut butter layer. It was a chaotic, joyful evening filled with laughter, and seeing something I made bring such simple happiness was truly special.
Ingredients
- Semi-sweet chocolate chips: Crucial for that deep, comforting chocolate flavor; using a good quality brand truly makes a difference here.
- Sweetened condensed milk: This is the binder and the sweet heart of the fudge, giving it that wonderfully creamy, melt-in-your-mouth texture.
- Unsalted butter (for chocolate base): A touch of butter adds richness and a beautiful sheen to the chocolate, making it even more decadent.
- Creamy peanut butter: For the silkiest peanut butter layer, creamy is key, ensuring a smooth spread without any lumps.
- Powdered sugar: This finely milled sugar blends seamlessly into the peanut butter, adding sweetness and structure without a grainy texture.
- Unsalted butter (for peanut butter layer, melted): Just a bit of melted butter helps the peanut butter layer become perfectly spreadable and luscious.
- Vanilla extract: A splash of pure vanilla extract enhances both the chocolate and peanut butter flavors, tying everything together harmoniously.
- Roasted peanuts, chopped (optional): If you love a little textural contrast, these add a fantastic crunch and nutty boost to the top.
- Flaky sea salt (for sprinkling): Do not skip this! A generous sprinkle of flaky sea salt cuts through the sweetness and elevates every single bite.
Instructions
- Pan Prep Perfection:
- Line an 8-inch square baking pan with parchment paper, making sure to leave a little overhang on the sides for easy lifting later.
- Chocolate Base Begins:
- In a medium saucepan, combine the chocolate chips, condensed milk, and 1/4 cup butter over low heat. Stir constantly until the mixture is beautifully melted and smooth; it’s a wonderfully aromatic experience.
- First Layer of Love:
- Pour about two-thirds of that gorgeous chocolate mixture into your prepared pan and spread it out evenly. Remember to set aside the remaining third for later!
- Peanut Butter Magic:
- In a separate bowl, whisk together the peanut butter, powdered sugar, melted butter, and vanilla extract until it’s perfectly smooth and creamy.
- Gentle Layering:
- Carefully spread the peanut butter mixture over the set chocolate layer, taking your time to ensure it’s even and reaches all the edges.
- The Top Chocolate Kiss:
- If your reserved chocolate has cooled too much, gently warm it for a moment, then spread it carefully over the peanut butter layer.
- Sprinkle with Joy:
- Now’s the time to add your chopped peanuts and a delightful dusting of flaky sea salt, if you’re using them.
- Patience, Please:
- Pop the pan into the refrigerator for at least two hours, or until the fudge is completely firm and set. This is the hardest part, I know!
- Slice and Savor:
- Once chilled, lift the fudge out using the parchment paper, cut it into squares, and prepare for pure indulgence.
 Save Pin
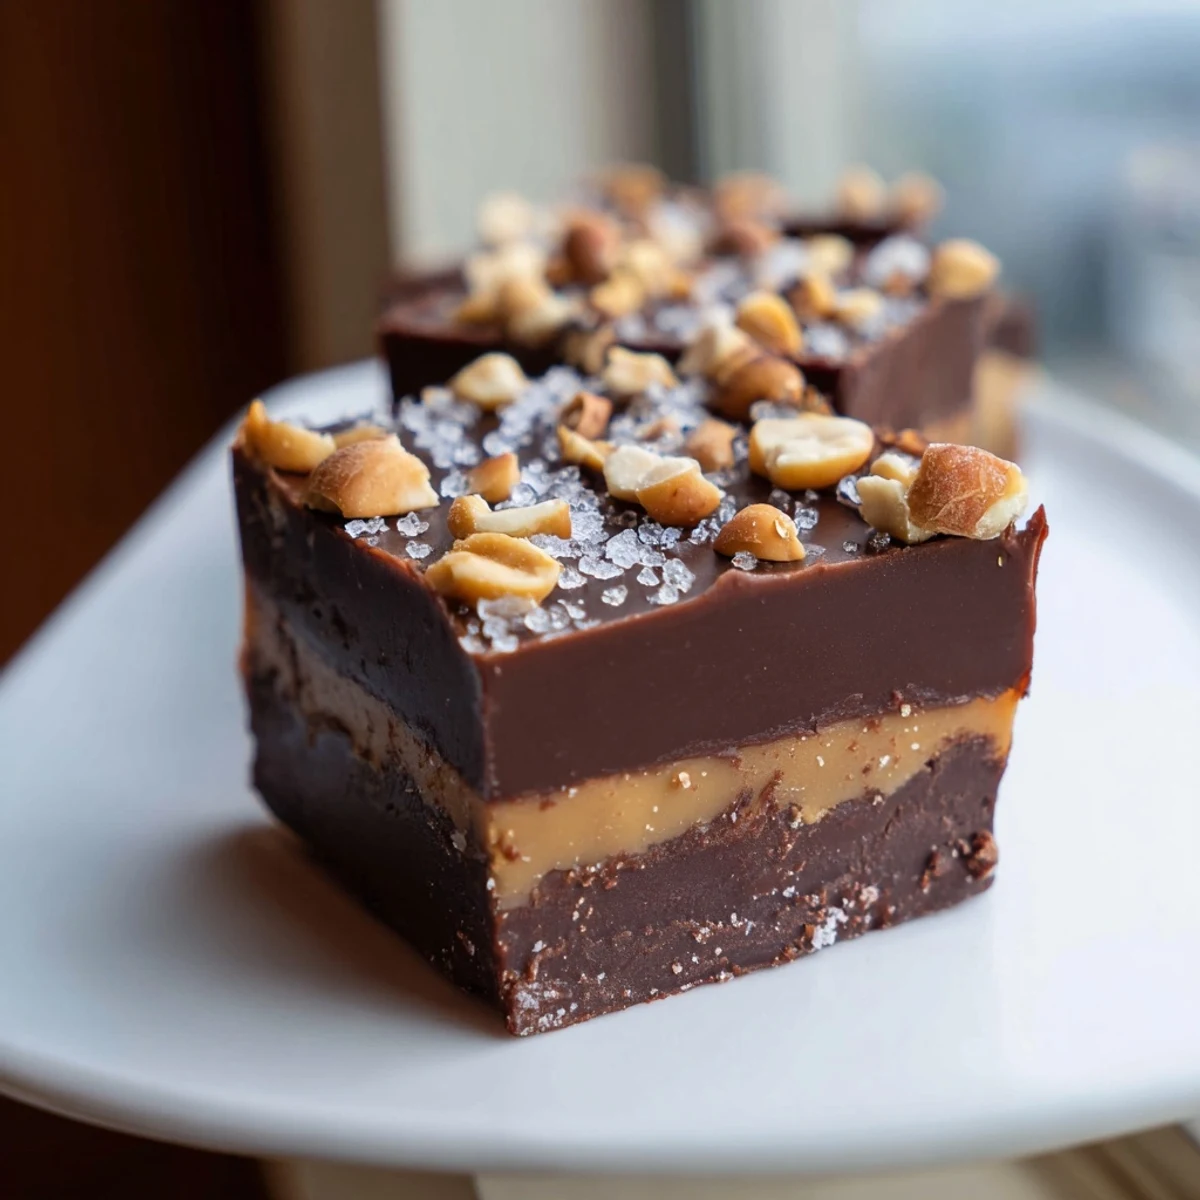
 I recall one snowy winter afternoon, my grandmother and I made a double batch of this fudge. We wrapped individual pieces in colorful wax paper, turning them into little edible gifts for neighbors. It felt less like baking and more like spreading warmth and cheer, with each square carrying a tiny piece of our cozy kitchen memory.
Customizing Your Sweet Treat
This fudge is wonderfully versatile, offering plenty of room for your own creative touches. While semi-sweet chocolate is classic, swapping in dark chocolate chips gives a richer, less sweet profile, or milk chocolate for an extra creamy, nostalgic taste. You could also swirl in a tiny pinch of cayenne pepper with the chocolate for a surprising, subtle heat that truly wakes up the palate.
Storage Secrets
Once your fudge is perfectly set and sliced, keeping it fresh is simple. Store the squares in an airtight container in the refrigerator; this helps maintain its creamy texture and prevents it from drying out. It will stay wonderfully fresh for up to a week, though in my experience, it rarely lasts that long!
My Essential Tools
You don’t need a lot of fancy equipment for this recipe, but a few basics make all the difference. That parchment paper is truly a lifesaver, ensuring your beautiful fudge lifts out of the pan without a fuss, making cleanup a breeze. A sturdy spatula is perfect for scraping every last bit of that precious chocolate out of the saucepan.
- A good quality 8-inch square pan is essential for the right thickness.
- Don’t underestimate the utility of a strong rubber spatula for mixing and spreading.
- Having all your ingredients measured out beforehand (mise en place) makes the process incredibly smooth.
 Save Pin
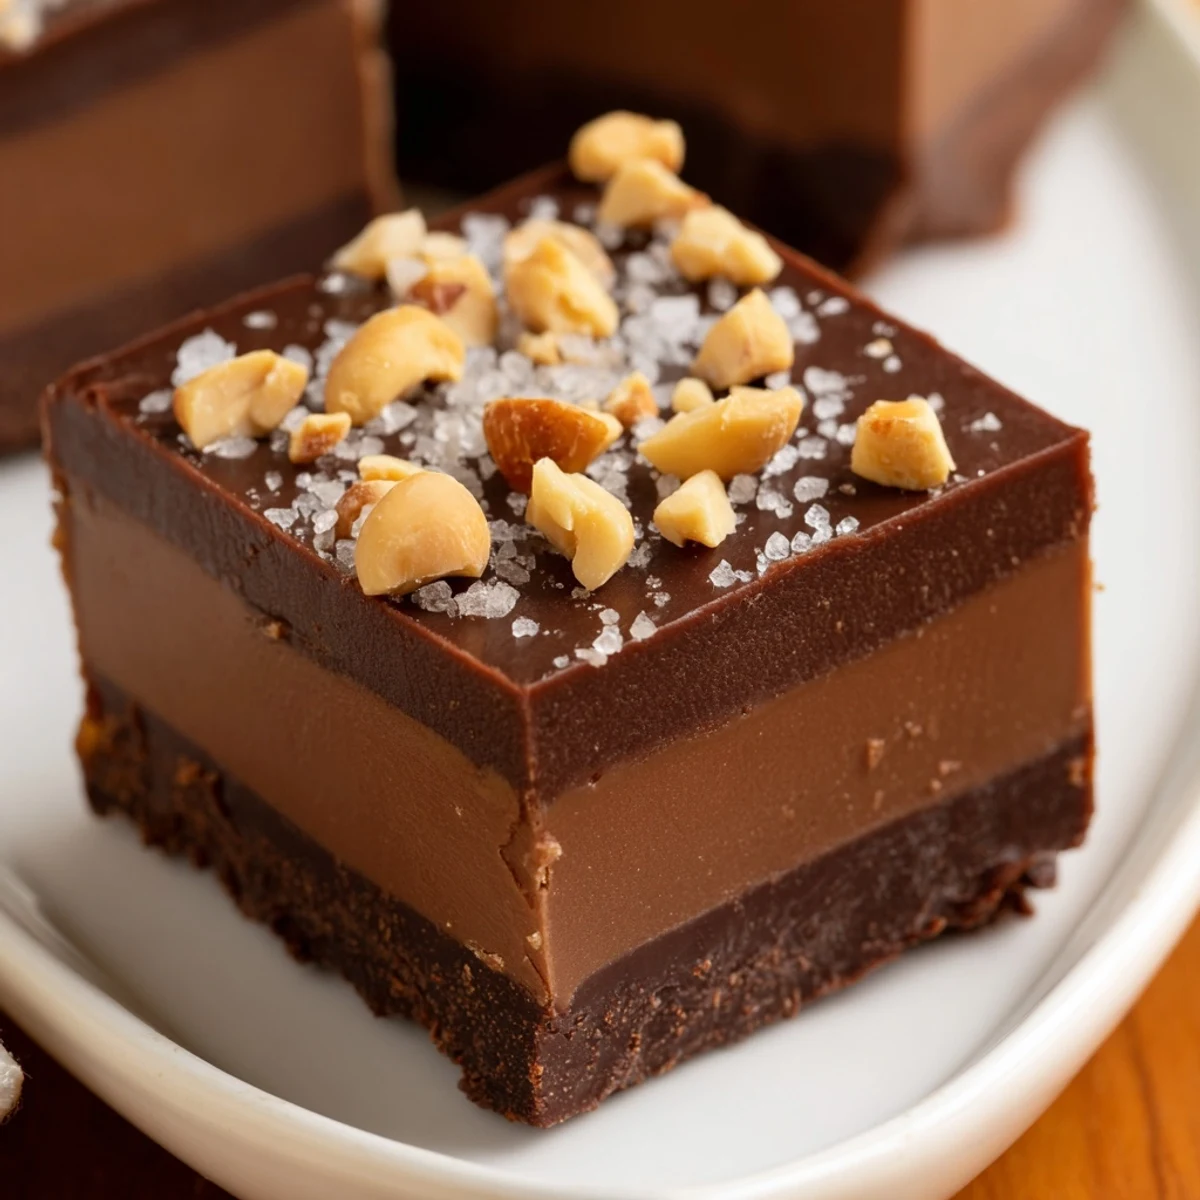
 This chocolate peanut butter fudge is more than just a dessert; it’s a little square of pure joy. I hope it brings as much delightful satisfaction to your kitchen as it has to mine.
Recipe Questions & Answers
- → How can I make this fudge vegan?
-
To create a vegan version of this delightful fudge, substitute dairy-free chocolate chips, use a plant-based vegan butter, and opt for sweetened condensed coconut milk. Always check product labels to ensure they meet your dietary needs.
- → Can I use chunky peanut butter for this fudge?
-
Absolutely! For a more pronounced nutty crunch, you can certainly use chunky peanut butter instead of creamy. Alternatively, you can add extra chopped peanuts between the layers or as a topping for added texture.
- → How should I store the finished fudge?
-
To maintain its freshness and texture, store the fudge in an airtight container within the refrigerator. It will keep well for up to one week, allowing you to enjoy this sweet treat over several days.
- → What essential tools are needed to prepare this treat?
-
You'll primarily need an 8-inch square baking pan lined with parchment paper, a medium saucepan for melting ingredients, mixing bowls for combining the peanut butter layer, and a spatula for spreading.
- → How long does the fudge need to chill before serving?
-
This fudge requires a minimum of 2 hours of chilling time in the refrigerator to fully set. For the best results and easiest cutting, ensure it is completely firm before lifting and slicing.
- → Can this fudge be frozen for later?
-
While the instructions recommend refrigeration, this fudge also freezes beautifully. Wrap individual pieces tightly in parchment paper then aluminum foil, and store in an airtight container for up to 2-3 months. Thaw in the refrigerator before serving.