 Save Pin
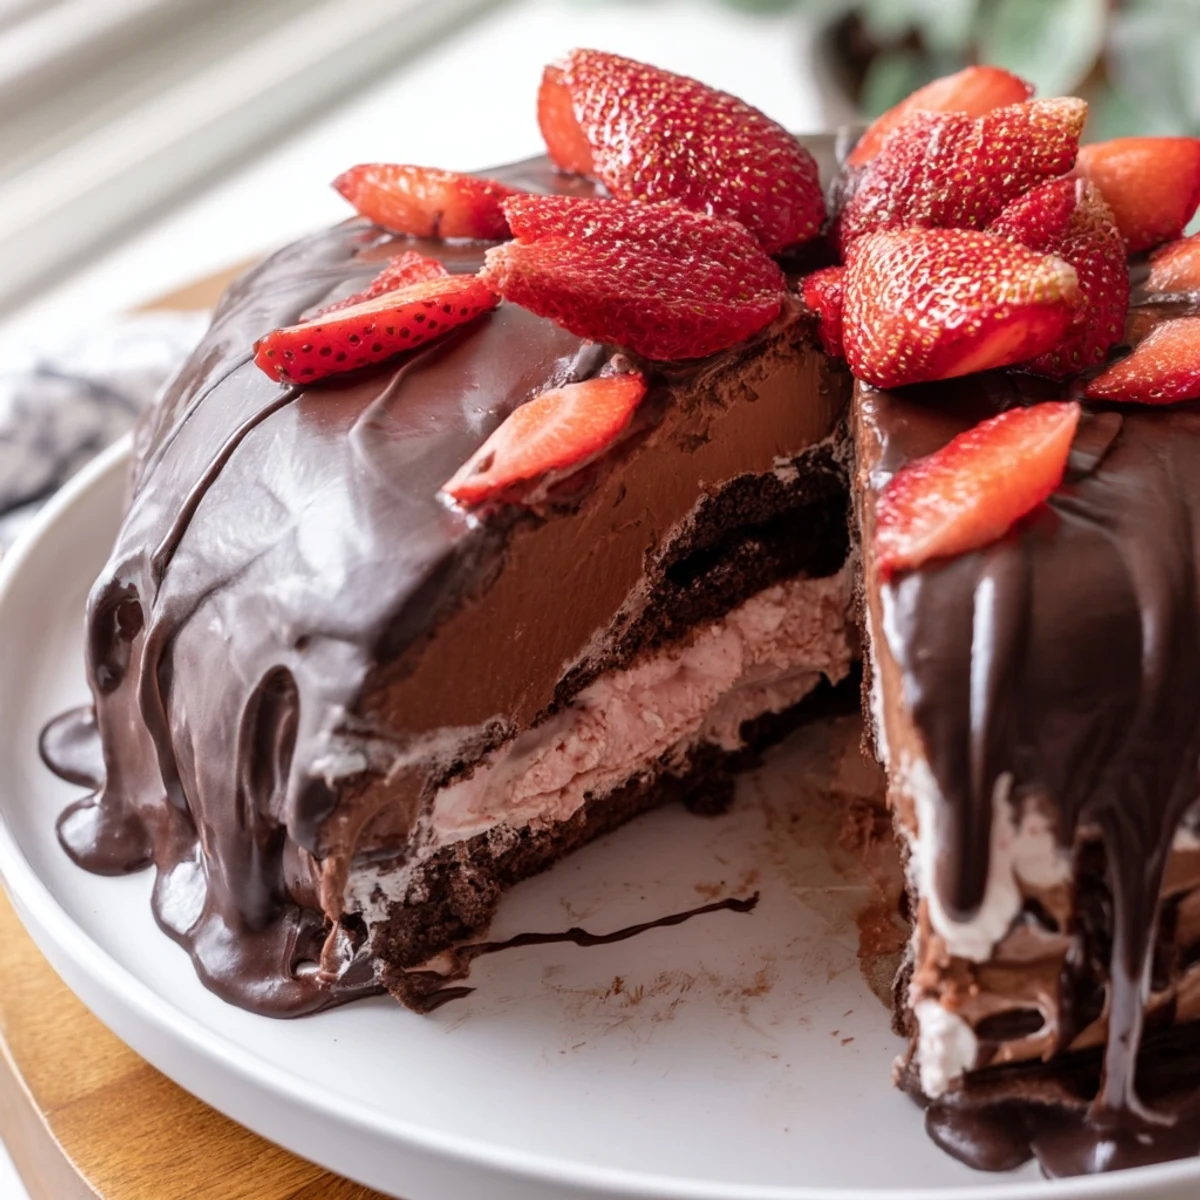
 This stunning layered dessert combines the best of both worlds—rich, fudgy chocolate cake meets creamy strawberry ice cream, all enveloped in a snap-of-chocolate shell. The process involves baking a tender chocolate base, spreading softened strawberry ice cream over top, then finishing with a glossy chocolate coating that cracks beautifully when sliced.
Ideal for make-ahead entertaining, this showstopper requires patience for freezing time but rewards you with bakery-worthy presentation. The chocolate shell technique using coconut oil ensures that signature crackle effect, while fresh strawberry garnish adds vibrant contrast. Perfect for summer birthdays, Fourth of July celebrations, or whenever you need a crowd-pleasing finale that serves twelve with impressive style.
Last July when my sister was visiting from Seattle, the heatwave broke and we decided to celebrate with something over the top. This cake happened entirely because she jokingly suggested combining her two favorite things, strawberry ice cream and chocolate cake. The whole family stood around the freezer watching that glossy chocolate shell harden like magic.
My nephew kept sneaking back to the freezer every ten minutes asking if it was ready yet. The way his eyes lit up when that first piece came out with that satisfying chocolate shell crack, I knew this wasnt just dessert anymore. It became the thing everyone requests for birthdays now.
Ingredients
- 1 cup (125 g) all-purpose flour: The structural foundation of the chocolate layer
- 1/3 cup (30 g) unsweetened cocoa powder: For that deep chocolate flavor without making the cake too dense
- 1 tsp baking powder: Gives the cake its tender rise
- 1/2 tsp baking soda: Works with the cocoa for proper lift
- 1/4 tsp salt: Balances and intensifies chocolate flavors
- 1/2 cup (115 g) unsalted butter, softened: Room temperature is non negotiable for proper creaming
- 1 cup (200 g) granulated sugar: Sweetens and tenderizes the crumb
- 2 large eggs: Bind everything together, also room temp works best
- 1 tsp vanilla extract: Pure vanilla makes a noticeable difference here
- 1/2 cup (120 ml) whole milk: Creates moisture and helps with texture
- 1.5 quarts (1.4 L) strawberry ice cream, slightly softened: Let it sit 15 minutes before spreading
- 2 cups (340 g) semi-sweet chocolate chips: For the magic shell that makes this unforgettable
- 1/4 cup (60 ml) coconut oil: Creates that signature snap when the shell sets
- 10 to 12 fresh strawberries, hulled and halved: Fresh berries on top make it look like a bakery cake
- 2 oz (55 g) dark chocolate, melted: The drizzle is optional but absolutely worth it
Instructions
- Preheat your oven to 350°F (175°C):
- Grease and line a 9-inch springform pan with parchment paper, this will make removal so much easier later.
- Whisk your dry ingredients together:
- In a medium bowl, combine flour, cocoa powder, baking powder, baking soda, and salt until well incorporated.
- Cream butter and sugar:
- Beat them in a large bowl until light and fluffy, about 3 to 4 minutes of serious mixing.
- Add eggs one at a time:
- Beat well after each addition, then mix in vanilla until fully combined.
- Combine wet and dry:
- Add dry ingredients to wet, alternating with milk, beginning and ending with dry ingredients. Mix until just combined.
- Bake until set:
- Pour batter into prepared pan, smooth the top, and bake for 22 to 25 minutes until a toothpick comes out clean. Cool completely in the pan.
- Layer the ice cream:
- Once cake is cool, spread softened strawberry ice cream evenly over the cake. Freeze for 3 to 4 hours until firm.
- Make the chocolate shell:
- Melt chocolate chips and coconut oil together in 30-second intervals, stirring until smooth. Let cool slightly.
- Apply the shell:
- Release cake from springform pan, place on a serving plate, and pour chocolate mixture over the ice cream layer spreading quickly.
- Finish with flair:
- Garnish with fresh strawberry halves and drizzle with melted dark chocolate if desired. Freeze 30 minutes more to set.
- Serve and impress:
- Let stand at room temperature for 10 minutes before slicing, this makes cutting through that shell much easier.
 Save Pin
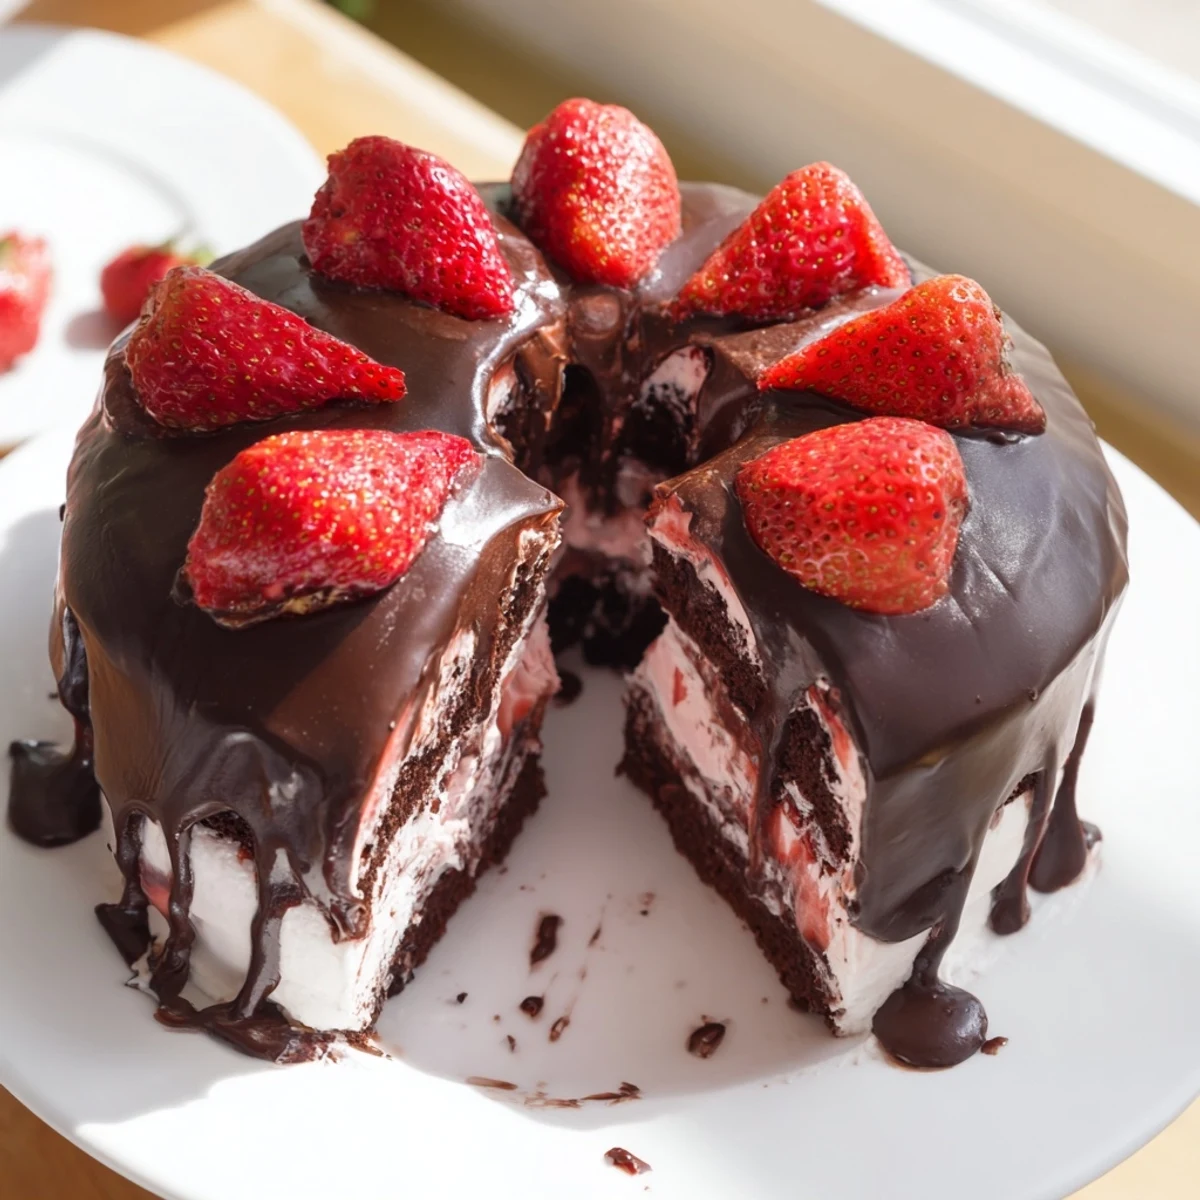
 Now every summer gathering someone inevitably asks if I am bringing that chocolate strawberry situation. It has become the dessert that signals real celebration, the one that makes even the simplest Tuesday dinner feel like an occasion worth marking.
Making It Ahead
The chocolate cake layer can be baked, wrapped well, and frozen for up to a month before assembly. I have learned to bake the cake on a weekend, freeze it, then pull it out when company is coming. It takes all the pressure off entertaining day.
Getting That Perfect Shell
The coconut oil in the chocolate shell is what creates that signature snap when you cut into it. I tried making it once with just melted chocolate and it was soft and sad. The coconut oil is absolutely not optional if you want that restaurant quality crack.
Serving Like A Pro
Run your knife under hot water between slices, it cuts through that frozen chocolate shell so much cleaner. A warm knife is the secret weapon for serving this cake beautifully.
- Let the cake sit 10 minutes before slicing or the shell will shatter
- Warm your serving plates slightly in the oven, it keeps the dessert colder longer
- Always cut this with a sharp knife, never a serrated one
 Save Pin
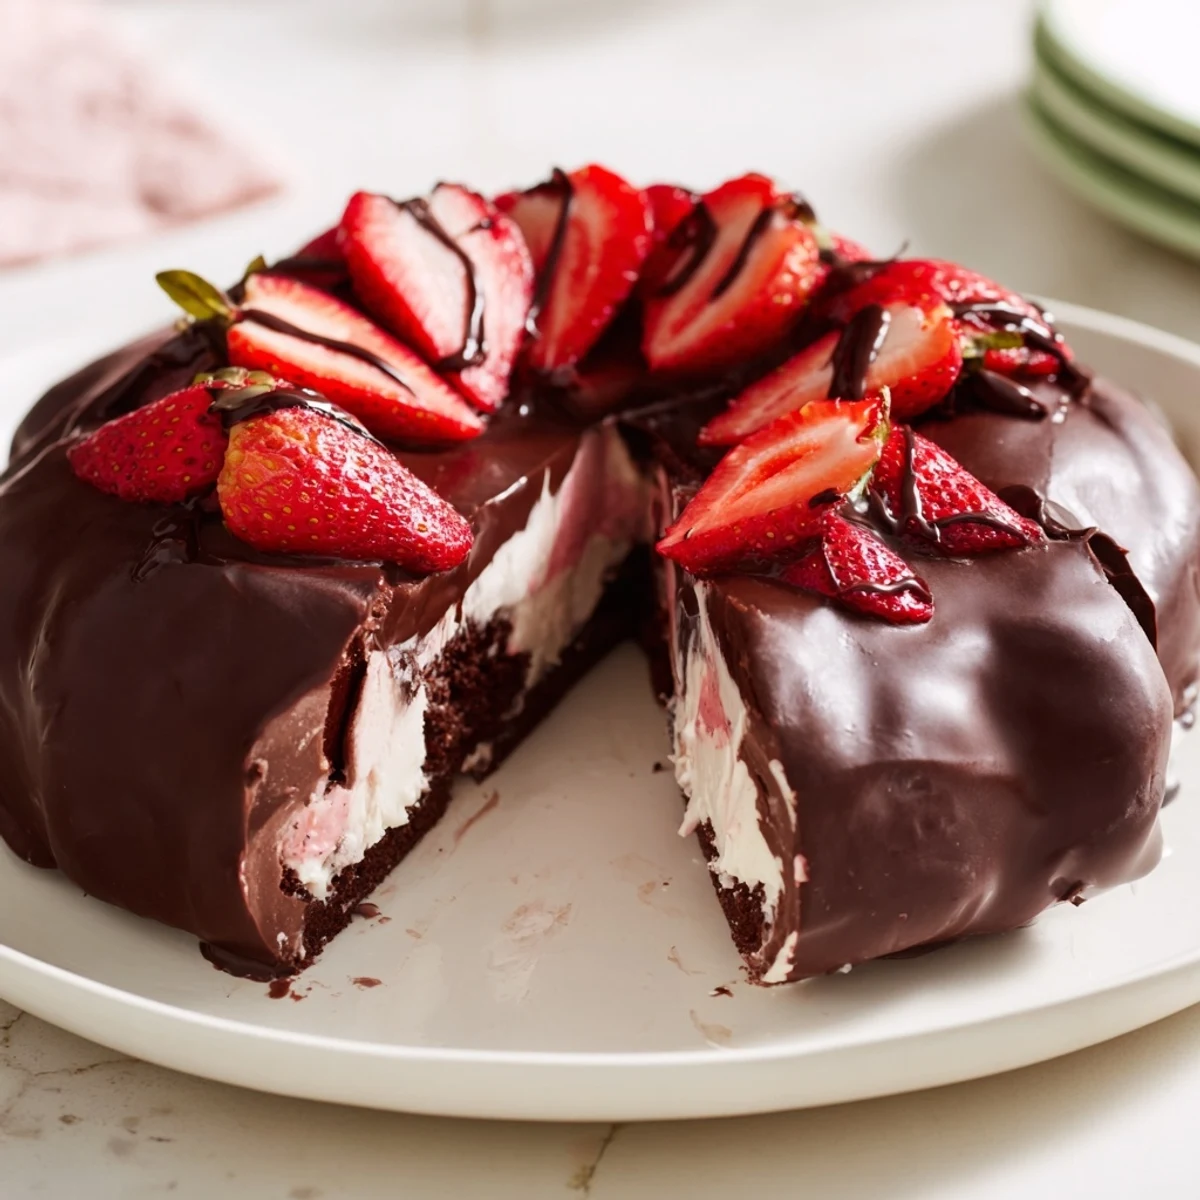
 There is something deeply satisfying about hearing that chocolate shell crack open. Every time I serve it, someone at the table makes that perfect surprised sound, and that is exactly why this cake stays in rotation.
Recipe Questions & Answers
- → How long does this need to freeze before serving?
-
The assembled dessert needs at least 3-4 hours of freezing time after adding the ice cream layer. After pouring the chocolate shell, return to freezer for 30 minutes to set properly. Plan accordingly as total freezing time spans about 4-5 hours.
- → Can I make this ahead of time?
-
Absolutely—this dessert actually benefits from being made 1-2 days in advance. Once fully assembled and frozen, wrap tightly with plastic wrap and foil. The texture remains excellent, and it's one less thing to prepare on the day of your gathering.
- → What's the purpose of coconut oil in the chocolate shell?
-
Coconut oil lowers the melting point of the chocolate, creating that signature snap and glossy finish. It also prevents the coating from becoming too hard to cut through. In a pinch, you can substitute with vegetable oil, though the texture may vary slightly.
- → How do I get clean slices?
-
Let the cake stand at room temperature for 10 minutes before slicing—this softens the shell just enough. Use a sharp knife dipped in hot water and wiped clean between cuts. For picture-perfect portions, you can also run your knife under hot water before each slice.
- → Can I customize the flavors?
-
Certainly! Swap strawberry ice cream for mint chocolate chip, cookies and cream, or cherry vanilla. Try a yellow cake base instead of chocolate, or add crushed Oreos between layers. The shell can be white chocolate or milk chocolate instead of semi-sweet.
- → Do I need a springform pan?
-
A springform pan is highly recommended for easy removal without damaging the layers. If you don't have one, line a regular cake pan with parchment paper that extends over the sides as handles, or use a plastic wrap sling to lift the frozen cake out.