 Save Pin
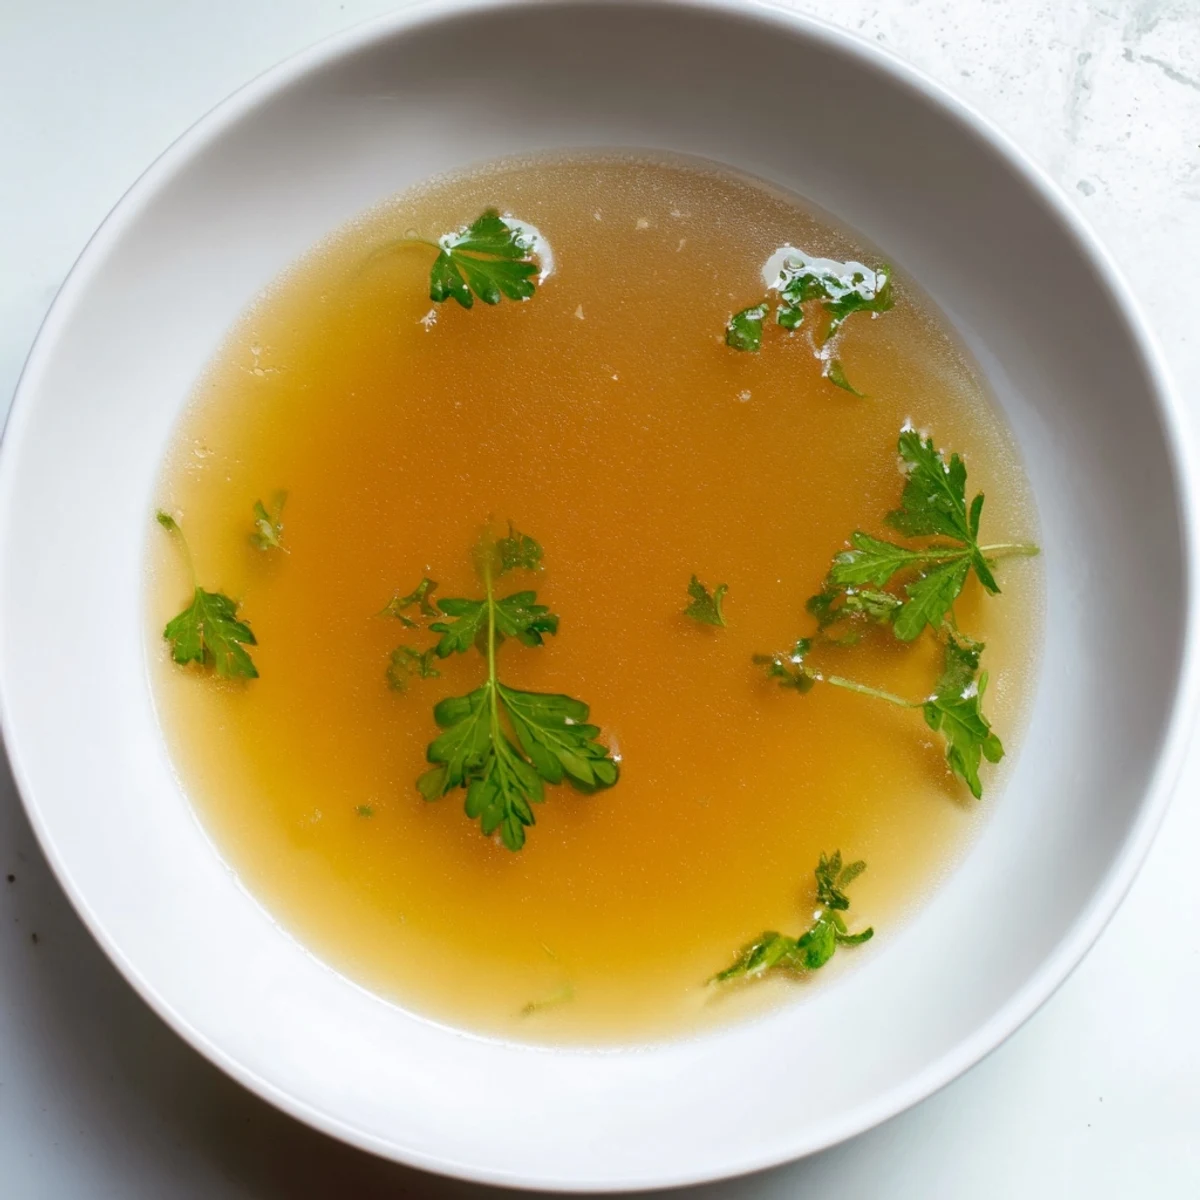
 This rich beef broth is made by slow-cooking meaty bones with carrots, celery, onions, and herbs for hours. Roasting the bones first adds depth and complexity to the final liquid. The simmered broth captures robust beef essence combined with bright aromatics like garlic, bay leaves, and thyme, producing a nourishing and flavorful base ideal for warming soups and stews or enjoyed plainly. The process requires patience but yields a clear, nutrient-dense liquid packed with protein and comfort.
I remember the first time I made beef bone broth from scratch, on a quiet Sunday morning when my grandmother called with stories about how her mother would spend entire days tending to a simmering pot. There was something almost meditative about roasting those bones until they turned mahogany brown, then letting them surrender their richness to hours of gentle heat. That first cup of golden broth, sipped from a warm mug, tasted like comfort and centuries of kitchen wisdom all at once. Now, whenever I make it, I'm transported back to that moment of discovery.
I'll never forget the winter when I brought jars of this broth to a friend recovering from surgery. She told me later that sipping it warm, knowing I'd spent hours making it, helped her heal faster than anything else. That's when I realized this wasn't just food, it was an act of caring expressed through my kitchen.
Ingredients
- Beef soup bones (1.5 kg): The foundation of everything. Look for bones with meat still clinging to them, as this is where the flavor truly lives. Don't skip the roasting step, because that caramelization is what transforms ordinary bones into something extraordinary.
- Carrots (2 medium): Roughly chopped is perfect here, no need for precision. They'll break down anyway, releasing their sweetness into the broth.
- Celery stalks (2): This is the secret weapon that gives broth that classic, deeply satisfying flavor. Don't use the leaves at this stage, they'll make it bitter.
- Onion (1 large): Quartered with the papery skin still on, which actually adds color and subtle depth to your final broth.
- Garlic (3 cloves): Smashed, not minced, so they release their essence gradually rather than all at once.
- Bay leaves (2): These little leaves are quiet flavor workers, adding an herbaceous undertone that makes people ask what your secret ingredient is.
- Black peppercorns (1 tsp whole): Whole, not ground, so they infuse gently over hours without making the broth gritty.
- Fresh parsley (1 small bunch): Add it early so it has time to lend its green, fresh notes to the deep, savory base.
- Sea salt (1 tsp, plus more to taste): Start conservative because you can always add more, but you can't take it back.
- Fresh thyme (2 sprigs, optional): If you have it, use it. It whispers sophistication into every spoonful.
- Cold water (3.5 liters): Start cold, because this slow temperature rise is what coaxes all the good stuff from the bones.
Instructions
- Roast Your Bones Until They're Golden:
- Preheat your oven to 220°C (425°F) and spread those bones on a baking sheet. This is the crucial step that most people want to skip, but don't. Watch them as they roast for about 30 minutes, turning them halfway through. You're looking for a deep mahogany color on all sides. The kitchen will smell absolutely magnificent, and this is when you know you're doing it right.
- Build Your Pot:
- Transfer the roasted bones to your largest stockpot, scraping any browned bits from the pan into the pot. Add your roughly chopped carrots, celery, onion quarters, and smashed garlic. Don't be precious about technique here, we're just creating a flavor foundation.
- Cover and Bring to Life:
- Pour in your cold water, making sure everything is submerged. Place the pot over medium-high heat and bring it to a gentle boil. Here's the moment that separates good broth from great broth: watch the foam rise to the surface. Skim it off with a spoon or ladle. This foam contains impurities, and removing it gives you a crystal-clear broth that's beautiful to look at.
- Season and Settle In:
- Once the foam is mostly gone, add your bay leaves, peppercorns, parsley bunch, thyme sprigs (if using), and sea salt. Stir gently and let everything settle into the pot.
- The Long, Slow Simmer:
- Reduce the heat to low and let this broth simmer gently for 3.5 hours. You want to hear the occasional quiet bubble, not a rolling boil. Occasionally skim any remaining fat or foam that rises, but otherwise, let time do the heavy lifting. This is when the magic happens, when bones give up their collagen and bones release their richness into the water.
- Strain with Care:
- After 3.5 hours, your kitchen will smell like comfort itself. Carefully pour the broth through a fine-mesh sieve into a large bowl, letting gravity do the work. Discard all the solids, which have given their all to create this liquid gold.
- Taste and Adjust:
- This is your moment to be the chef. Taste a spoonful and decide if it needs more salt. Remember, you can always add more, so go slowly.
- Cool and Store:
- Let the broth cool to room temperature, then refrigerate. Once chilled, you might see a layer of fat on top. You can skim this off if you prefer a lighter broth, or leave it for added richness.
 Save Pin
 Years later, I realized that making bone broth is one of the few things in modern life that asks us to slow down completely. Four hours of mostly waiting, of trusting a process, of knowing that patience itself is an ingredient. It changed how I cook everything else.
The Art of Roasting Bones
This step is where amateurs become artists. The browning of the bones isn't just about color, it's about caramelization, a chemical transformation that deepens every note of the final broth. I've learned to flip the bones halfway through and watch for when they transition from pale to rich brown. That exact moment is when you know they're ready. Some cooks even char them slightly, though I prefer that deep mahogany when they're perfectly roasted but not burnt. The difference between a broth that's merely good and one that makes people close their eyes while tasting it often comes down to five minutes in that oven.
Patience as Your Secret Ingredient
This broth teaches you something invaluable: that the best things in life require time you can't rush. I've tried simmering for less time, thinking I was being efficient, and the result was thin and forgettable. Every single hour of those 3.5 hours matters. The bones need time to surrender, to give up their marrow, their collagen, their very essence. When you finally taste a broth made with true patience, you understand why our grandmothers would let theirs simmer overnight.
Variations and Flavor Adventures
Once you master the basic technique, you can begin to play. I've added a tablespoon of tomato paste in the last hour, which gives the broth a subtle warmth and deeper color. I've thrown in rosemary or dill, experimented with parsnips and leeks, and even added marrow bones for extra richness that coats your mouth like velvet. The foundation is always the same, but these additions let you create a signature version that becomes uniquely yours. This is how cooking moves from following a recipe to creating something that tells your story.
- Try adding tomato paste in the last hour of simmering for depth and a hint of umami.
- Marrow bones mixed with your regular soup bones create a more luxurious, velvety broth.
- Fresh herbs like rosemary, dill, or even a star anise add personality without overshadowing the main event.
 Save Pin
 This broth is a gift you give to yourself and everyone you serve it to, a reminder that the slowest meals are often the most nourishing. Once you've made it, you'll understand why our ancestors prioritized bone broth in their kitchens.
Recipe Questions & Answers
- → What is the benefit of roasting the beef bones first?
-
Roasting the bones caramelizes surface proteins and fats, which deepens the broth's flavor and enhances its rich color.
- → How long should the broth be simmered for best results?
-
Simmering for about 3.5 to 4 hours extracts maximum flavor and nutrients from the bones and vegetables.
- → Can additional herbs be added to customize the flavor?
-
Yes, herbs like rosemary or dill can be added during simmering to impart unique aromatic notes.
- → How should the broth be stored after cooking?
-
Once cooled, refrigerate the broth for up to 5 days or freeze portions for up to 3 months to preserve freshness.
- → Is it necessary to skim foam and fat during cooking?
-
Regularly skimming the foam and fat helps keep the broth clear and improves its taste and texture.