Save Pin
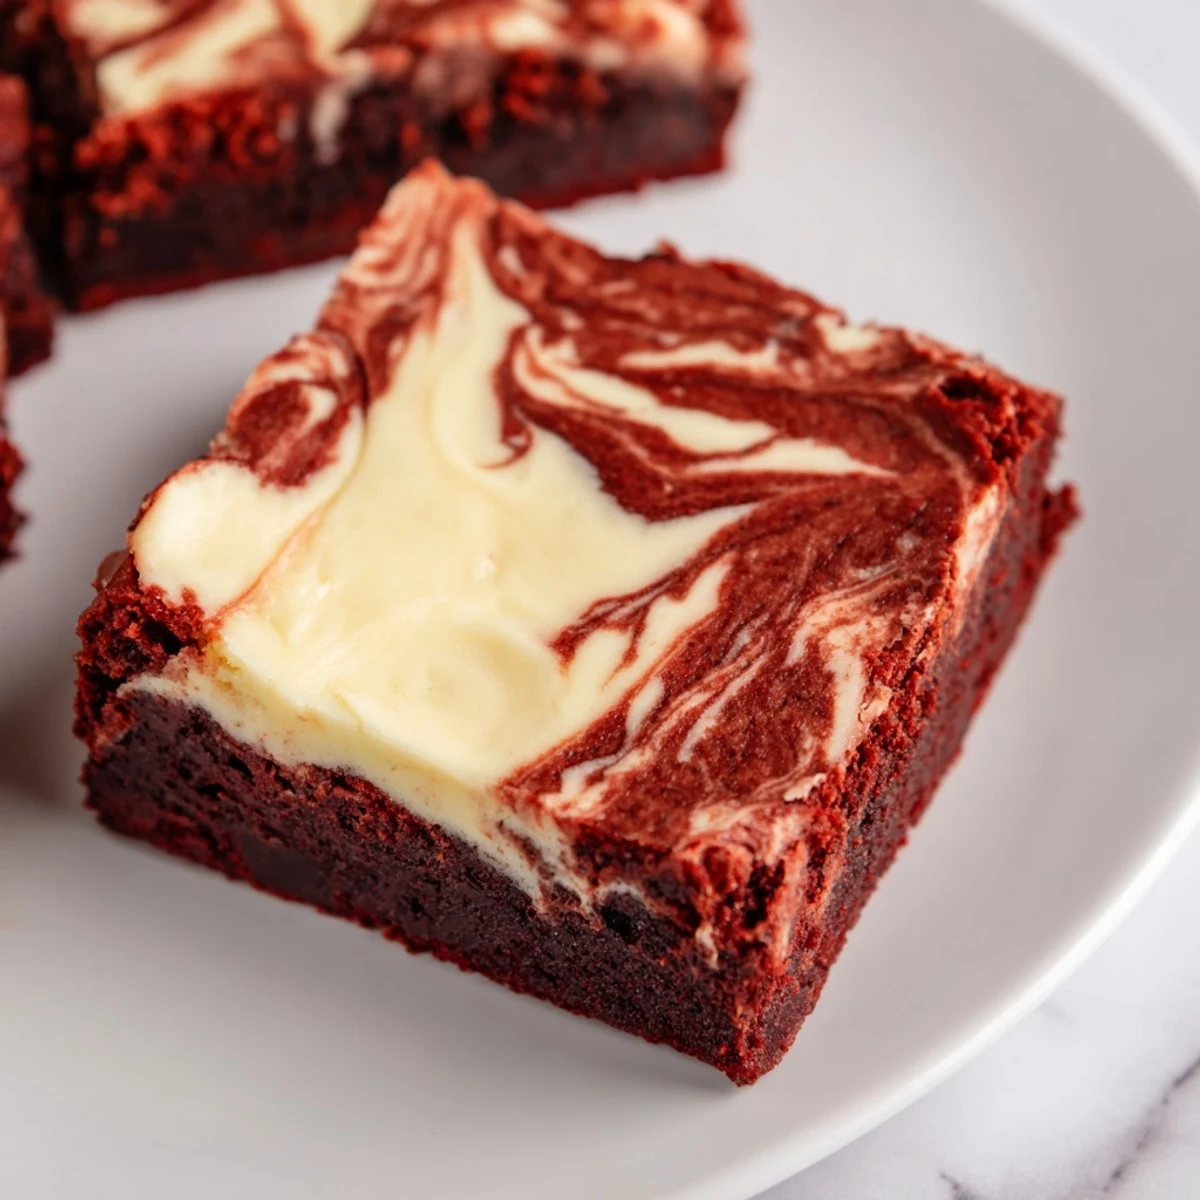
 These brownies showcase a vibrant red velvet layer combined with a smooth, tangy cheesecake swirl to create a visually stunning and decadent treat. Using melted butter and cocoa powder brings a fudgy texture, while the gentle swirling technique blends the two batters into a marbled masterpiece. The baking process results in moist, tender brownies perfect for sharing. Finished by cooling completely and slicing into squares, this dessert offers a rich, balanced flavor with creamy highlights.
The first time I made these, my kitchen looked like a crime scene with red splatter everywhere, but one bite of that swirled magic made every paper towel worth it. My roommate walked in mid-swirl and just stood there watching, completely mesmerized by the marble pattern forming. Now it is the one dessert that disappears faster than anything else at parties, with people hovering around the pan until the very last square is gone.
I brought these to a potluck last winter and watched my friend Sarah take her first hesitant bite, eyes widening as she reached for a second immediately. Someone asked for the recipe before they even finished chewing, which has never happened to me with any other baked good. The marble pattern makes them feel like something from a bakery window, but the truth is they are deceptively simple.
Ingredients
- 120 g unsalted butter, melted: Melt it gently and let it cool slightly so it does not scramble your eggs when you mix everything together
- 200 g granulated sugar: This amount hits the perfect sweet spot without being overwhelming since the cheesecake layer adds its own creamy sweetness
- 2 large eggs at room temperature: Room temperature eggs incorporate better and create that smooth, velvety texture we are after
- 1 tsp vanilla extract: Do not skimp here because vanilla is what bridges the chocolate and cheesecake flavors together
- 1 tbsp red food coloring: Gel coloring gives you that vibrant red with less liquid, which prevents the batter from getting too thin
- 95 g all-purpose flour: Measuring by weight is ideal here since too much flour makes these cakey instead of fudgy
- 15 g unsweetened cocoa powder: Sift it to avoid lumps because nothing ruins the experience like biting into a dry cocoa pocket
- ¼ tsp salt: Just enough to make the chocolate flavor pop without tasting salty
- 225 g cream cheese softened: Leave it out for at least an hour because cold cream cheese creates lumps that ruin your swirl
- 50 g granulated sugar: This small amount perfectly balances the tanginess of the cream cheese without making it overly sweet
- 1 large egg yolk: Using only the yolk adds richness without making the cheesecake layer too eggy or firm
- ½ tsp vanilla extract: Pure vanilla extract makes a noticeable difference in the cheesecake layer
Instructions
- Get your oven and pan ready:
- Preheat to 350°F and line your 8-inch square pan with parchment, letting the edges hang over like little handles because you will thank yourself later when lifting these out.
- Make the red velvet base:
- Whisk that melted butter and sugar until they become best friends, then add your eggs, vanilla, and red food coloring until everything turns a gorgeous uniform crimson.
- Add the dry ingredients:
- Sift in the flour, cocoa, and salt, then fold with a spatula until just combined because overmixing is the enemy of fudgy brownies.
- Reserve some batter:
- Set aside about ¼ cup of the batter for the swirl topping, then spread the rest evenly into your prepared pan.
- Whip up the cheesecake layer:
- Beat your softened cream cheese until it is completely smooth, then add the sugar, egg yolk, and vanilla until everything is creamy and dreamy.
- Create the marble:
- Drop spoonfuls of cheesecake mixture over the brownie base, then dollop your reserved red velvet batter on top like polka dots.
- Swirl it together:
- Run a knife or skewer through the layers in a gentle figure-eight motion, being careful not to over-swirl or you will lose the distinct marble effect.
- Bake to perfection:
- Bake for 32 to 35 minutes until the center is just set and a toothpick comes out with those perfect moist crumbs we are looking for.
- Cool completely:
- Let them cool completely in the pan on a wire rack, then use those parchment handles to lift the whole slab out before slicing into squares.
 Save Pin
 My mom called me the day after I first made these, saying she had been dreaming about them and asking when I would bake another batch. That is when I knew this recipe was a keeper, the kind that gets requested repeatedly until it becomes part of your regular baking rotation.
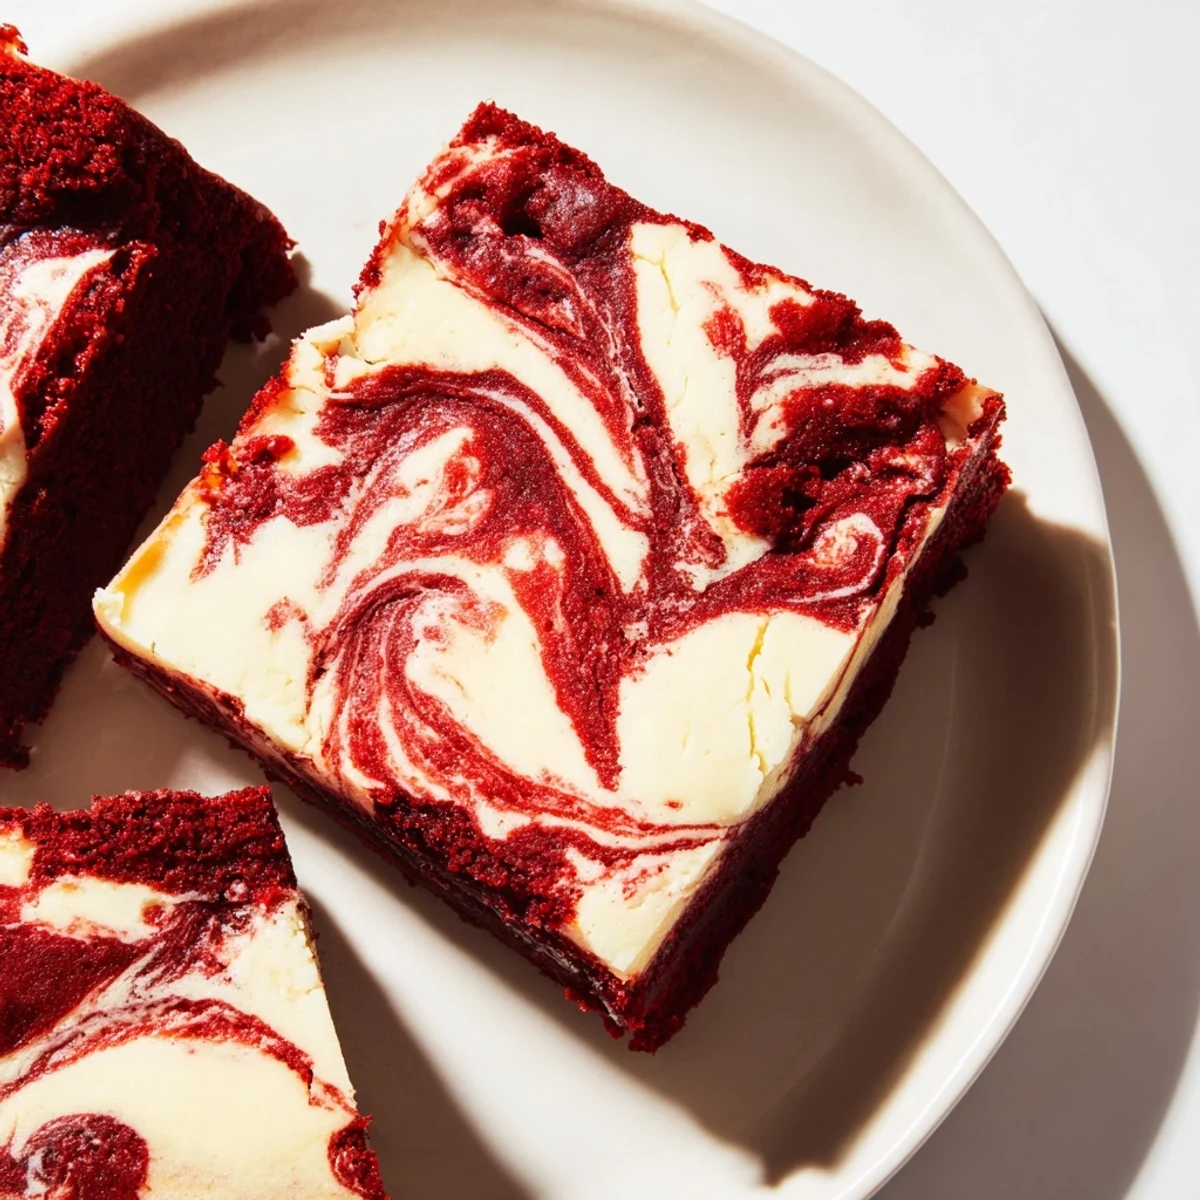
Getting the Perfect Marble
The trick to those professional-looking swirls is not overthinking it. I used to carefully draw intricate patterns, but now I just do a quick figure-eight motion through the batter and call it done. The less you mess with it, the more distinct and beautiful those marble layers turn out.
Room Temperature Matters
I learned the hard way that cold cream cheese creates lumpy cheesecake swirl no matter how long you beat it. Now I set everything out about an hour before I start baking, and the difference in smoothness is absolutely worth the planning ahead.
Storage and Serving
These actually taste better after chilling in the refrigerator overnight, which makes them perfect for making ahead of parties. The cold firms up the cheesecake layer and lets the flavors meld into something even more delicious than fresh-baked.
- Serve them at room temperature for the fudgiest texture
- Keep them refrigerated since the cream cheese needs to stay cold
- They freeze beautifully if you wrap individual squares tightly
 Save Pin
 Every time I pull these out of the oven and see that gorgeous marble pattern, I get excited all over again. There is something magical about cutting into that first square and seeing the perfect swirl of red and cream.
Recipe Questions & Answers
- → What gives the brownies their red color?
-
The vibrant hue comes from red food coloring, either liquid or gel, added to the brownie batter for a striking appearance.
- → How do you create the marbled effect?
-
Spoon the cheesecake mixture onto the brownie batter, then dollop reserved brownie batter on top. Use a knife or skewer to gently swirl both layers together.
- → Can I make these in advance?
-
Yes, store the baked brownies in an airtight container in the refrigerator for up to five days to maintain freshness.
- → What texture should the brownies have?
-
The brownies turn out rich and fudgy with a creamy cheesecake layer adding a smooth contrast.
- → Are there suggestions to enhance the flavor?
-
Adding white chocolate chips to the brownie batter can increase richness and add subtle sweetness.