 Save Pin
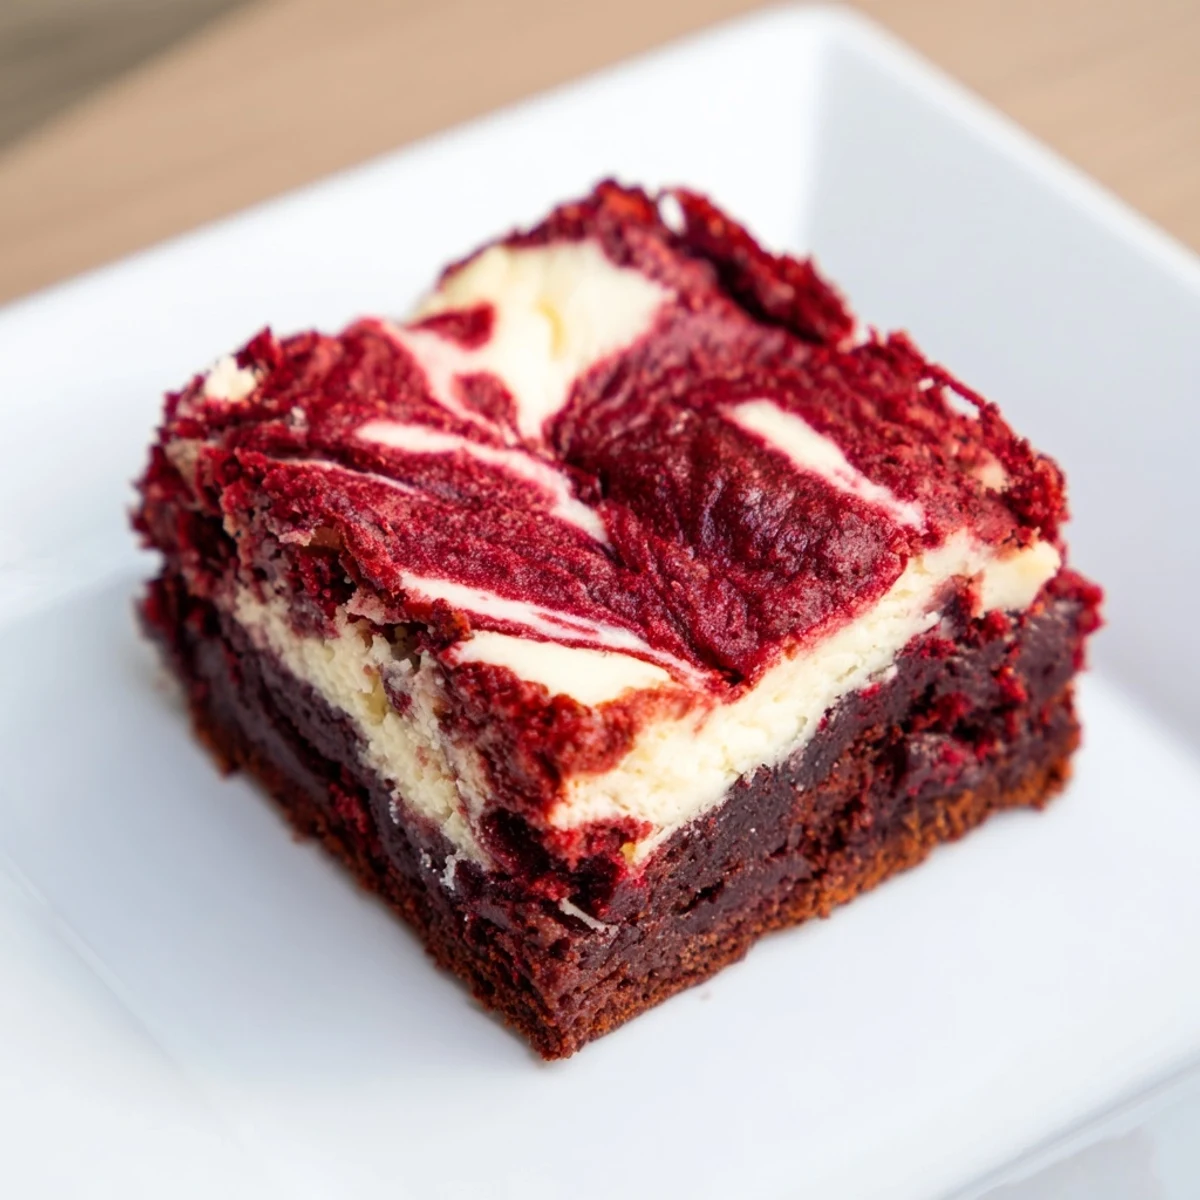
 These rich red velvet brownies combine a moist, cocoa-infused base with a smooth, creamy cheesecake swirl to create a visually stunning and indulgent dessert. The fudgy texture pairs perfectly with a hint of vanilla and a delicate marbled effect, achieved by gently swirling two batters together. Baked to a tender finish, these treats offer a balance of sugar, butter, and cream cheese that delivers both flavor and richness. Ideal for sharing or special occasions, they can be enjoyed chilled or at room temperature.
My kitchen counter looked like a crime scene with red food coloring everywhere, but I couldn't stop grinning. These brownies were my valentine's day experiment that went unexpectedly right, and now they're the dessert everyone actually asks for by name. Something about that swirl makes people pause before taking that first bite.
I brought these to a friend's birthday dinner last summer, and the birthday girl literally hugged the pan. Her husband called me the next day asking if there were any hidden in the freezer. That's when I knew this wasn't just another red velvet variation.
Ingredients
- Unsalted butter: Melt it completely but let it cool slightly so it doesn't cook your eggs when they hit the bowl
- Granulated and brown sugar: The combination gives you that crackly top while keeping the center fudgy
- Red food coloring: Gel coloring gives you that deep velvet red without adding extra liquid to your batter
- All purpose flour: Don't overmeasure or you'll lose that dense fudgy texture we're after
- Unsweetened cocoa powder: This isn't about chocolate intensity, it's about that subtle backdrop for the cream cheese to shine
- Cream cheese: Soften it properly or you'll end up with tiny lumps in your swirl layer
- Egg yolk: Using just the yolk in the cheesecake portion makes it richer and more stable
Instructions
- Get your oven ready:
- Preheat to 350°F and line your 8x8 pan with parchment paper, letting the ends hang over like little handles for later.
- Make the red velvet magic:
- Whisk your melted butter with both sugars until they're friends, then add eggs, vanilla, vinegar, and that shocking amount of red food coloring.
- Bring it together:
- Sift in your dry ingredients and fold until just combined, then set aside 1/4 cup of this gorgeous red batter.
- Build the base:
- Spread most of the red velvet batter into your prepared pan, smoothing it into an even layer.
- Create the swirl:
- Beat your cream cheese with sugar, egg yolk, and vanilla until silky, then drop dollops over the red base.
- Add the drama:
- Drop spoonfuls of your reserved red batter on top of the cheesecake layer, then drag a knife through to create those marble patterns.
- Bake to perfection:
- Slide into the oven for 33 to 36 minutes, checking that the center is just set with a tiny bit of wobble left.
 Save Pin
 My mom called them the prettiest dessert she's ever seen me make, which is saying something considering I went through a phase of making elaborately terrible cakes in my twenties. These became my go to for potlucks because they travel surprisingly well.
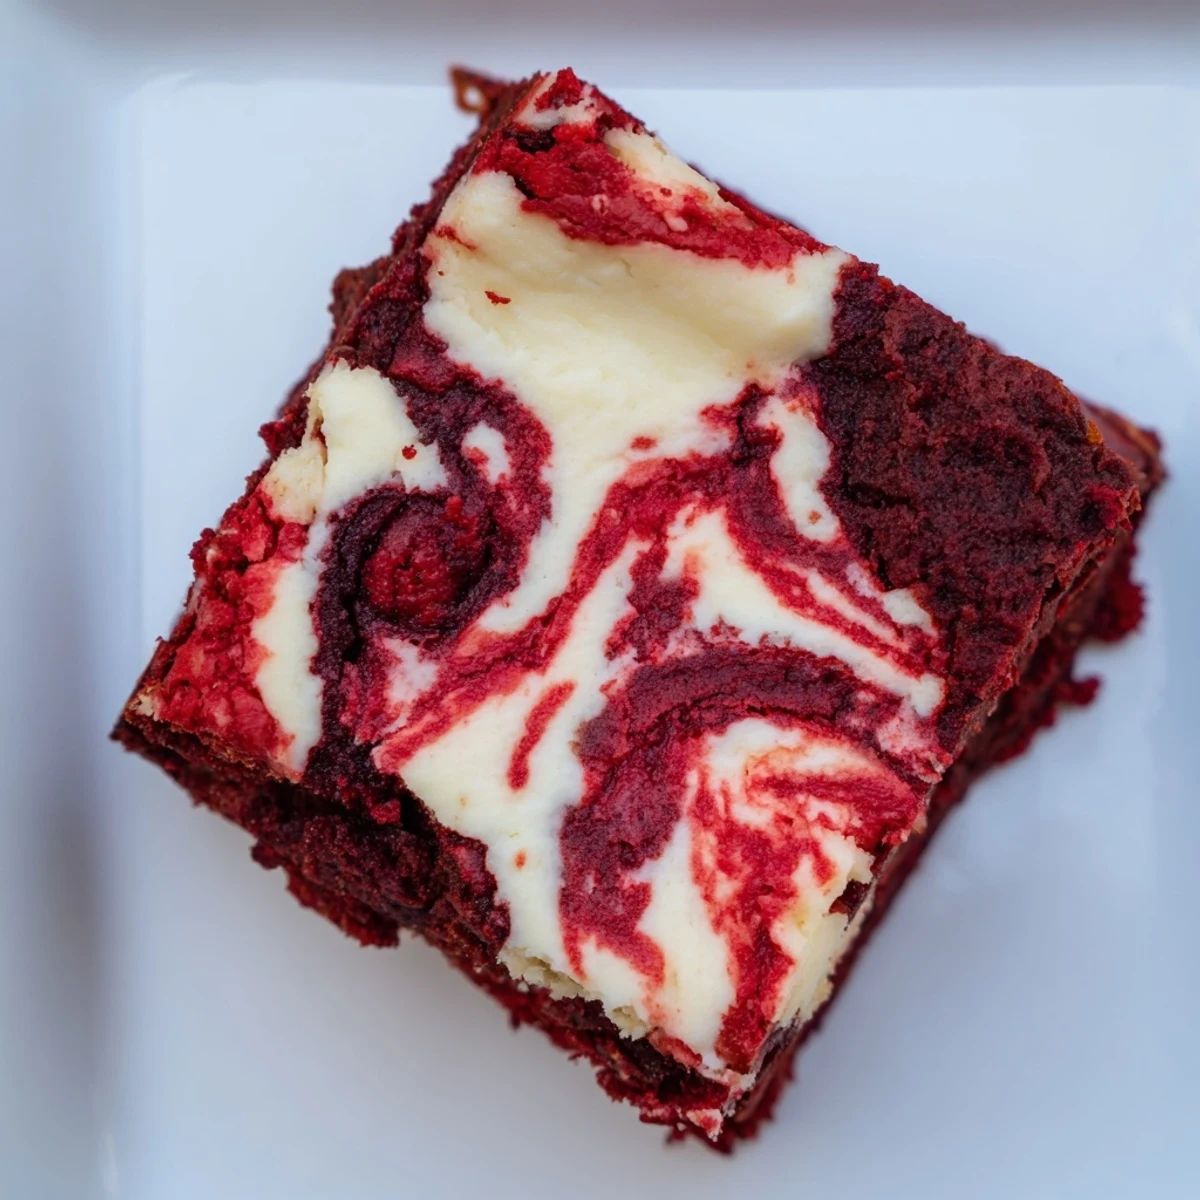
Getting That Perfect Swirl
The trick is not overworking your marble pattern. I used to go crazy swirling until everything turned pink and muddy, but now I make maybe three passes through the pan with my knife and call it done. Less is absolutely more here.
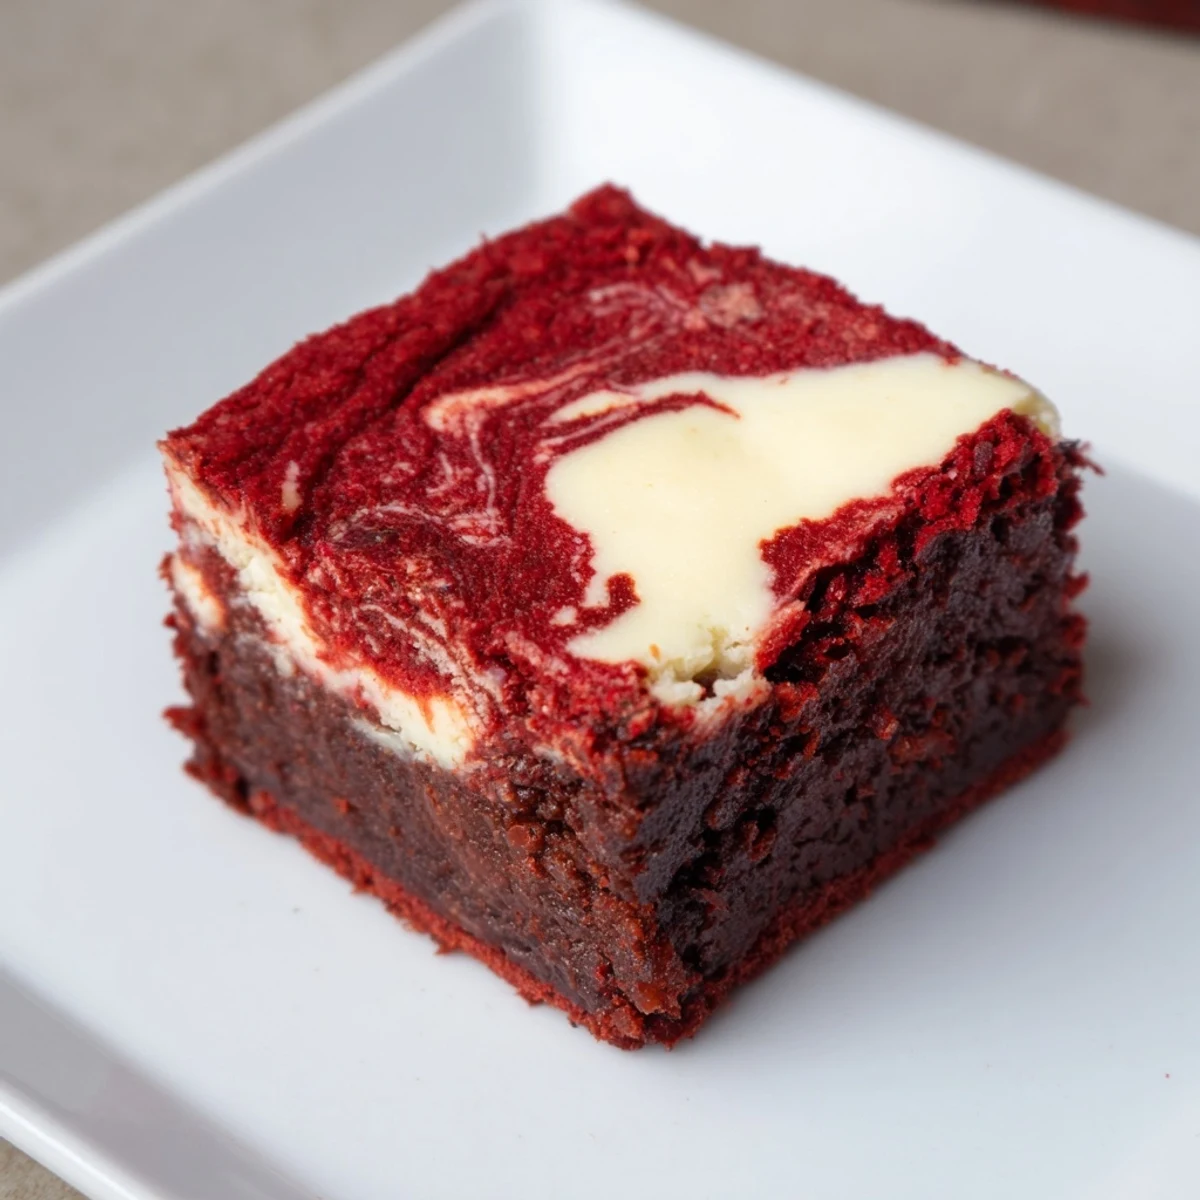
Temperature Matters
I've learned these actually develop better flavor after chilling, but they're also incredible slightly warm with that gooey cheesecake factor. The texture changes completely based on how you serve them.
Make Ahead Wisdom
You can bake these a full day ahead and they'll actually taste better after that overnight rest in the fridge. The flavors have time to get properly acquainted, and cutting them cold gives you those clean sharp edges.
- Wrap the pan tightly with foil if refrigerating overnight
- Let them sit at room temperature for 20 minutes before serving
- Use a hot knife for the cleanest squares
 Save Pin
 There's something deeply satisfying about cutting into that first square and seeing exactly how your swirl pattern turned out. Every pan becomes its own little edible artwork.
Recipe Questions & Answers
- → How do I achieve the perfect cheesecake swirl?
-
Use a skewer or knife to gently swirl the cheesecake mixture and brownie batter. Avoid overmixing to keep distinct marbled patterns.
- → Can I use gel food coloring instead of liquid?
-
Yes, gel food coloring provides a deeper, more vibrant red without altering the batter's consistency.
- → What is the ideal baking temperature and time?
-
Bake at 350°F (175°C) for 33–36 minutes until the edges are set and the center has moist crumbs.
- → Are these suitable for vegetarians?
-
Yes, they contain no meat products but do include dairy and eggs.
- → How can I store leftovers?
-
Keep cooled brownies covered at room temperature or refrigerated for up to four days to maintain freshness.
- → Can I add chocolate chips for more richness?
-
Absolutely, folding in chocolate chips into the brownie batter enhances flavor and texture.