 Save Pin
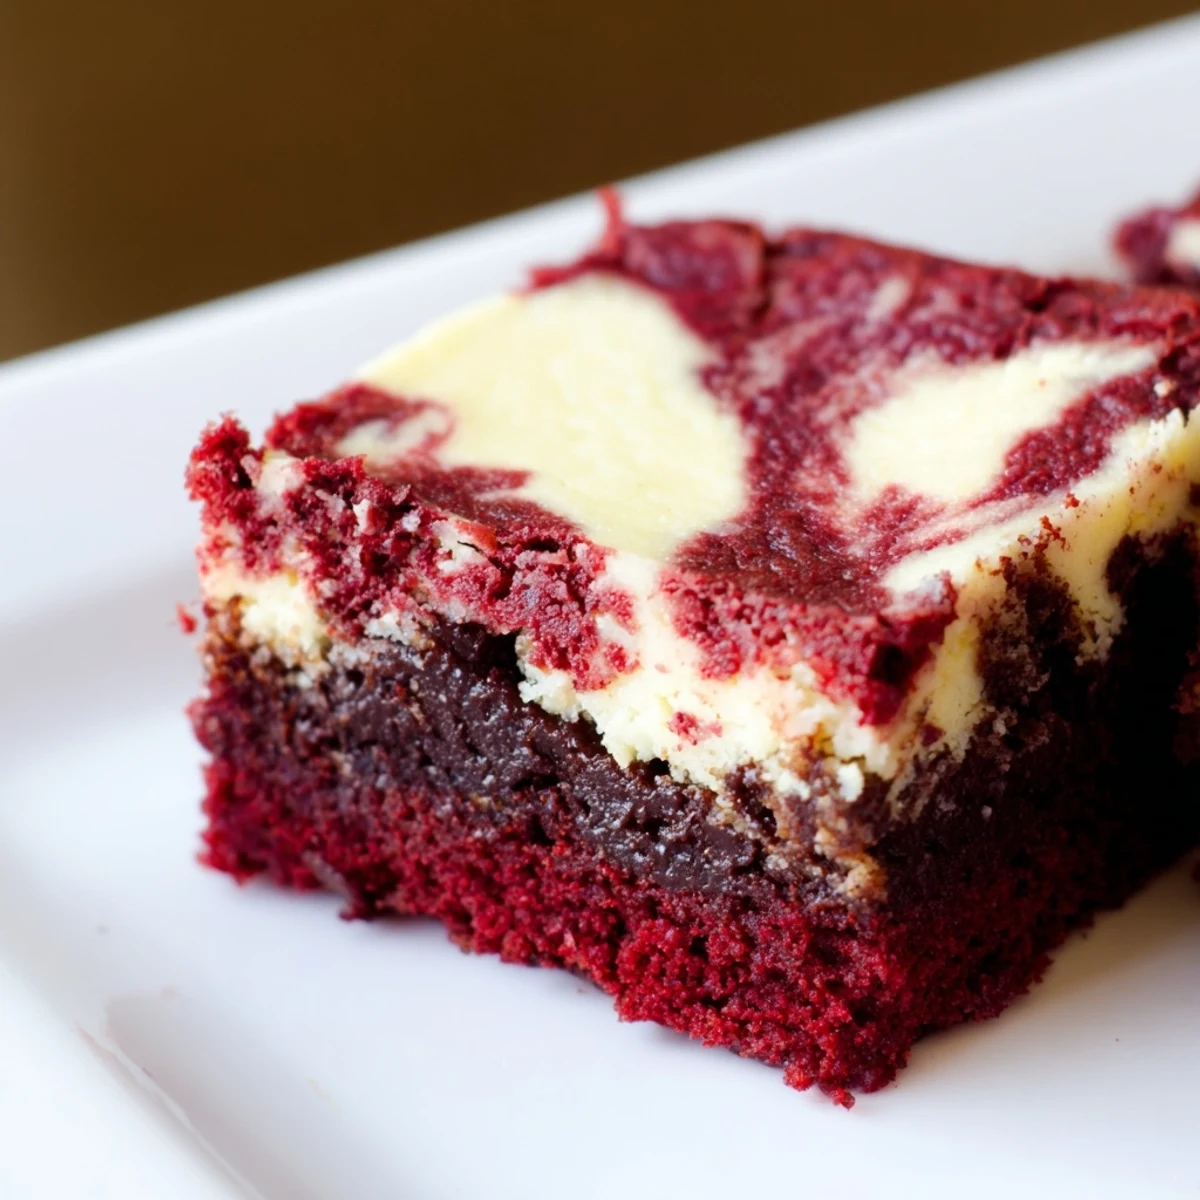
 These red velvet brownies are a decadent treat, enriched with melted butter, cocoa, and a hint of vanilla. The batter is gently folded to create a tender crumb, then topped with a smooth cheesecake mixture to swirl throughout. Baking yields a marbled dessert that's moist and richly flavored. Cool completely before slicing for clean squares and enjoy a luscious balance of chocolatey and creamy textures.
The first time I brought these to a potluck, my friend Sarah actually hid two in her purse before anyone else could get seconds. Thats when I knew this recipe was a keeper. The way the tangy cheesecake cuts through that rich, fudgy red velvet creates something entirely unexpected.
Last winter my niece begged to help make these for her class bake sale. Watching her carefully swirl the batters together, tongue poking out in concentration, reminded me that the prettiest desserts often come from the messiest moments in the kitchen.
Ingredients
- Unsalted butter: Melted completely creates that fudgy texture we love
- Red food coloring: Gel coloring gives the most vibrant hue without altering the batter consistency
- Cream cheese: Truly softened to room temperature prevents lumpy swirls
- Egg yolk only: Using just the yolk in the cheesecake layer makes it extra rich and creamy
Instructions
- Prep your pan and oven:
- Paper lining those corners is tedious but lifting out a perfect slab of brownies makes every second worth it.
- Make the red velvet base:
- Whisking that red coloring until absolutely uniform saves you from strange streaks later.
- Fold in the dry ingredients:
- Overmixing here makes tough brownies, so stop the second you no longer see white flour streaks.
- Reserve some batter:
- That quarter cup you save creates the most beautiful marbled pattern on top.
- Whip up the cheesecake swirl:
- Getting this mixture silky smooth ensures it ribbons beautifully across the red velvet.
- Create the marble effect:
- One gentle figure eight motion through the batters gives you that swoon worthy swirl without over blending.
- Bake until just set:
- A few moist crumbs on your toothpick means perfect texture, but wet batter needs more time.
 Save Pin
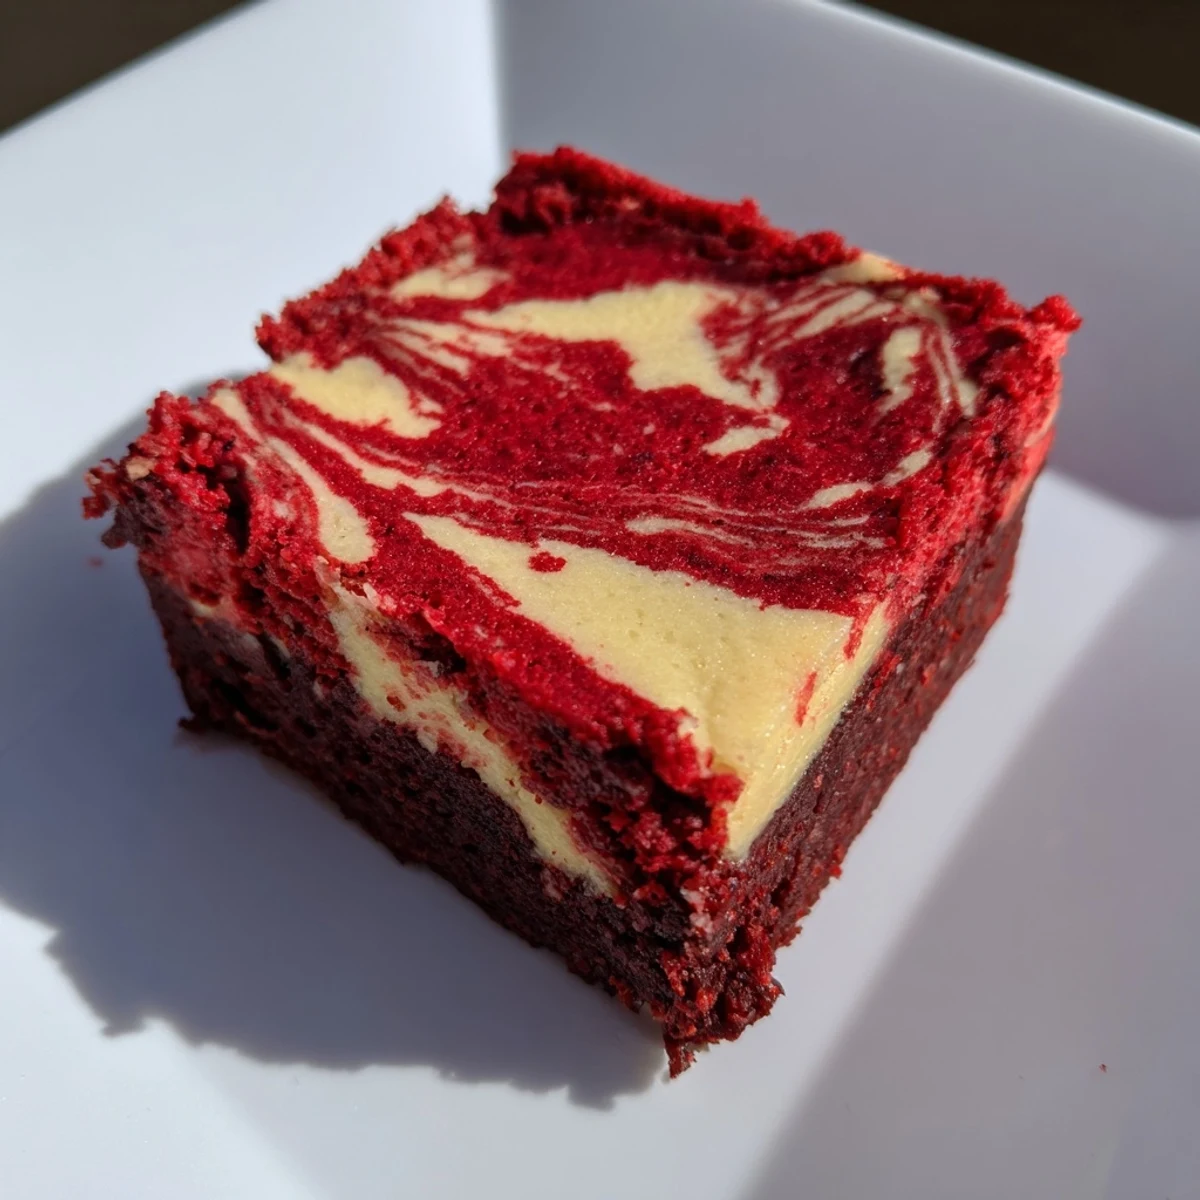
 My neighbor texted me at midnight the first time she tried these, demanding the recipe immediately. Theres something about the combination that makes people abandon all self control around the dessert platter.
Getting The Perfect Swirl
Ive learned that running your knife through the batter too many times just muddies the design. Two or three gentle figure eights is all you need for that gorgeous marbled look.
Storage Secrets
These actually improve after a night in the refrigerator. The flavors meld together and the texture becomes even more fudgy, though I rarely can resist eating them warm from the pan.
Serving Ideas
A dusting of powdered sugar right before serving makes these look bakery worthy. The contrast against that deep red is absolutely stunning on a dessert plate.
- Fresh raspberries or strawberries alongside brighten the whole plate
- A dollop of whipped cream on top feels extra indulgent
- Coffee or cold milk is practically mandatory with these rich beauties
 Save Pin
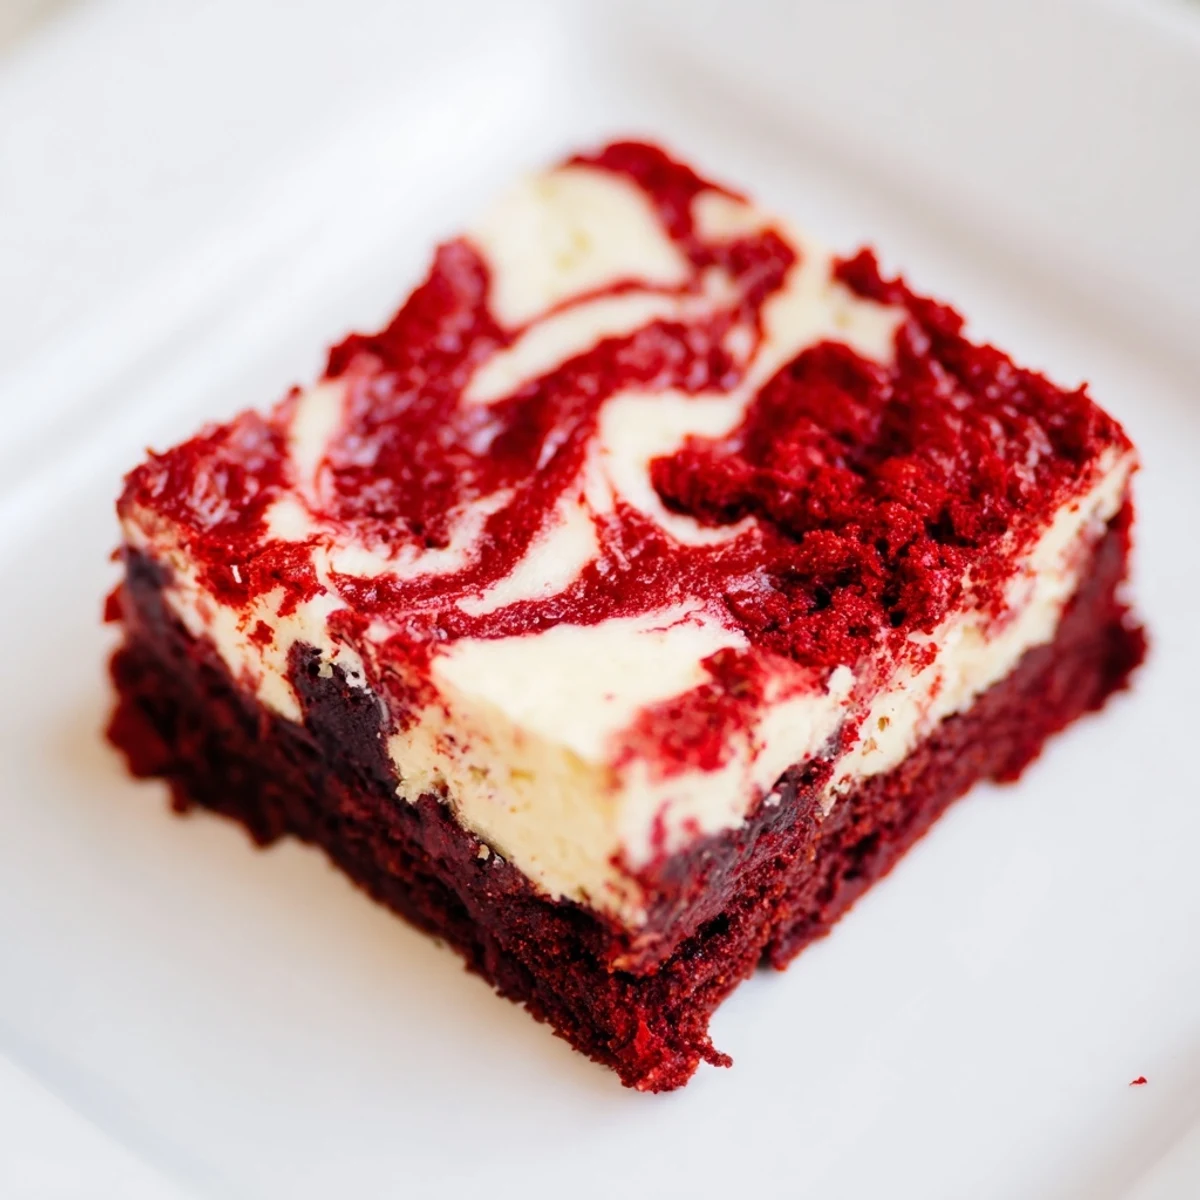
 Every time I pull these from the oven, that beautiful marbled top makes me smile. Hope they become your new go to for moments that call for something special.
Recipe Questions & Answers
- → How can I achieve the cheesecake swirl effect?
-
After pouring the brownie batter into the pan, dollop spoonfuls of the cream cheese mixture on top. Use a skewer or knife to gently swirl the two batters together, creating a marbled look.
- → What is the best pan size for baking?
-
An 8-inch square baking pan lined with parchment paper is ideal to ensure even baking and easy removal.
- → Can I add mix-ins to enhance flavor?
-
Adding mini chocolate chips to the brownie batter deepens the chocolate notes and adds texture.
- → How do I prevent overmixing the batter?
-
Fold in cocoa, flour, and salt gently until just combined to maintain a tender crumb and prevent tough brownies.
- → What’s the recommended baking time and temperature?
-
Bake at 350°F (175°C) for 33 to 36 minutes until the center is set but still moist, checked by a toothpick test.
- → Any tips for clean slicing?
-
Chill the brownies completely before slicing to achieve cleaner edges and prevent crumbling.