 Save Pin
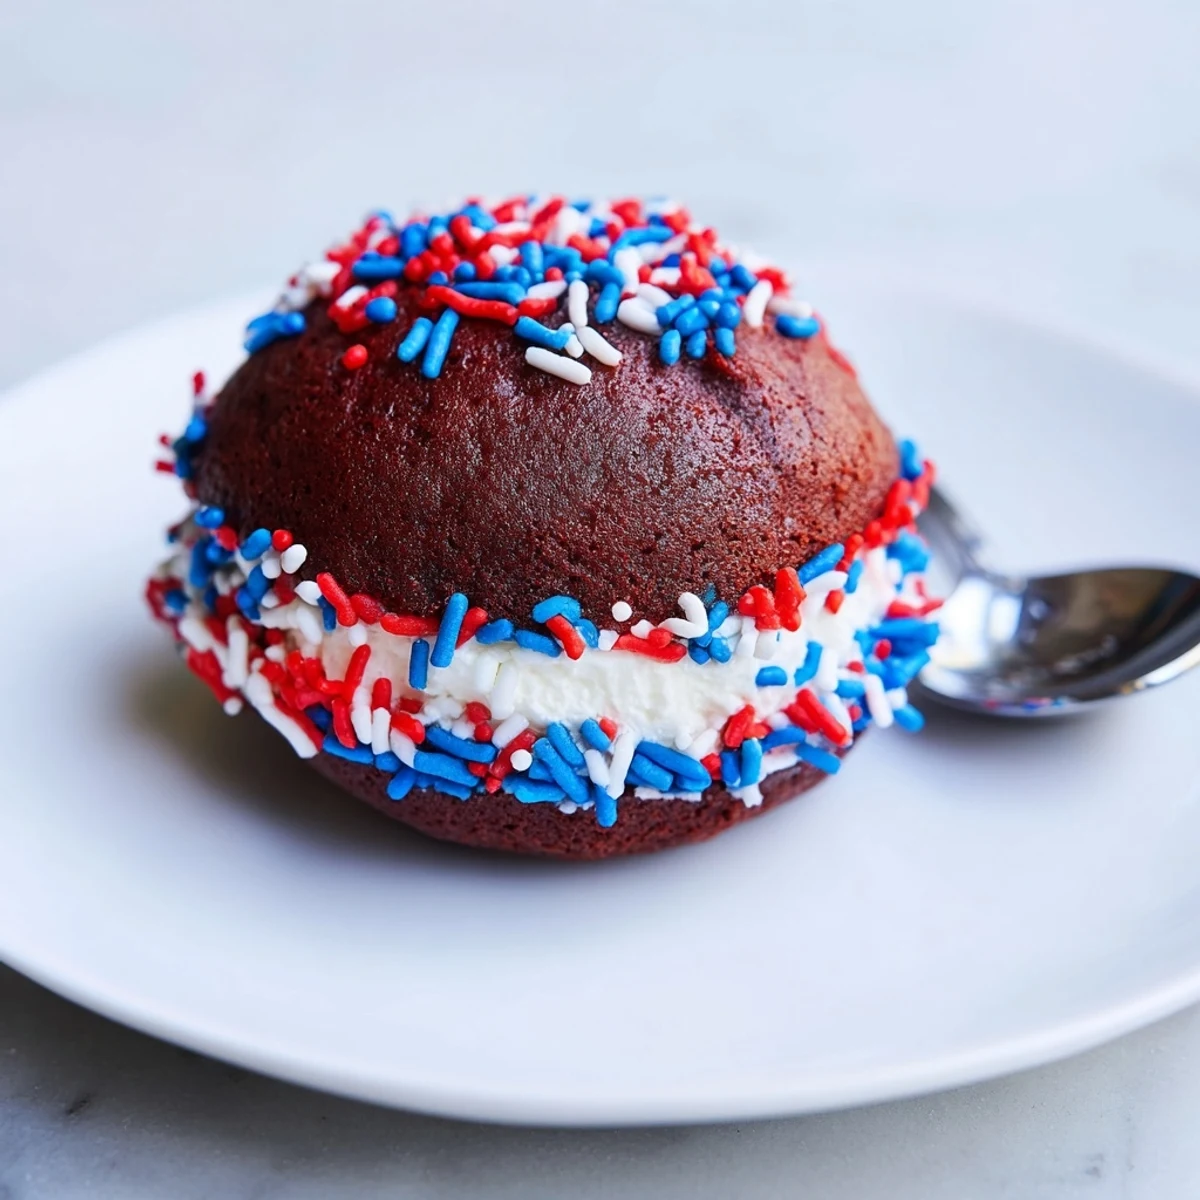
 Light, cake-like chocolate rounds bake in about 10–12 minutes; cool completely before filling. Whip butter with powdered sugar and marshmallow creme until light and fluffy, then divide into three portions and tint red and blue, leaving one white. Pipe or spoon filling onto the flat side of half the cakes, top with the remaining halves, and roll edges in patriotic sprinkles for a festive finish.
Use buttermilk for tender crumb, chill assembled sandwiches for 30 minutes for easier handling, and substitute a gluten-free flour blend if needed.
The scent of chocolate and vanilla always brings a little mischief to the kitchen, but diving into a batch of patriotic whoopie pies introduced a whole new level of playful mess. Without fail, food coloring would end up on my knuckles and somehow a sprinkle or two in my hair. The thrill of swirling red, white, and blue into the filling made these feel more like a celebration than just dessert prep. I never could resist sneaking one before the frosting had even set.
The last Memorial Day picnic I made these for, my nephew kept asking if he could "help"—which mostly meant loading his whoopie pie with sky-high sprinkles. By the end, every kid had their own unique, frosting-smeared creation, and the grown-ups were just as giddy showing off their colorful masterpieces. It was less about perfection and more about laughter and sticky hands. That was the moment this recipe became a crowd tradition.
Ingredients
- All-purpose flour: Gives the cakes structure—sifting it results in lighter, fluffier rounds.
- Unsweetened cocoa powder: Adds a deep, fudgy richness; the higher quality, the richer the flavor.
- Baking soda: Lends the cakes their signature lift and springy texture.
- Salt: Enhances chocolate notes and balances sweetness.
- Granulated sugar: For just the right level of sweetness and perfectly crisped edges.
- Unsalted butter (for cakes and filling): The backbone of both batters, softened butter ensures everything whips up smooth and light.
- Large egg: Provides structure and helps bind ingredients without making the cakes dense.
- Buttermilk: Its tang keeps the cakes supple and balanced, so don’t skip it—or add a splash of vinegar to regular milk if needed.
- Vanilla extract: Warms up the flavor in both cakes and filling—real extract always gives the best finish.
- Powdered sugar: Sweetens and firms up the filling, so it doesn’t ooze out after assembly.
- Marshmallow creme: Delivers that signature fluffy, melt-in-your-mouth whoopie pie texture.
- Red & blue food coloring: Gel formulas result in the most brilliant patriotic hues without watering down your frosting.
- Patriotic sprinkles: Opt for the crunchy varieties for extra color and a bit of fun texture in every bite.
Instructions
- Get your oven and pans ready:
- Preheat the oven to 350F (175C) and line two baking sheets with parchment so your cakes don't stick.
- Mix the dry ingredients:
- Whisk flour, cocoa powder, baking soda, and salt thoughtfully—this step saves you from surprise lumps later.
- Cream the butter and sugar:
- Beat until it looks pale and fluffy, a sign all that air will make the cakes soft.
- Finish the batter:
- Mix in the egg, then buttermilk and vanilla; slowly add your dry mix, scraping down the sides for an even batter.
- Scoop the cakes:
- Drop 24 mounds of batter, spaced apart, onto trays—a cookie scoop makes this less sticky (and more uniform).
- Bake and cool:
- Bake 10–12 minutes or until just set, then let cool fully on a rack so the filling won't melt.
- Make the filling:
- Beat butter until creamy, then add in powdered sugar, marshmallow creme, vanilla, and salt till it’s airy and light.
- Dye your colors:
- Divide into three bowls—leave one plain, tint one red and one blue using just a drop or two of gel coloring for boldness.
- Assemble the pies:
- Spoon or pipe your colorful fillings onto half the cakes, then gently sandwich with the others.
- Decorate and chill:
- Roll the edges in patriotic sprinkles or add a swirl of frosting on top; chill assembled whoopie pies 30 minutes for cleaner bites.
 Save Pin
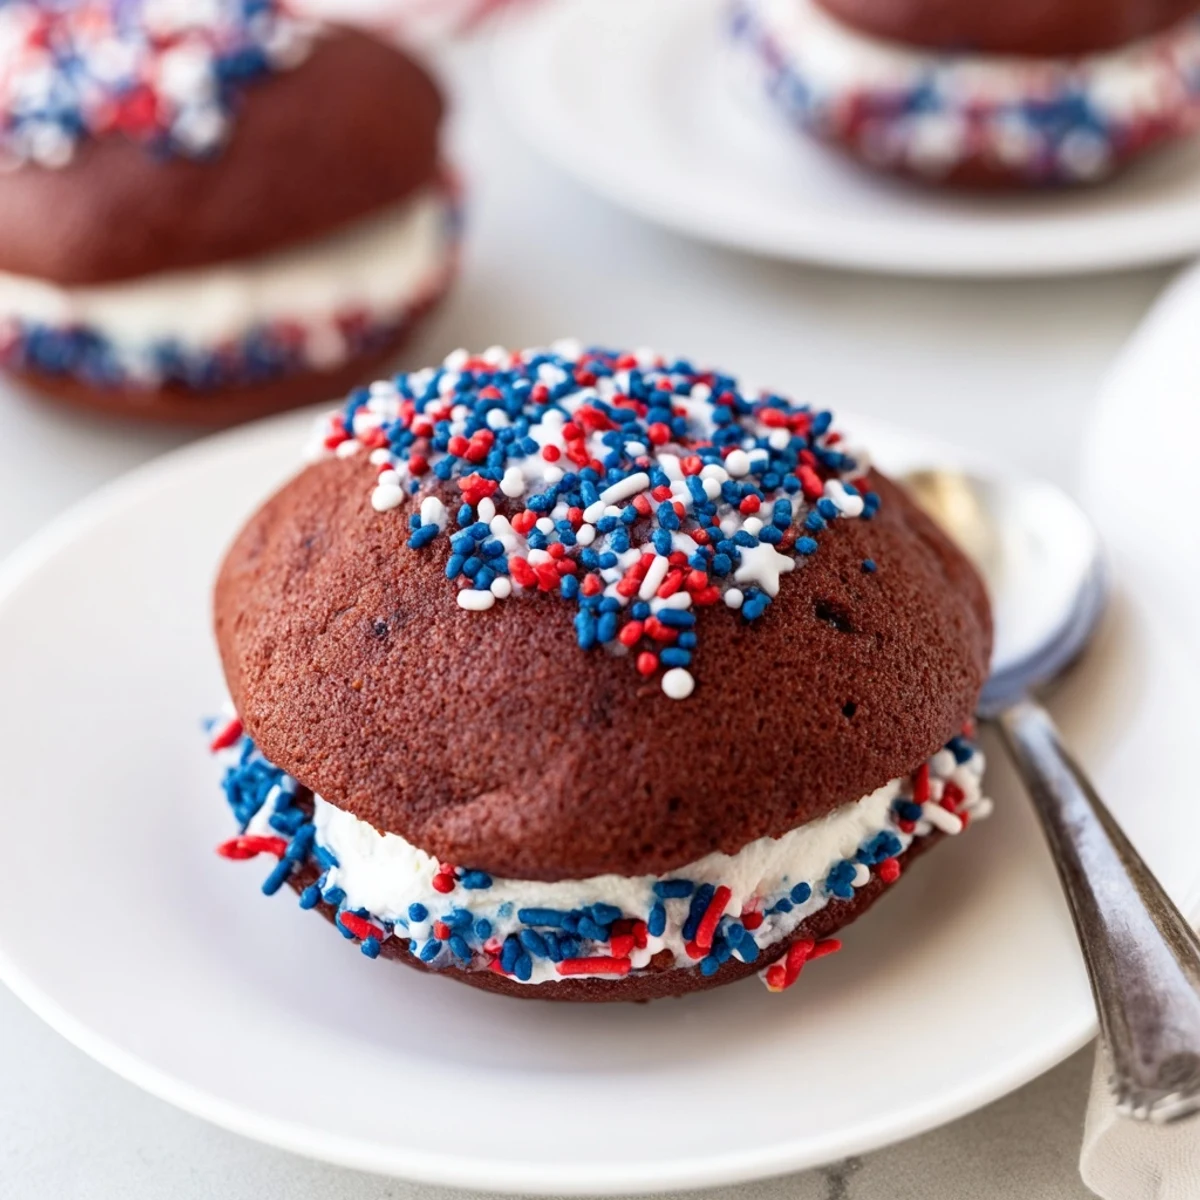
 During our last 4th of July backyard fireworks, a neighbor asked for the recipe after biting into one of these—her face streaked with blue frosting and laughter. That's when I realized these little cakes bring people together faster than any sparkler or parade.
Mess Management for Kitchen Joy
I learned the hard way that decorating with sprinkles can quickly escalate into a kitchen-wide sprinkle spill. Keep a shallow tray underneath when you’re rolling the whoopie pie edges to catch the extras. Kids love being assigned sprinkle duty—it keeps them busy, a little less messy, and ensures no sprinkle goes to waste.
Filling Swirl Secrets
If you want picture-worthy swirl fillings, try loading a piping bag with both colors side by side for a marbled effect. The simplest method is a small spatula or even a butter knife, gently swirling the red, white, and blue in bold streaks. Every pie comes out a little unique, and that's half the fun of it.
Making Ahead and Storage Smarts
Whoopie pies are perfect for prepping a few hours or even a day ahead—the chilling time actually lets flavors meld together. For best texture, keep them stored in an airtight container in the fridge, but let them warm up a few minutes before serving for pillowy softness.
- If you plan extras, layer parchment between the pies so they don’t stick together.
- Freeze unfilled cakes for last-minute patriotic snacking all summer.
- Vibrant food coloring may stain, so keep kitchen towels nearby for easy cleanup.
 Save Pin
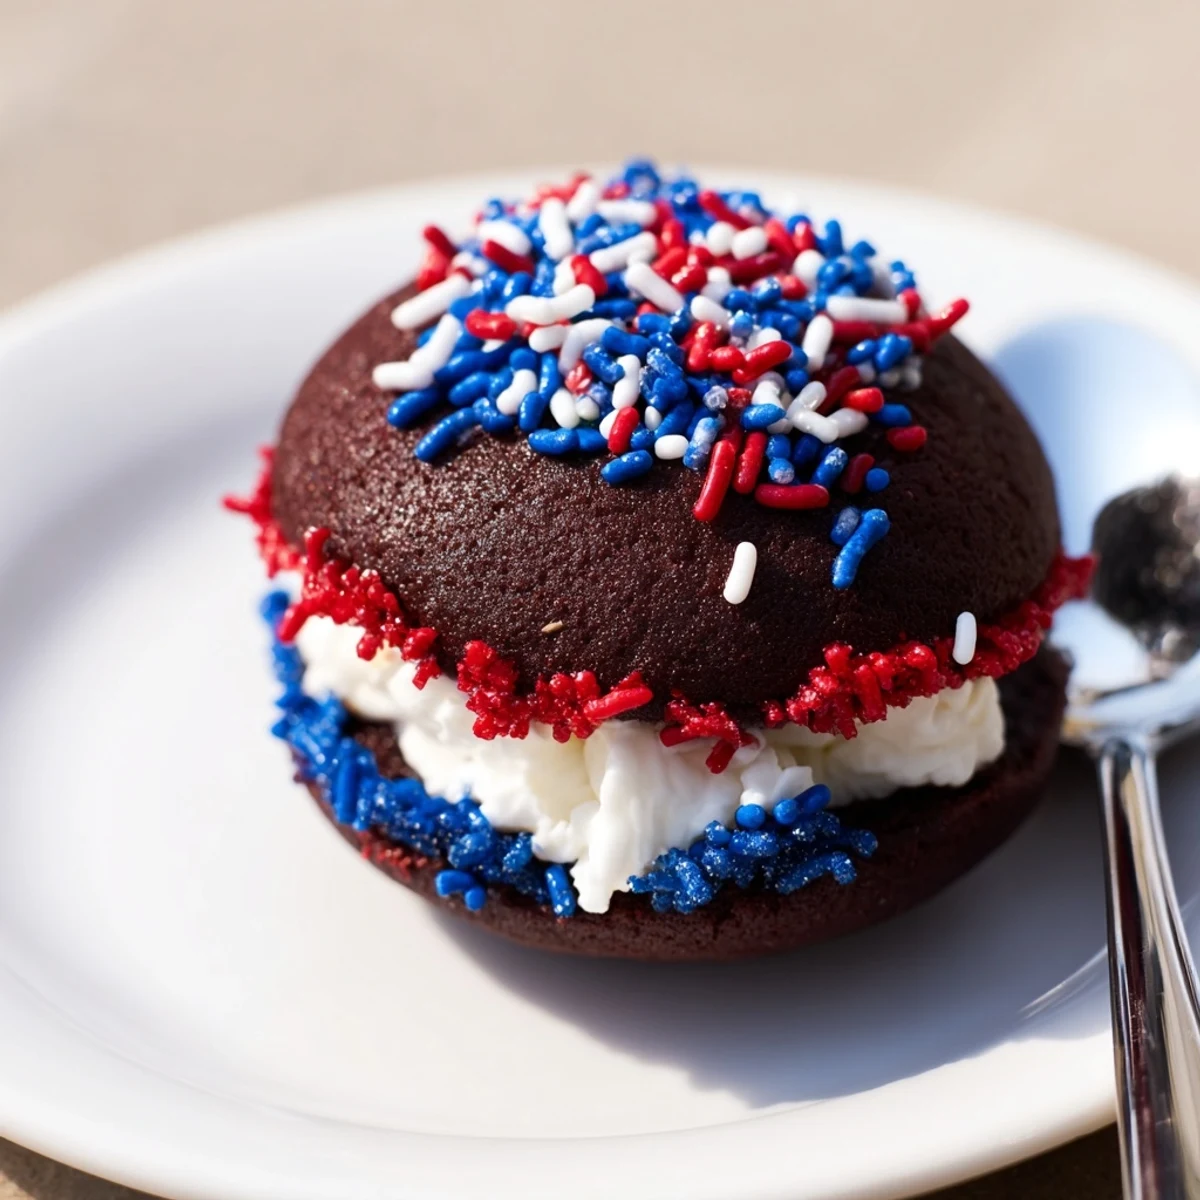
 These whoopie pies always turn a simple celebration into a colorful memory. Take your time, enjoy the swirl of frosting, and watch as every bite brings a little extra holiday cheer.
Recipe Questions & Answers
- → How do I get vibrant red and blue colors without thinning the filling?
-
Use gel or paste food coloring, which delivers strong color without adding extra liquid. Add a little at a time and stir until evenly tinted to maintain the buttercream's consistency.
- → What texture should the cake rounds have when finished baking?
-
The cakes should be soft and springy to the touch, set around the edges but yielding slightly in the center. Bake 10–12 minutes and allow them to cool completely on a rack before assembling.
- → Can I make the filling ahead of time?
-
Yes. Store the marshmallow buttercream in an airtight container in the refrigerator for up to 3 days. Bring to room temperature and re-whip briefly before tinting and using to restore its light texture.
- → What’s the best way to assemble for clean edges?
-
Pipe a neat dollop of filling onto the flat side of one cake using a piping bag or zip-top bag with the corner snipped. Press a second cake on top gently, then roll the edges in sprinkles or pipe a decorative border.
- → How do I adapt the cakes for gluten-free diets?
-
Replace the all-purpose flour with a 1:1 gluten-free flour blend that contains xanthan gum, and check mixability. Texture may vary slightly; allow the batter to rest briefly if needed before portioning.
- → Can these be frozen and how should I thaw them?
-
Freeze assembled whoopie sandwiches in a single layer on a tray, then transfer to an airtight container for up to 1 month. Thaw in the refrigerator overnight, then bring to room temperature before serving for best texture.