 Save Pin
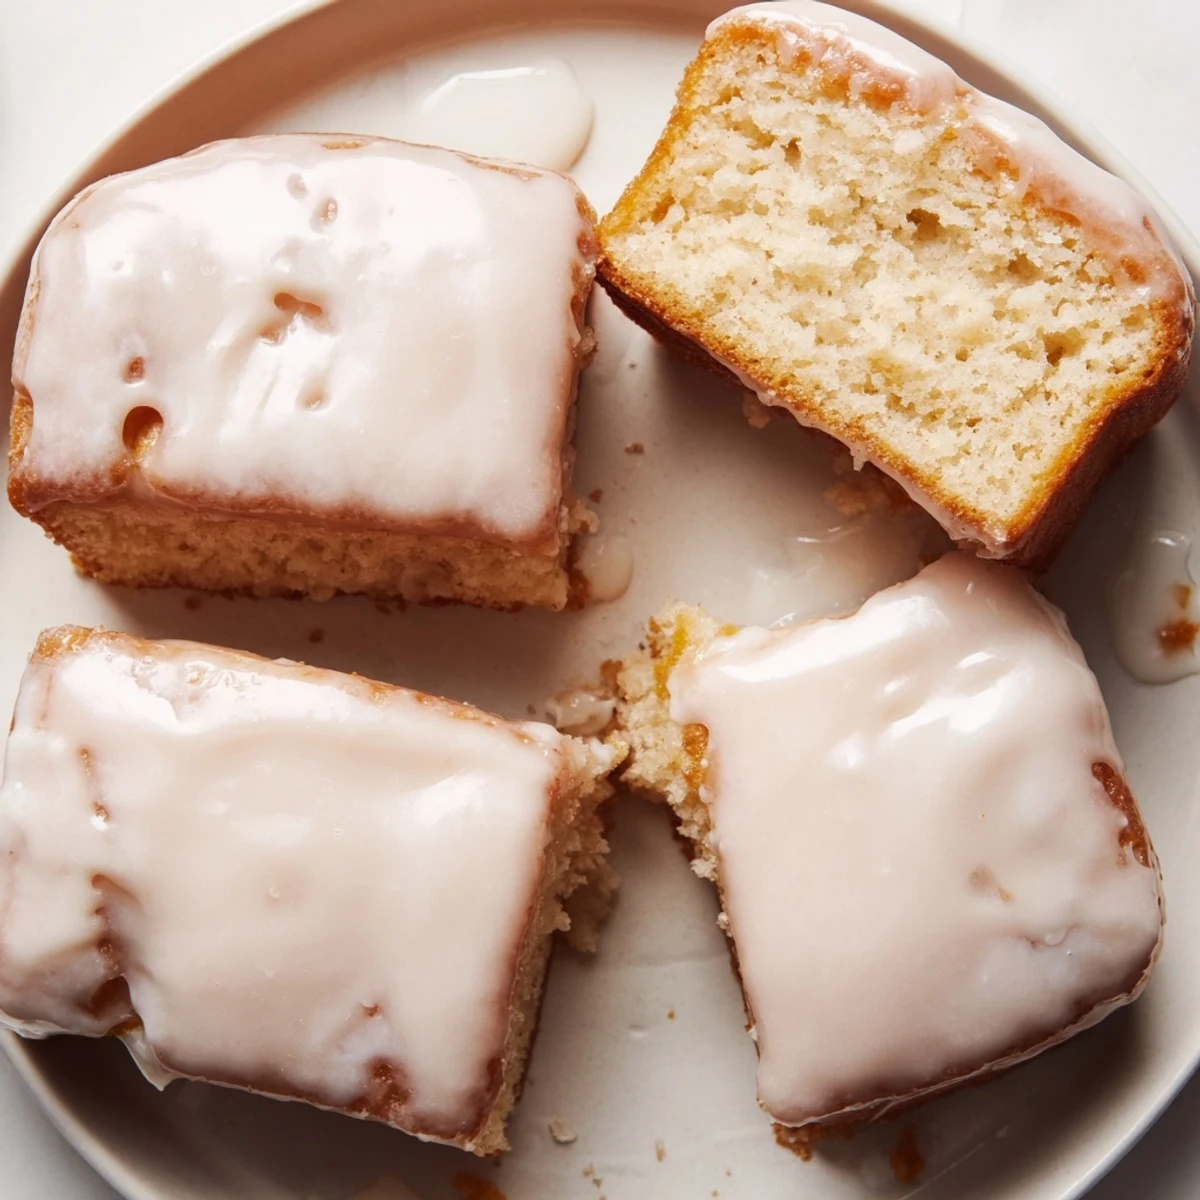
 These soft, yeast-raised bars combine fluffy dough with a luscious maple glaze for a delightful treat. The dough rises slowly to develop its pillowy texture before being fried to golden perfection. A smooth maple topping enhances every bite with natural sweetness, perfect for breakfast or a satisfying snack. Variations include baking the bars for a lighter finish. Enjoy best fresh but they keep well for a couple of days when stored in an airtight container.
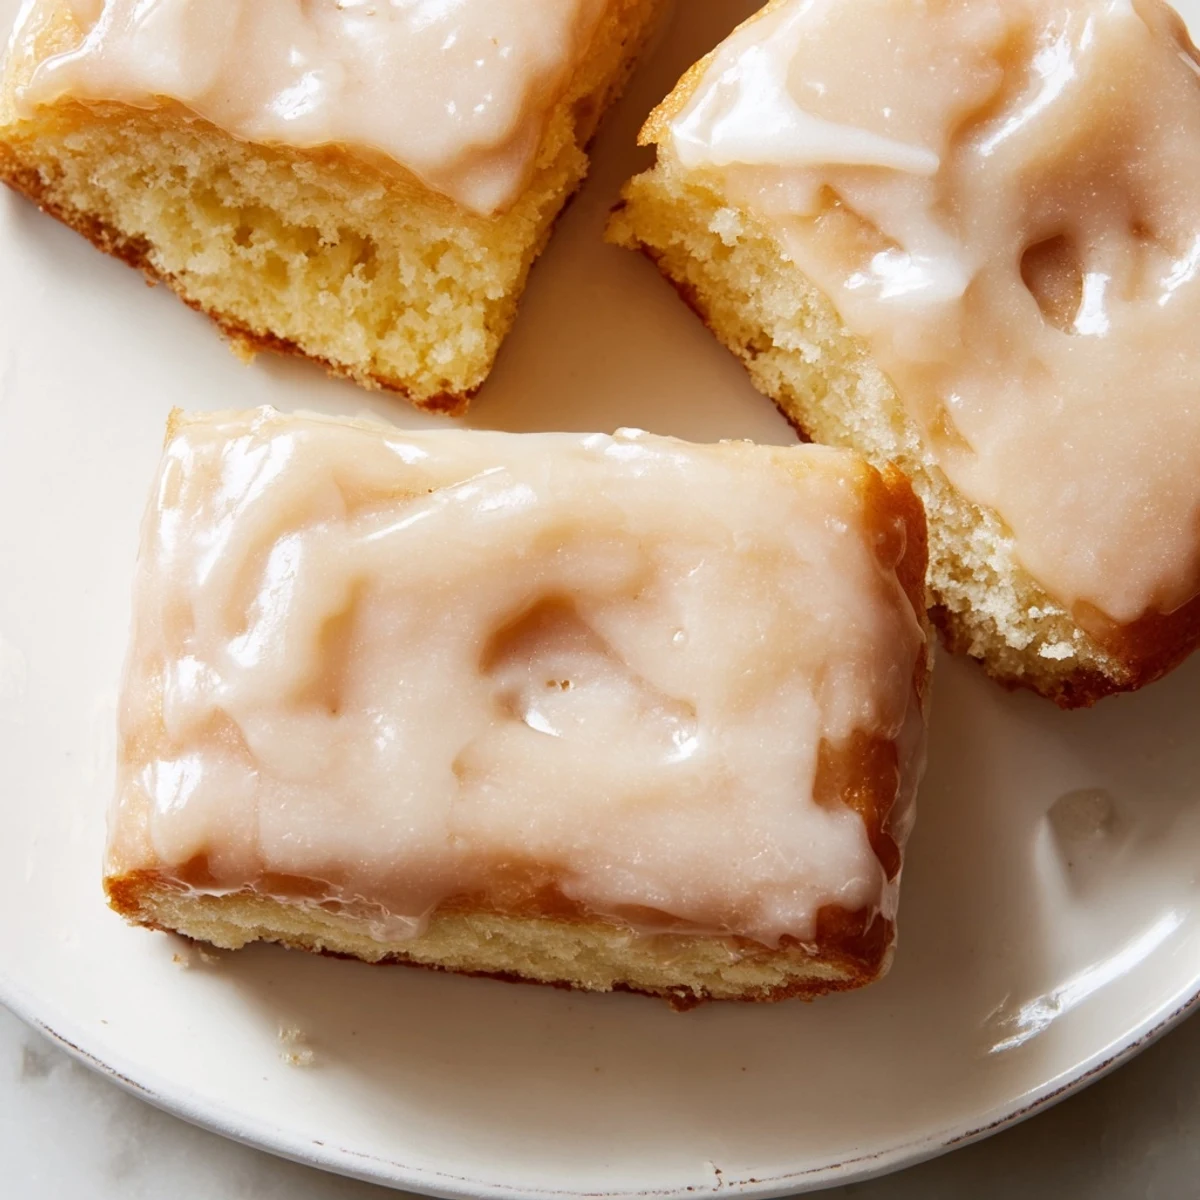
The smell of warm maple always takes me back to my grandmother's kitchen in Vermont, where she'd keep a bottle of real syrup on the counter year round. I never understood why she insisted on the good stuff until I tried making these donut bars with the cheap imitation syrup and ended up with a glaze that tasted like chemicals. Now I keep a gallon of Grade B dark amber in my pantry just for moments like this, when nothing but that deep caramel maple flavor will satisfy the craving.
My roommate walked in while I was testing this recipe and actually stopped dead in her tracks, asking what bakery I'd raided. We ate half the batch standing at the counter while they were still warm, and I knew right then these would be my go to for everything from birthday mornings to comforting friends after bad news. The way the glaze drips down the sides while they cool is almost too pretty to eat, almost.
Ingredients
- All purpose flour: Bread flour would make these too chewy, and cake flour would give them a strange texture, so stick with regular all purpose for that perfect pillowy crumb
- Active dry yeast: Make sure your milk and water are warm but not hot, around 110 degrees, or you'll kill the yeast before it can work its magic
- Whole milk: The fat content here matters for tenderness, so don't swap for skim milk or your bars will turn out tough and dry
- Unsalted butter: Melted butter coats the protein strands in the dough differently than softened butter would, creating those tender layers that make these so special
- Pure maple syrup: This is not the place for imitation, because real maple syrup has complex flavor notes that artificial versions just cannot replicate
- Powdered sugar: Sift it first or your glaze will have lumps that look like little rocks in the smooth maple coating
Instructions
- Wake up the yeast:
- Combine your warmed milk and water with the yeast in a large bowl, watching for that foamy layer that tells you it's alive and ready to work
- Build the dough:
- Add the sugar, melted butter, eggs, and salt to the yeast mixture, then gradually incorporate the flour until you have a soft, slightly sticky dough that feels like your earlobe when you poke it
- Knead until smooth:
- Work the dough for 5 to 7 minutes, either in your stand mixer or by hand, until it passes the windowpane test and feels silky and elastic
- Let it rise:
- Place the dough in a greased bowl, cover it with plastic wrap, and find the warmest spot in your kitchen for it to double in size over the next hour or so
- Shape into bars:
- Roll the dough to a half inch thickness and cut rectangles that are about 4 inches long and one and a half inches wide, placing them on parchment to puff up again
- Fry until golden:
- Heat your oil to 350 degrees and fry the bars for about 2 minutes per side, watching for that perfect deep golden color that tells you they're cooked through
- Glaze while warm:
- Whisk together the powdered sugar, maple syrup, milk, vanilla, and salt until smooth, then dip the tops of your slightly cooled donut bars into the glaze and let them set on a wire rack
 Save Pin
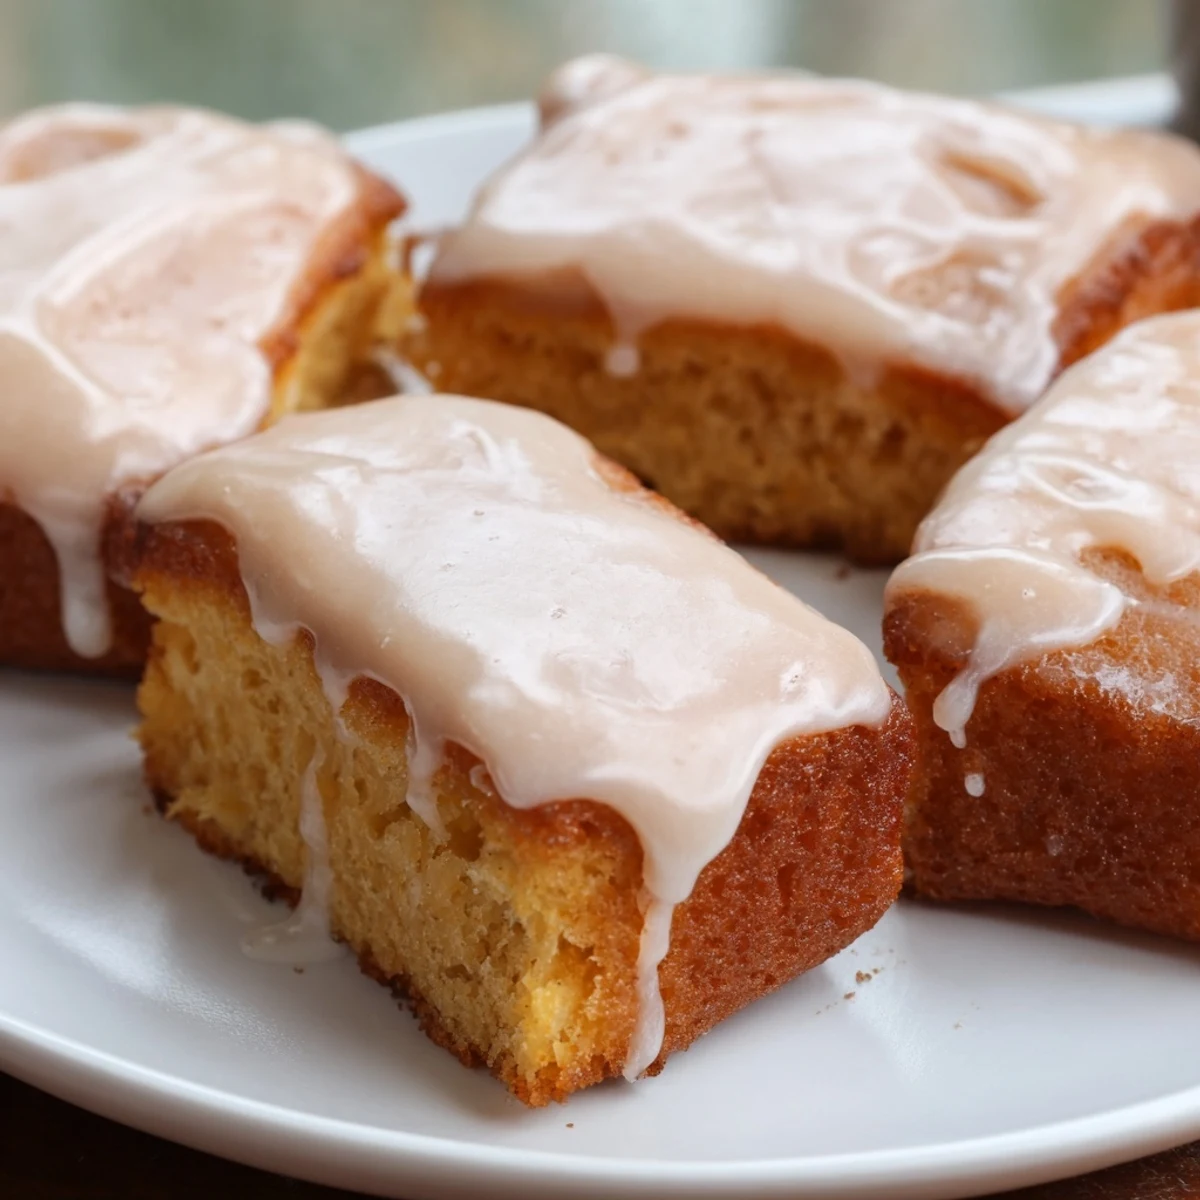
 Last fall I made a triple batch for my son's school bake sale and they sold out in ten minutes flat. One mom actually tracked me down later that week begging for the recipe, saying her daughter had been talking about maple donut bars nonstop. That's when I realized these weren't just another breakfast treat, they were the kind of recipe that becomes part of someone's family story.
Frying Like a Pro
Invest in a good kitchen thermometer because guessing oil temperature is a fast way to ruin these bars. I use a cast iron Dutch oven because it holds heat steady better than thin pots, and I never fry more than three or four bars at once so the oil doesn't cool down too much. The difference between a greasy, sad donut and a perfectly crisp one is literally five degrees.
Making Them Ahead
You can actually cut and freeze the shaped dough after the first rise, then let them thaw and do their second rise whenever you're ready to fry. I've done this the night before a brunch and woke up to puffy, ready to fry dough that made me look like a kitchen magician. Just don't glaze them until after you've fried them, or the texture will get weird and soggy.
Troubleshooting Your Glaze
If your glaze is too thick, add more milk one teaspoon at a time until it flows like warm honey. Too thin and you'll need more powdered sugar to help it set properly on the bars. The humidity in your kitchen affects this more than you'd think, so trust your eyes and adjust accordingly.
- Let the bars cool for at least 10 minutes before glazing or the glaze will slide right off
- If glaze starts to harden while you're working, microwave it for 10 seconds to loosen it back up
- Set glazed bars on parchment paper to catch the drips and save yourself from cleaning a sticky mess
 Save Pin
 There's something almost magical about pulling that first batch of golden donut bars out of the oil and watching the maple glaze drip down the sides. These are the kind of treats that turn ordinary mornings into celebrations, creating little moments of joy that stick with you long longer than the sugar rush lasts.
Recipe Questions & Answers
- → What makes the bars so soft and fluffy?
-
The combination of yeast fermentation and proper dough resting times allows the dough to rise fully, creating a light and pillowy texture.
- → Can I bake the bars instead of frying them?
-
Yes, baking at 375°F for 12–15 minutes produces a golden brown, slightly lighter texture while maintaining the rich maple flavor.
- → How is the maple glaze prepared?
-
The glaze is made by whisking powdered sugar with pure maple syrup, milk, vanilla extract, and a pinch of salt until smooth and glossy.
- → What oil temperature is best for frying?
-
Heat vegetable oil to 350°F (175°C) to ensure the bars fry evenly with a golden crust without absorbing excess oil.
- → How should the bars be stored after preparation?
-
Store in an airtight container at room temperature and consume within two days for optimal freshness and flavor.