 Save Pin
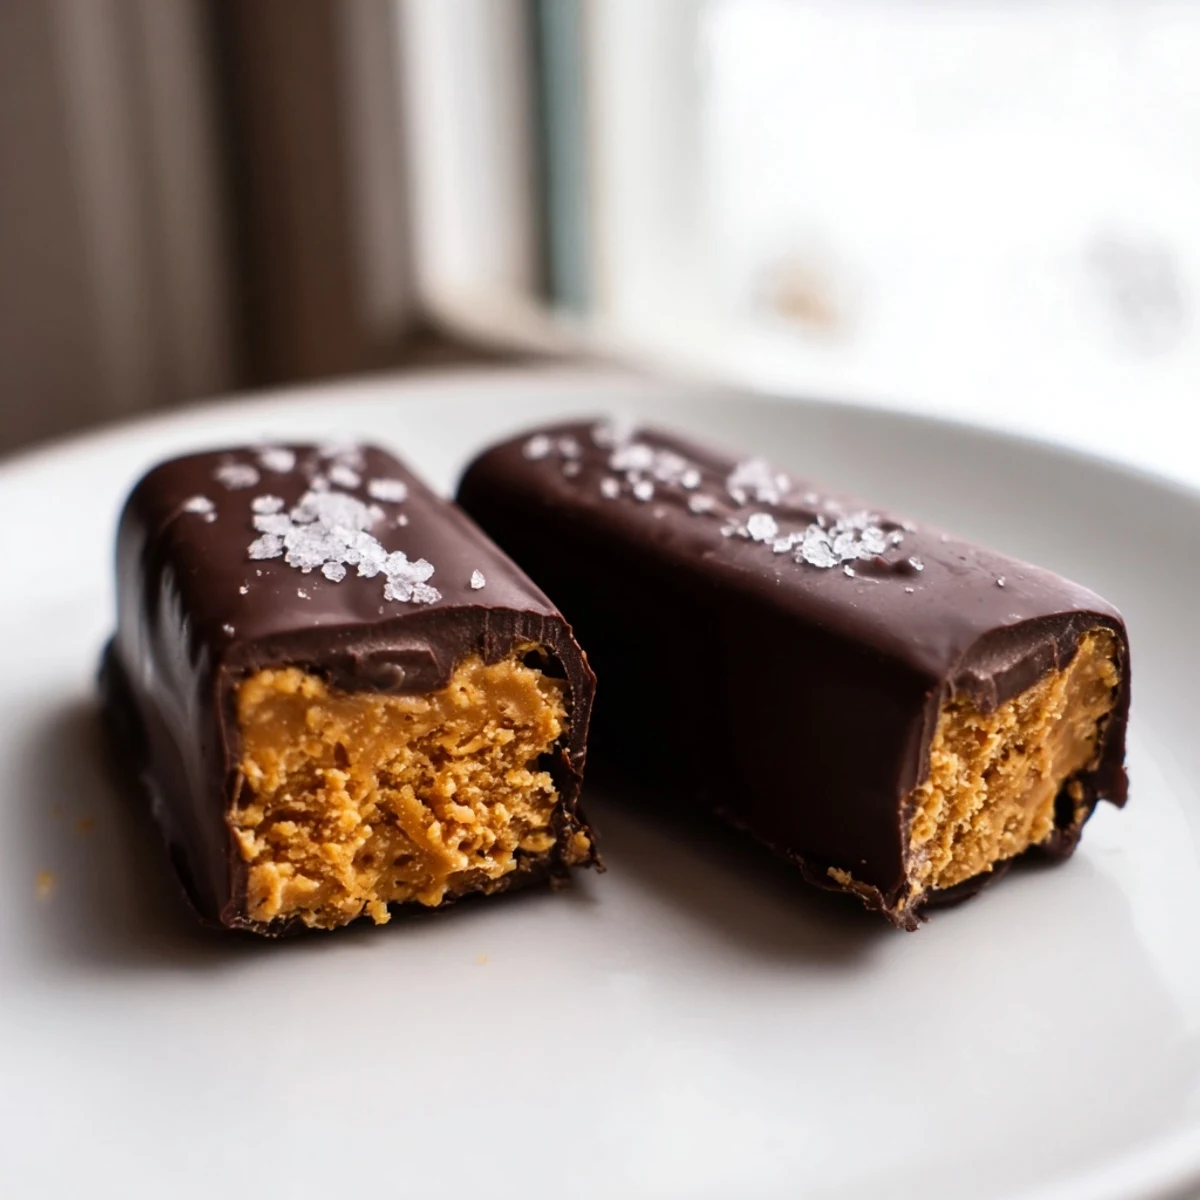
 These healthy homemade Butterfingers deliver all the crunchy, chocolatey satisfaction of the classic candy bar with wholesome ingredients you can feel good about.
A simple peanut butter and maple syrup mixture binds lightly crushed corn flakes into a crisp, nougat-like center. After a quick chill in the freezer, each bar gets dipped in melted dark chocolate and refrigerated until perfectly set.
Ready in about an hour with no baking required, these bars are naturally vegetarian and easily made vegan and gluten-free. They store well in the fridge for up to a week or can be frozen for longer shelf life, making them perfect for meal prep or guilt-free snacking throughout the week.
The candy aisle at the grocery store always calls my name around Halloween, but one year I decided to see if I could recreate that iconic peanut butter and chocolate crunch at home without the ingredient list reading like a chemistry experiment. These healthy homemade Butterfingers were born that afternoon, and honestly, they vanished faster than the store bought version ever did. The secret is crushed corn flakes, which give you that satisfying snap and crunch without any frying or candy thermometers.
I brought a batch of these to a friends game night and watched three people argue about whether they were actually from a candy shop before I confessed. The trick is getting the chocolate coating thin and snappy, which the coconut oil handles beautifully. My friend Maria now texts me every few weeks asking when I am making them again.
Ingredients
- Natural creamy peanut butter (1 cup): Use the kind with just peanuts and salt on the label, no added oils or sugars, because it melts more smoothly and lets the maple syrup do the sweetening.
- Pure maple syrup or honey (1/2 cup): Maple syrup keeps the flavor round and warm, but honey works just as well if that is what you have on hand.
- Corn flakes, lightly crushed (2 cups): Do not crush them into dust, you want small shards that still have some structure, since that is what creates the signature Butterfinger texture.
- Dark chocolate chips, at least 70 percent cacao (1 1/2 cups): The higher cacao percentage balances the sweet peanut butter center and gives you that glossy snap when you bite in.
- Coconut oil (1 tablespoon): This is the magic ingredient that thins the chocolate into a proper dipping coating that hardens with a satisfying shell.
Instructions
- Prepare your pan:
- Line an 8 by 8 inch baking dish with parchment paper, leaving some overhang on the sides so you can lift the whole slab out later without breaking it.
- Melt the base:
- In a medium saucepan over low heat, stir the peanut butter and maple syrup together constantly for about two to three minutes until the mixture is completely smooth and starts to glisten.
- Fold in the crunch:
- Take the pan off the heat immediately and gently fold in the crushed corn flakes with a spatula, being careful not to overwork them into crumbs as you want that airy, crunchy texture preserved.
- Press and freeze:
- Transfer the mixture to your lined dish and press it down firmly and evenly with your hands or the back of a spoon, then freeze for twenty to thirty minutes until it holds its shape when pressed.
- Melt the chocolate:
- Set a heatproof bowl over a pan of barely simmering water and stir the chocolate chips with the coconut oil until the mixture is completely smooth and glossy, making sure no water gets into the bowl.
- Cut and dip:
- Lift the frozen peanut butter slab out of the dish and cut it into twelve bars, then use a fork to dip each one into the chocolate, tapping gently to let the excess drip off before placing them on a parchment lined tray.
- Chill to set:
- Refrigerate the coated bars for at least twenty minutes until the chocolate shell is firm to the touch and gives a clean snap when you break one in half.
 Save Pin
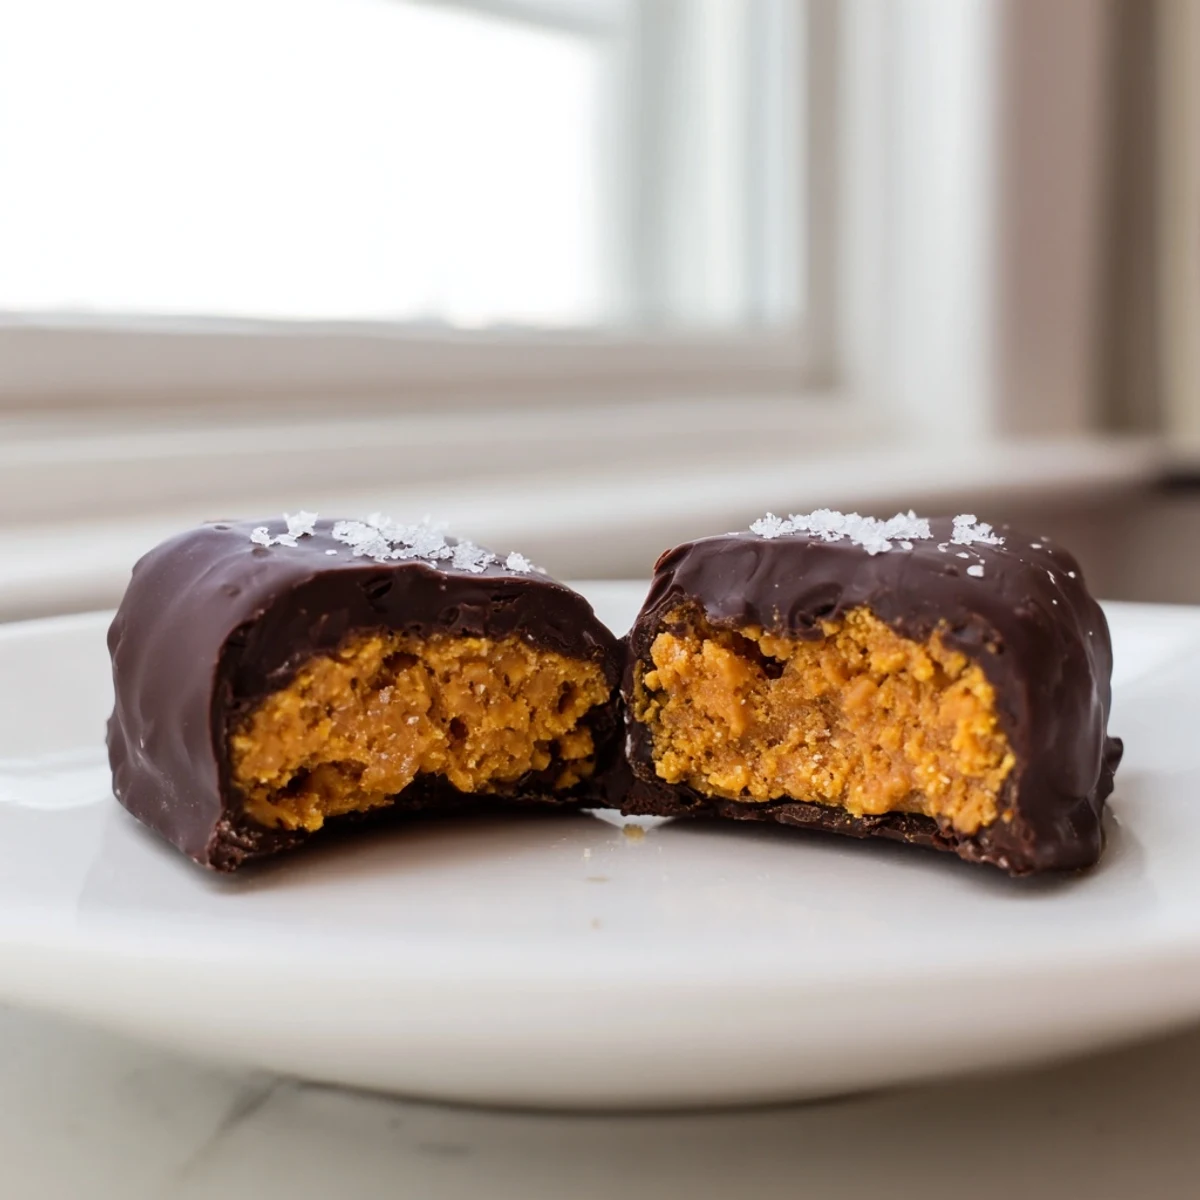
 The moment that truly hooked me was biting into the first fully set bar and hearing that crisp snap of dark chocolate give way to the crumbly peanut butter center. It transported me straight back to emptying my Halloween pillowcase on the living room floor as a kid, sorting candy into piles.
Making Them Your Own
Almond butter works beautifully in place of peanut butter if you need a school safe version, though the flavor is slightly more delicate. Sunflower seed butter is another great option and gives a roasty depth that surprises people. I once swirled a little tahini into the peanut butter base on a whim and the sesame notes were incredible with the dark chocolate.
Storage and Freshness
Keep these bars in an airtight container in the refrigerator and they stay perfect for up to a week, though in my house they never last that long. You can also freeze them layered between sheets of parchment for up to three months. Let frozen bars sit at room temperature for about ten minutes before eating so the chocolate shell softens just slightly.
A Few Final Thoughts
These bars are forgiving and friendly, which makes them a perfect weekend project with kids or anyone who claims they cannot make candy at home. A few small details make the difference between good and great.
- A light sprinkle of flaky sea salt on top of each bar right after dipping elevates the flavor dramatically.
- Crush the corn flakes inside a zip top bag with a rolling pin for the most even texture.
- Always taste your peanut butter before starting, since natural brands vary widely in salt content and that affects the whole bar.
 Save Pin
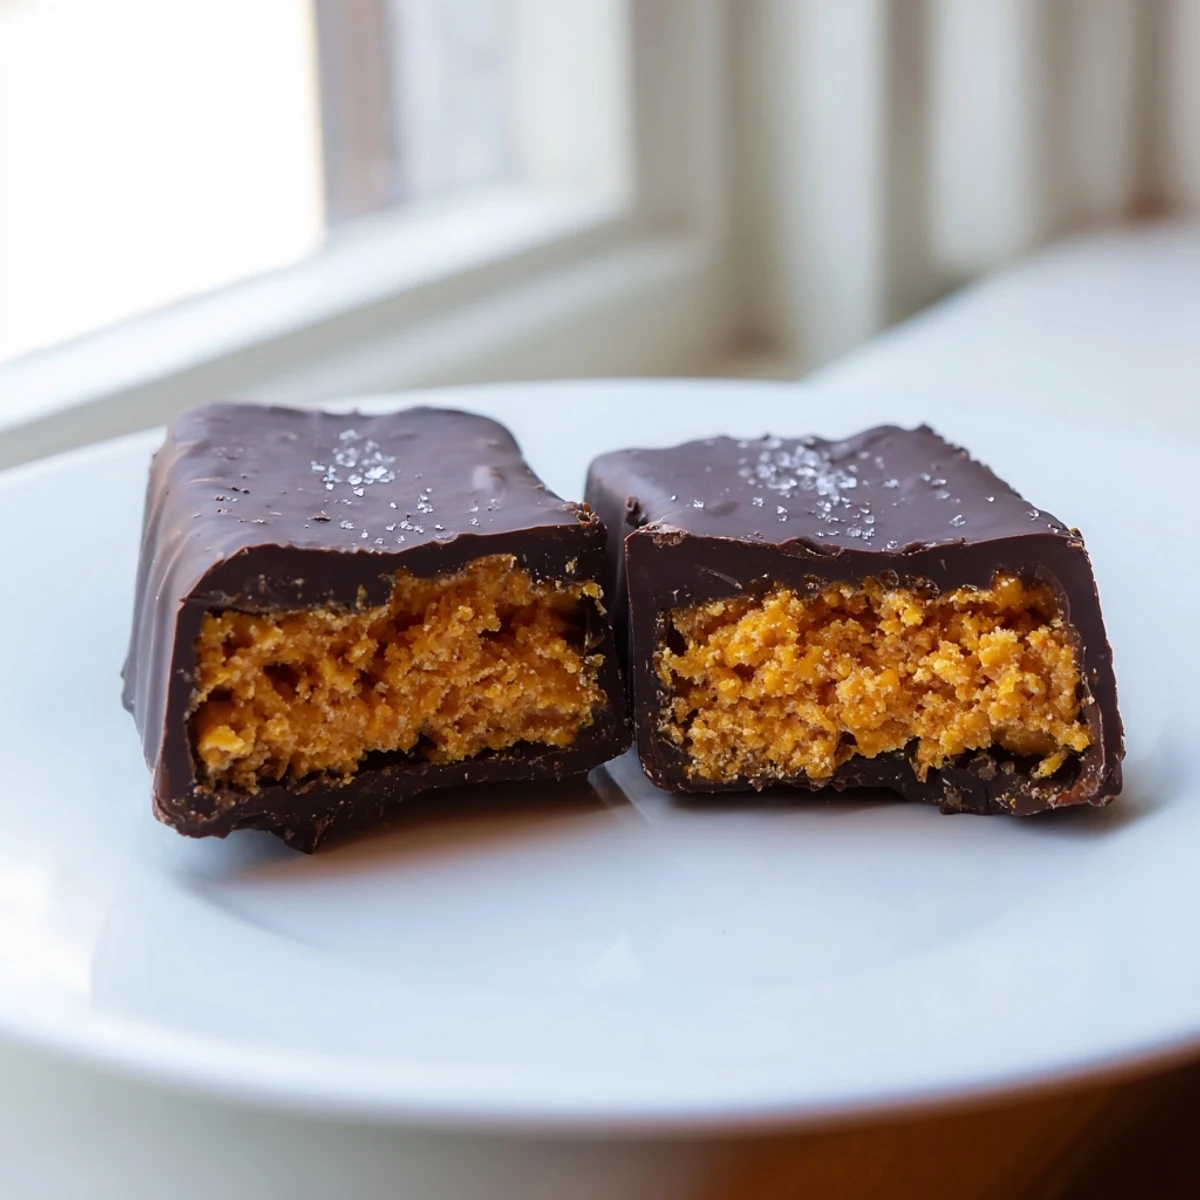
 Share these with someone who swears they could never make homemade candy, and watch their face light up at that first crunchy bite. They just might become your most requested treat.
Recipe Questions & Answers
- → Can I make these Butterfingers bars vegan?
-
Yes, simply use maple syrup instead of honey and choose dairy-free dark chocolate chips. Most dark chocolate with 70% cacao or higher is naturally dairy-free, but always check the label to be sure.
- → What can I substitute for peanut butter?
-
Almond butter or sunflower seed butter both work well as peanut-free alternatives. Sunflower seed butter is a great nut-free option for those with allergies, though it may slightly alter the flavor profile.
- → How should I store these chocolate-covered bars?
-
Store the bars in an airtight container in the refrigerator for up to one week. For longer storage, freeze them for up to three months. Let frozen bars thaw in the refrigerator for a few hours before enjoying.
- → Can I use milk chocolate instead of dark chocolate?
-
Absolutely. Milk chocolate or semi-sweet chocolate chips can replace the dark chocolate coating. Keep in mind that milk chocolate will increase the sweetness, so adjust based on your preference.
- → Why do my corn flakes need to be lightly crushed?
-
Lightly crushing the corn flakes creates the signature crispy, crunchy texture reminiscent of traditional Butterfingers. If left whole, the bars may be too airy and difficult to cut. Over-crushing into fine crumbs will lose that satisfying crunch.
- → Are these bars gluten-free?
-
They can be. Use certified gluten-free corn flakes and verify that your chocolate chips are processed in a gluten-free facility. All other ingredients in this version are naturally free of gluten.