 Save Pin
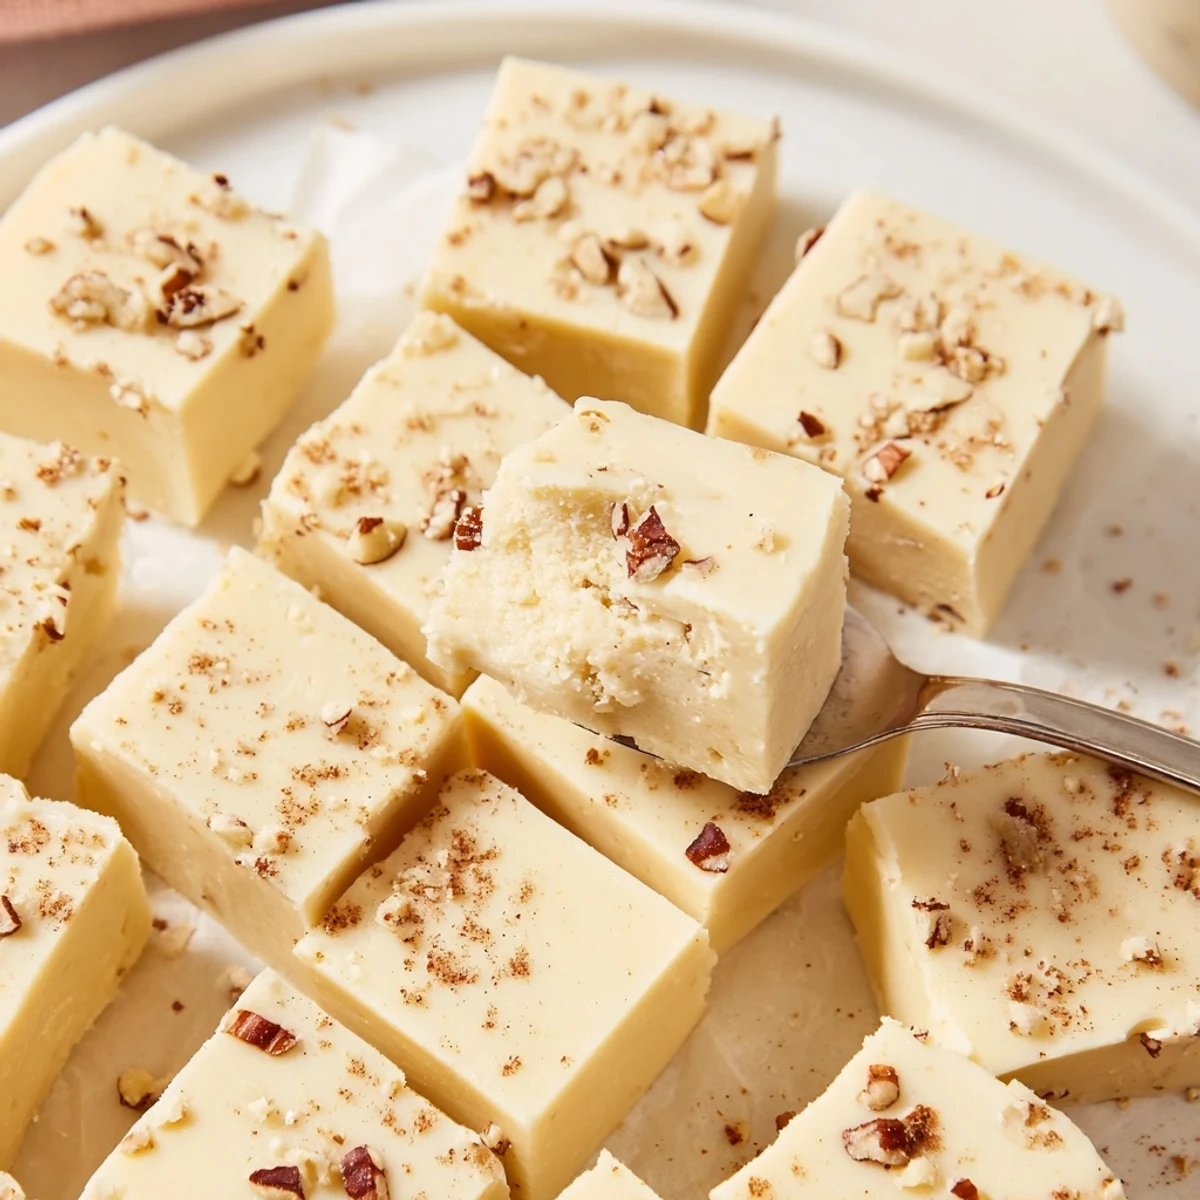
 A quick method for creamy eggnog-infused white chocolate fudge: heat butter, eggnog and sugar to a gentle boil, simmer briefly, then stir in white chocolate, nutmeg, cinnamon and vanilla until smooth. Pour into an 8x8 pan, top with grated nutmeg, cool at room temperature, then chill until firm. Trim into 36 squares. Optional: fold in chopped pecans or a splash of spiced rum for depth. Store chilled up to one week.
The first time this eggnog fudge filled my kitchen with a sweet, spicy aroma, it was a frosty December afternoon and I had music humming while I prepped gifts. The sharp scent of nutmeg clung to my fingers as I sprinkled it over the warm, glossy fudge, making the house smell like a blend of winter and anticipation. I grinned when my neighbor knocked, drawn in by the mingling notes of vanilla and cinnamon drifting down the hallway. With its creamy, melt-in-your-mouth texture, this fudge quickly became the kind of treat I wanted to make as much for myself as for gift boxes.
I remember once, pressed for time before a holiday get-together, I whipped up a batch in the late afternoon—still in my slippers and laughing at my own reflection in the microwave door as I waited for the butter to melt. The fudge set just in time to be sliced into perfect squares, and someone declared it the 'star of the dessert tray' before I even had my shoes on.
Ingredients
- White chocolate chips: These melt down into a smooth, sweet base—make sure to use good quality chips for a fudgier texture.
- Unsalted butter: Adds richness without making the fudge too salty; let it soften for easier melting.
- Eggnog: The star flavor—try to use full-fat, real eggnog for depth, not a watery substitute.
- Granulated sugar: Sweetens everything and helps achieve that glossy finish; don’t be tempted to cut back here.
- Ground nutmeg: Freshly ground if possible—this is what makes it taste unmistakably like eggnog.
- Ground cinnamon: Just a hint, but it sends the warmth over the edge.
- Pure vanilla extract: Adds balance and enhances the eggnog flavor.
- Freshly grated nutmeg (optional): The finishing touch; grating it yourself just before serving brings out the oils and aroma.
Instructions
- Prep Your Pan:
- Line your 8x8 pan with parchment paper, leaving a generous overhang so you can effortlessly lift the fudge later.
- Melt the Base:
- In a saucepan, combine butter, eggnog, and sugar, stirring as the mixture turns glossy and bubbly—listen for that soft hiss when it reaches a boil.
- Simmer Until Syrupy:
- Reduce to low and stir patiently for about 5 minutes—the mixture should smell caramel-sweet and thicken slightly.
- Stir in the Flavor:
- Take the pot off the heat and add white chocolate chips, nutmeg, cinnamon, and vanilla; stir fast as the chips dissolve into silky smoothness.
- Pour and Smooth:
- Quickly scrape the fudge into your prepared pan and spread the top with a spatula—it sets faster than you expect.
- Add a Sparkle:
- Sprinkle with lots of fresh nutmeg for a sparkly finish, if you want extra festive flair.
- Cool and Set:
- Let the pan cool, then chill it in the fridge for a couple of hours; resist peeking, it’s worth the wait!
- Slice and Savor:
- Once set, lift it out and cut into neat squares—promise yourself you won’t eat too many before sharing.
 Save Pin
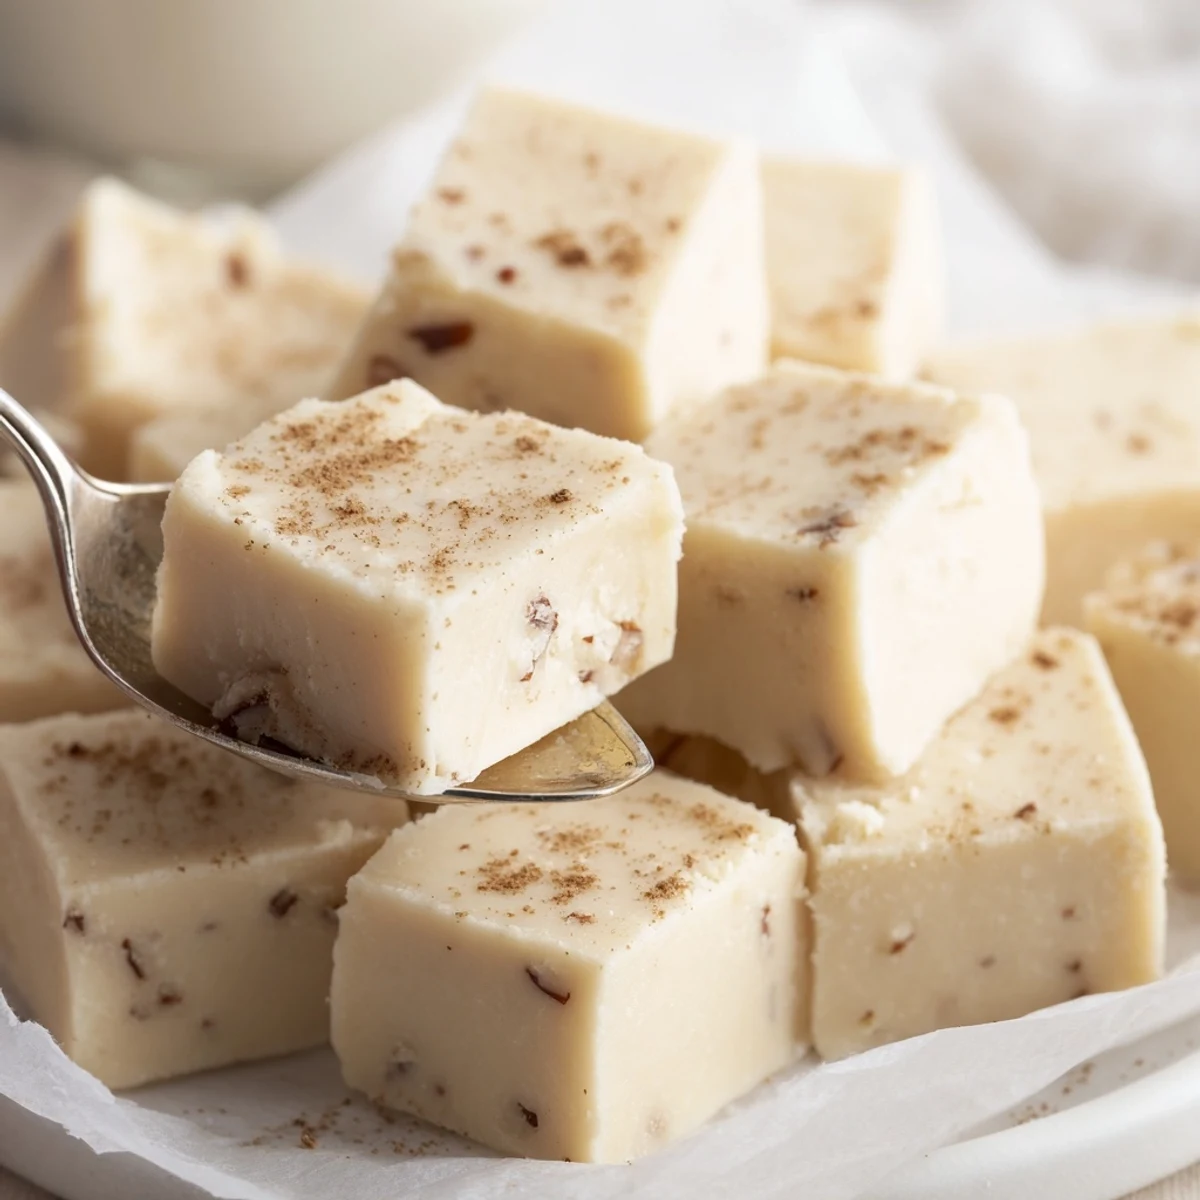
 There’s a certain kind of joyful chaos in the kitchen when you set out a plate of this fudge during a party; people always hover, pretending not to sneak an extra piece. That first bite with a cup of strong coffee and new snow outside sealed the deal—now I make double batches every winter.
Swapping In Flavors for Fun
One week, I tried adding a hint of spiced rum at the end, and it made the fudge taste like grown-up holiday cheer. Chopped nuts deliver crunch—walnuts are my favorite because they echo the earthiness of the spices. If you’re bold, a sprinkle of orange zest adds a whole new layer of brightness.
Making the Most of Leftovers
When I have a few pieces left, I sometimes chop them and stir into ice cream, or fold little cubes into cookie dough for a sweet surprise. They also make irresistible hot cocoa toppers, slowly melting to enrich every sip. A friend mentioned tucking pieces into care packages, and now it’s my go-to for easy gifting.
Baking Day Troubleshooting
If your fudge isn’t setting up, double-check your measurements and time simmering—too short and it stays sticky. Room temperature and humidity make a bigger difference than you’d expect, so don’t be discouraged if it’s not perfect the first round. And if you accidentally overheat your chocolate, keep stirring vigorously and it usually smooths back out.
- Clean your knife between cuts for picture-pretty squares.
- Store leftovers in a single layer, not stacked, to avoid sticking.
- Remember fudge is happiest in the fridge, but let it sit out a few minutes before eating for best flavor.
 Save Pin
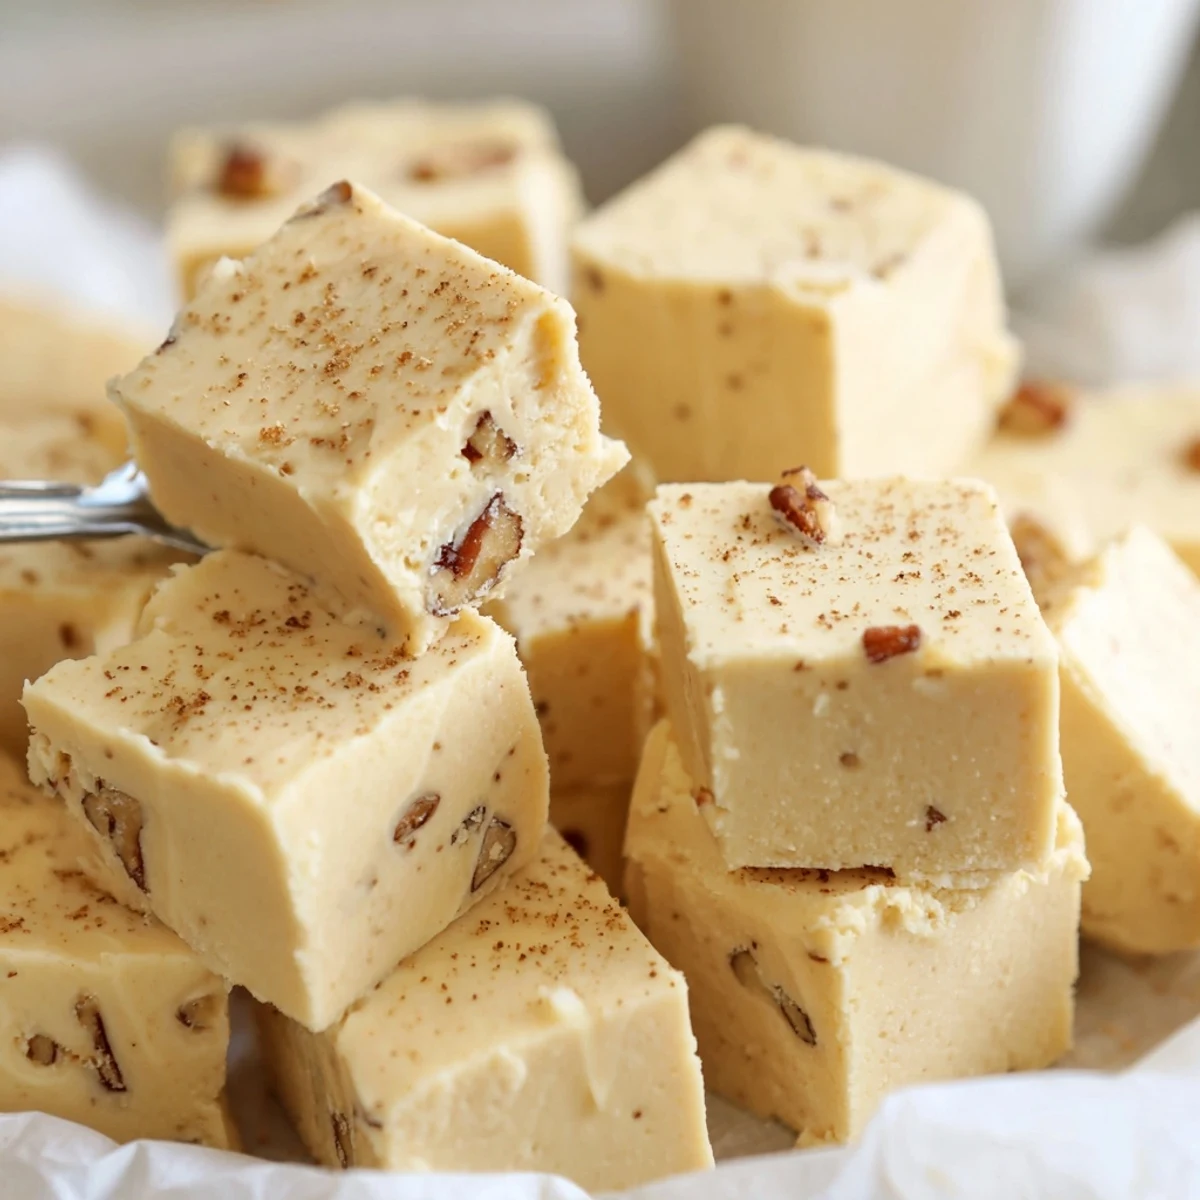
 Eggnog fudge always promises a bit of celebration in every bite. Here’s to bite-sized bursts of cheer and new kitchen traditions.
Recipe Questions & Answers
- → How do I avoid grainy texture?
-
Stir constantly while heating the butter, eggnog and sugar and maintain a gentle simmer. Avoid high heat and remove from the stove as soon as the sugar has dissolved; finish melting chocolate off-heat to ensure a smooth finish.
- → Can I add nuts or alcohol?
-
Yes. Fold in about 1/4 cup chopped pecans or walnuts for crunch. For a boozy note, stir 1 tablespoon spiced rum in with the vanilla off heat so the alcohol blends without thinning the set.
- → Which white chocolate works best?
-
Choose high-quality white chocolate chips or chopped white chocolate (couverture if possible) for a creamier texture and cleaner flavor. Avoid low-fat coatings that may not melt smoothly.
- → How can I get neat, clean squares?
-
Chill the block until very firm, lift it from the pan using the parchment overhang, then use a sharp knife warmed briefly under hot water and wiped dry between cuts to produce sharp edges.
- → What is the best way to store finished pieces?
-
Store in an airtight container in the refrigerator for up to one week. Layer squares separated with parchment to prevent sticking and to keep surfaces dry.
- → Can these be made ahead or frozen?
-
Yes. Wrap tightly or place in an airtight container and freeze for up to one month. Thaw in the refrigerator to minimize condensation and preserve texture.