 Save Pin
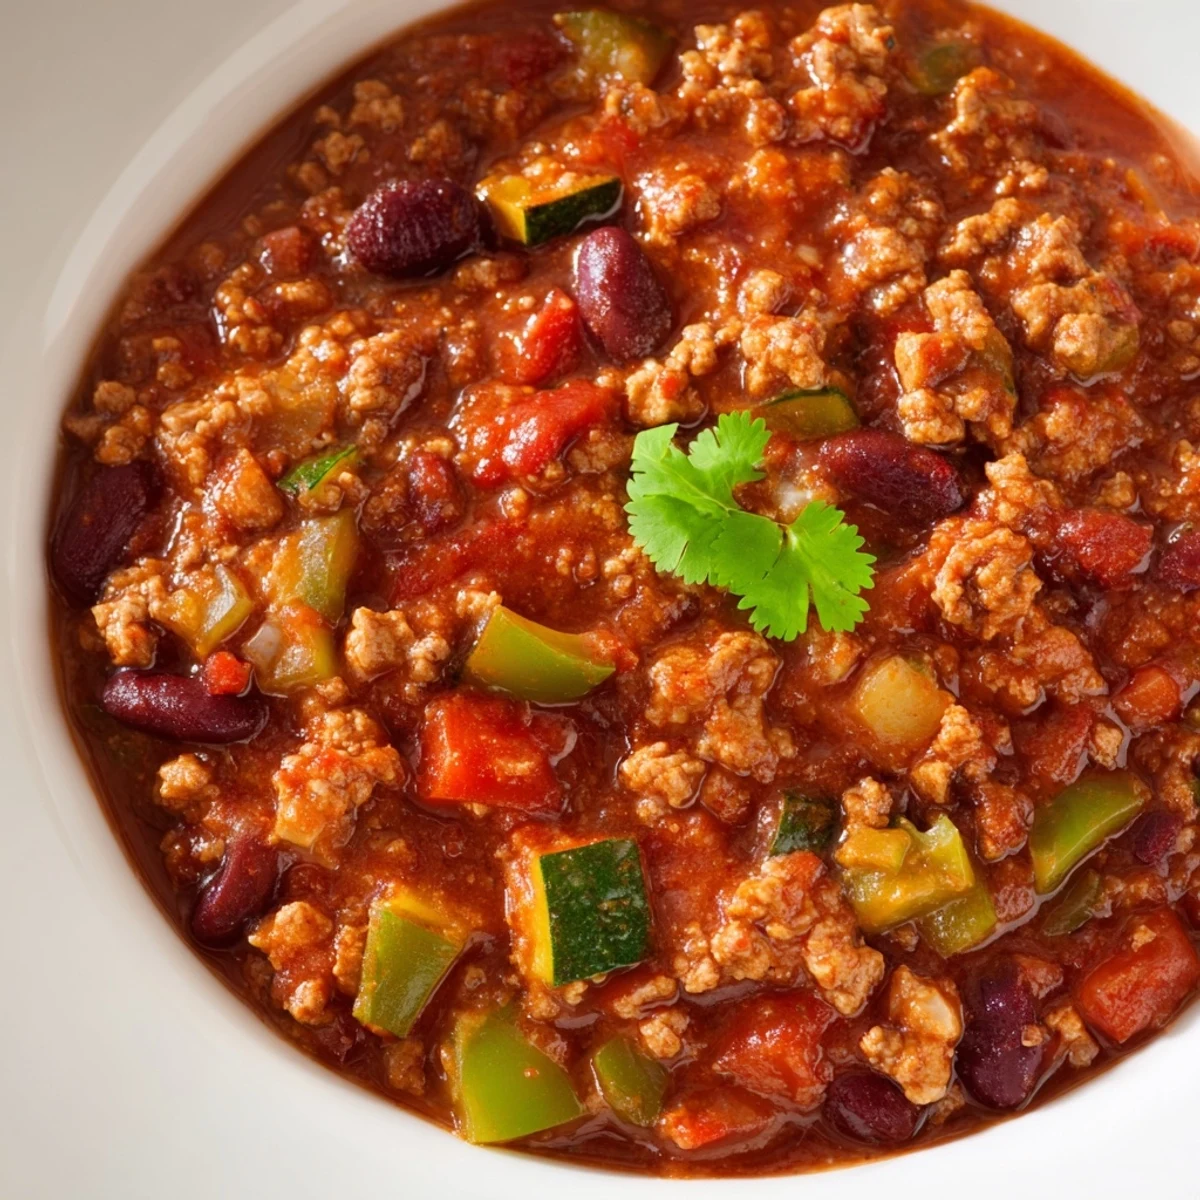
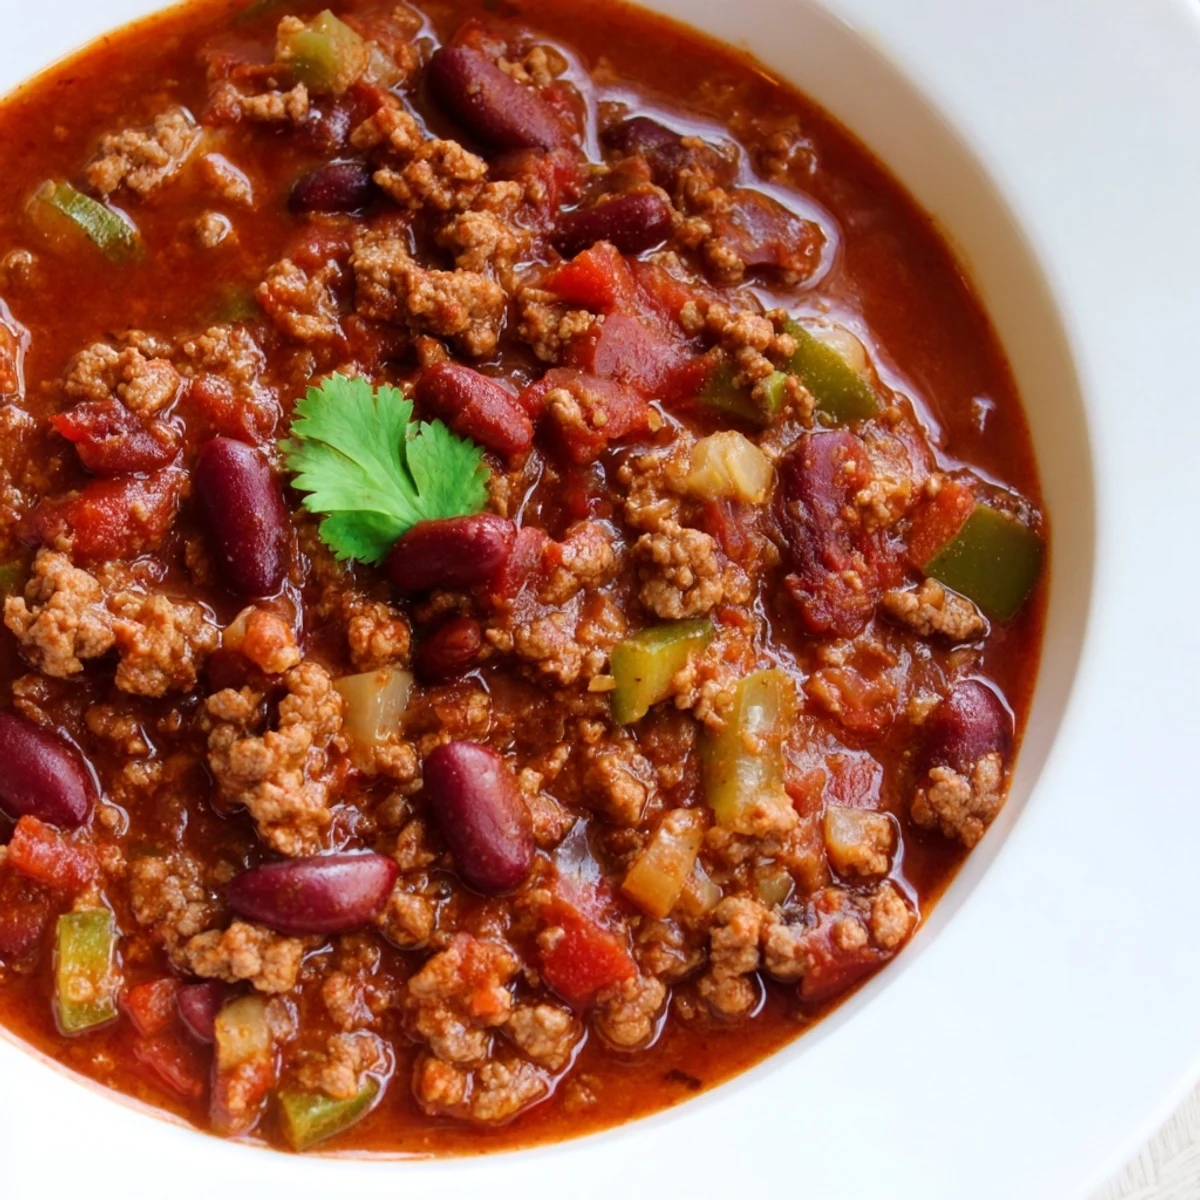
 This diabetic-friendly chili brings together lean ground turkey, fiber-packed vegetables like zucchini and bell peppers, and a bold blend of chili powder, cumin, and smoked paprika for a deeply satisfying meal.
With no added sugar and a low carbohydrate profile, it's designed to keep blood sugar stable while delivering authentic chili flavor.
Ready in under an hour, it yields six generous servings and can easily be adapted by omitting beans for an even lower carb count.
The rain was hammering against the kitchen window the afternoon my doctor told me I needed to rethink how I eat, and chili was the first thing I refused to give up. I stood in the grocery aisle that evening, reading labels on canned chili like they were novels, horrified by the sugar hiding in every brand. That night I went home and built this version from scratch, tossing in every fiber packed vegetable I could find and leaning hard on spices instead of sweetness. It turned out so good that nobody at my table even suspected it was built around a health requirement.
My friend Marcus came over for a football Sunday shortly after I perfected this recipe, and he polished off three bowls before asking if I had made it with beef or turkey. When I told him it was turkey and diabetes friendly, he just laughed and grabbed another spoonful. That moment told me everything I needed to know about whether this chili could hold its own.
Ingredients
- 1 lb lean ground turkey or lean ground beef: Turkey keeps it lighter but a lean beef works beautifully if that is what you have on hand.
- 1 medium onion, diced: Onion forms the sweet aromatic backbone of the entire pot.
- 1 green bell pepper, diced: Bell pepper adds a slight crunch and freshness that balances the heavy spices.
- 2 cloves garlic, minced: Fresh garlic makes a noticeable difference here, so skip the jarred version if you can.
- 1 medium zucchini, diced: Zucchini melts right into the chili and adds bulk without carbs.
- 1 can diced tomatoes, no salt added: Always choose no salt added so you control the sodium yourself.
- 1 can kidney beans, rinsed and drained: Omit these or swap for black soybeans if you are watching carbs strictly.
- 1 can pinto beans, rinsed and drained: Optional, but they add a creamy texture that makes the chili feel indulgent.
- 1 cup low sodium chicken or vegetable broth: The liquid ties everything together without introducing hidden sugar.
- 2 tbsp tomato paste, no sugar added: This concentrates the umami and thickens the sauce naturally.
- 1 tbsp chili powder: The foundational heat and color for the whole dish.
- 2 tsp ground cumin: Cumin gives that unmistakable southwest warmth people expect in chili.
- 1 tsp smoked paprika: Smoked paprika adds a subtle campfire depth that makes people ask what your secret is.
- 1/2 tsp ground black pepper: Just enough to sharpen the other flavors without overpowering them.
- 1/2 tsp dried oregano: A quiet herb that rounds out the spice profile surprisingly well.
- 1/2 tsp salt, optional: Taste first and add only what you need.
- 1/8 to 1/4 tsp cayenne pepper, optional: A tiny pinch goes a long way toward making the chili feel bold without burning.
Instructions
- Brown the meat:
- Heat a splash of olive oil in a large pot or Dutch oven over medium heat, then add the ground turkey and break it apart with a wooden spoon until it is fully browned and no pink remains. Listen for that gentle sizzle that tells you the temperature is right.
- Build the aromatics:
- Toss in the diced onion, bell pepper, and minced garlic, stirring until everything softens and your kitchen smells like a taqueria. This takes about three to four minutes and patience here pays off later.
- Add the zucchini:
- Stir in the diced zucchini and let it cook for two minutes so it starts to soften but still holds some shape. It will continue cooking in the simmer so do not overdo it now.
- Bloom the spices:
- Add the tomato paste, chili powder, cumin, smoked paprika, pepper, oregano, salt, and cayenne all at once, then stir constantly for one minute. You will smell the spices toast and deepen almost immediately.
- Combine the liquids and beans:
- Pour in the diced tomatoes, broth, and both cans of beans, stirring until everything is evenly mixed. Scrape the bottom of the pot to lift any fond that formed during browning.
- Simmer everything together:
- Bring the pot to a simmer, then reduce the heat to low, cover it, and let it cook for twenty to twenty five minutes. Stir occasionally so nothing sticks to the bottom.
- Taste and adjust:
- Take a spoonful, let it cool for a few seconds, and decide if it needs more salt or a touch more cayenne. Trust your palate over any recipe measurement.
- Serve and enjoy:
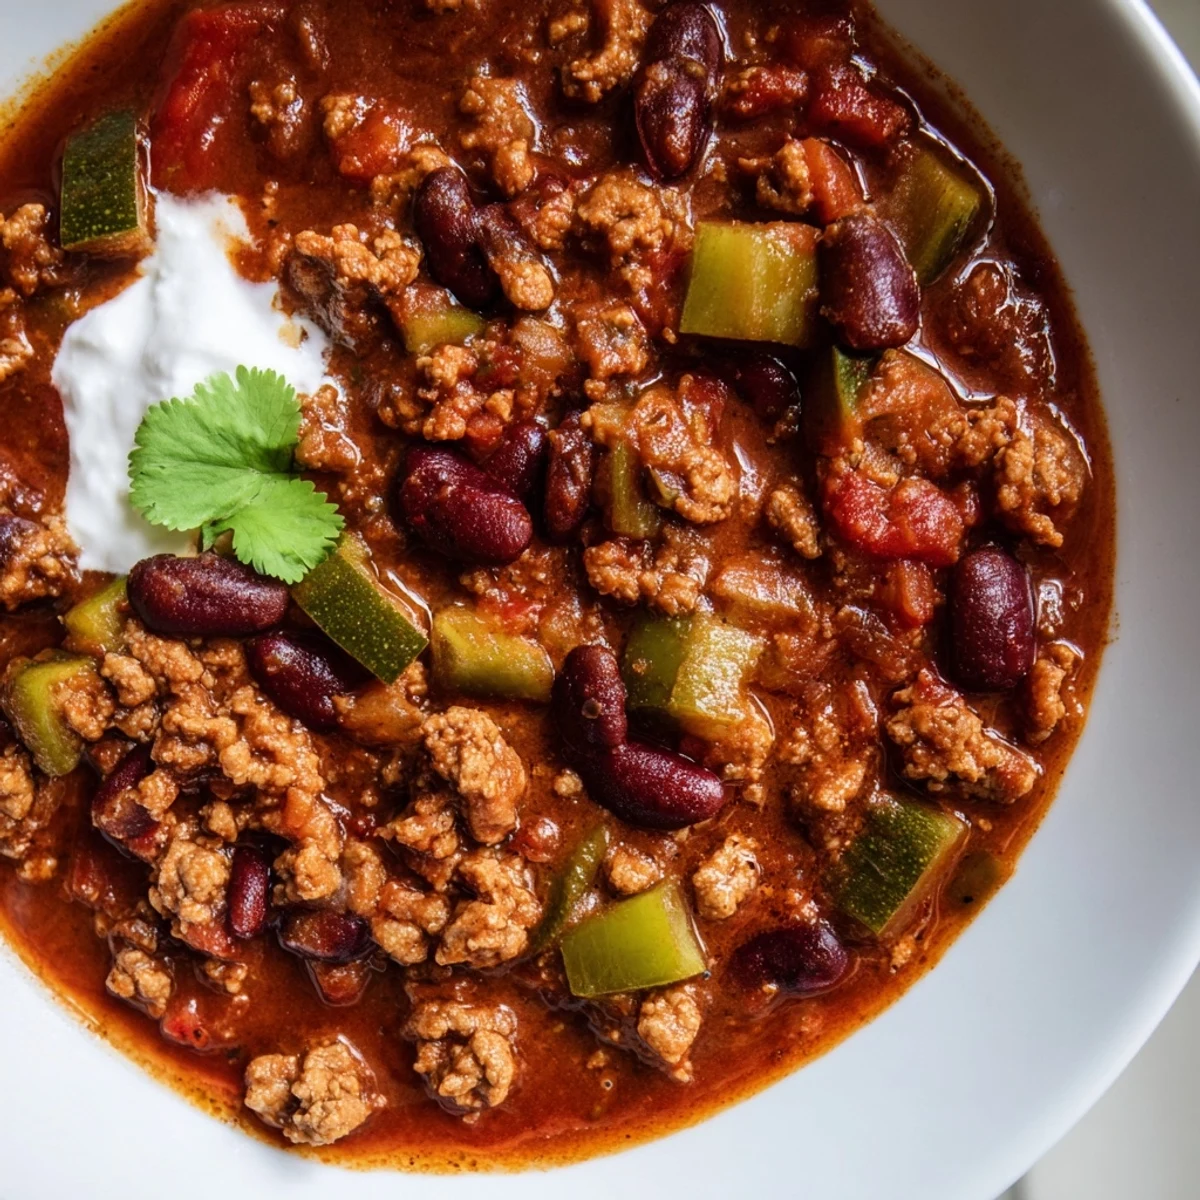
- Ladle into bowls while hot and top with fresh cilantro or a spoonful of plain Greek yogurt if you like a cooling contrast.
 Save Pin
 The second time I made this chili, my neighbor Linda knocked on my door asking what smelled so good, and she ended up staying for dinner with a glass of wine and half a loaf of bread I had hidden in the freezer. We sat at the kitchen table talking until the pot was empty, and I realized this recipe had done something no other health conscious meal had managed before. It made people want to linger.
Making It Your Own
Once you have the base down, start playing with additions based on what is in your fridge. Diced carrots or chopped celery blend in seamlessly and boost the fiber without changing the flavor profile. I have even tossed in a handful of chopped mushrooms when they were about to go bad, and the chili was better for it.
Serving Suggestions That Keep It Smart
Cauliflower rice is my goto side because it soaks up the broth like traditional rice would but keeps the carb count low. A simple green salad with a vinaigrette dressing adds brightness and crunch that cuts through the richness of the chili. For guests who are not watching their carbs, a crusty roll on the side makes everyone happy at the same table.
Storage and Reheating
This chili is one of those rare dishes that genuinely improves overnight as the spices settle and the vegetables absorb the broth. Store it in an airtight container in the refrigerator for up to four days, or freeze individual portions for up to three months. Reheat gently on the stove or in the microwave, adding a splash of broth if it has thickened too much.
- Freeze portions in flat freezer bags so they thaw quickly on busy nights.
- Label each container with the date so nothing gets lost in the back of the freezer.
- Always taste and reseason after reheating because cold storage can mute the spices slightly.
 Save Pin
 A pot of this chili on the stove means you are about to eat well without compromise, and that is a feeling worth savoring. Share it freely and do not be surprised when people ask for the recipe.
Recipe Questions & Answers
- → Can I omit the beans to lower the carb count?
-
Yes, you can completely omit the beans or substitute them with black soybeans, which contain significantly fewer carbohydrates while still providing texture and protein to the chili.
- → What ground meat works best for this chili?
-
Lean ground turkey is the top choice for keeping fat and calories low, but lean ground beef (90% or higher) also works well and adds a richer, more traditional chili flavor.
- → How should I store leftovers?
-
Let the chili cool completely, then transfer to an airtight container. It keeps in the refrigerator for up to 4 days and actually tastes better the next day as the flavors continue to develop and meld together.
- → Is this chili genuinely gluten-free?
-
The chili is gluten-free as long as you verify that your chicken broth, tomato paste, and all canned products carry a gluten-free label, as some brands may include hidden gluten in their additives.
- → What can I serve alongside this chili for a low-carb meal?
-
Cauliflower rice is an excellent low-carb alternative to traditional rice. A light green salad or roasted vegetables also pair beautifully without adding significant carbohydrates.
- → Can I make this chili in a slow cooker?
-
Absolutely. Brown the meat and sauté the vegetables first, then transfer everything to a slow cooker. Cook on low for 4 to 6 hours or on high for 2 to 3 hours until the flavors are fully developed.