 Save Pin
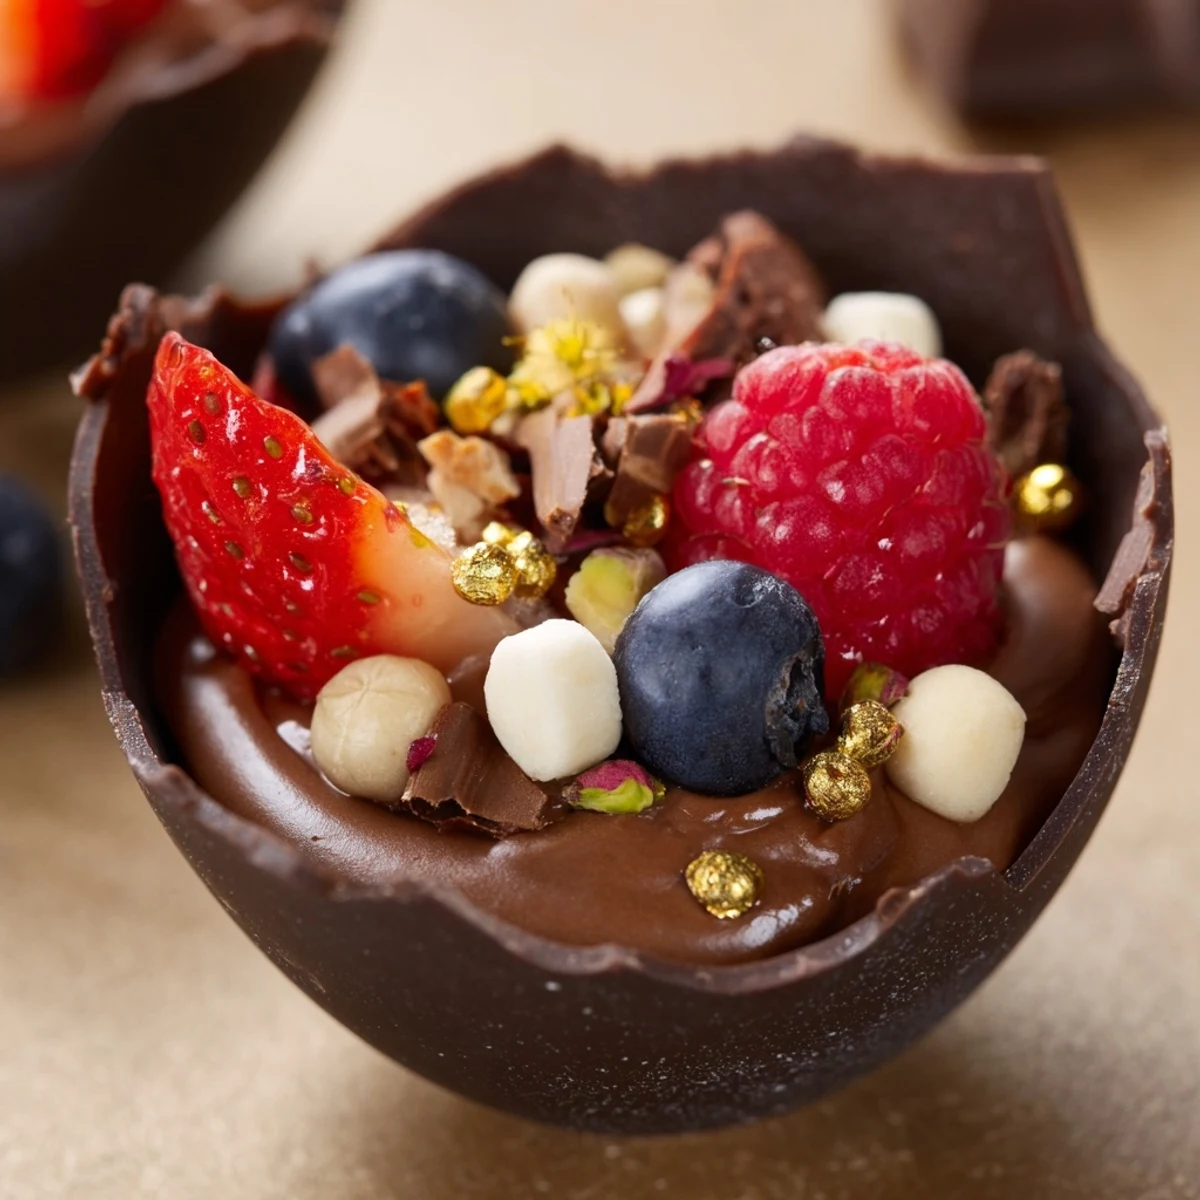
 These indulgent chocolate grazing cups combine handmade dark chocolate vessels with silky chocolate mousse, creating an impressive dessert presentation. Each cup features layers of creamy mousse made from whipped heavy cream and melted dark chocolate, topped with fresh mixed berries, chopped nuts, mini marshmallows, and chocolate curls. The preparation involves melting chocolate for cups, whipping cream for mousse, and assembling with various garnishes. Best enjoyed chilled after 20 minutes of setting time.
The first time I made chocolate cups, I accidentally left them in the fridge too long and they cracked when I tried to peel the liners. My dinner guests didn't care—those broken shards became the most coveted part of the dessert, everyone fighting over the irregular pieces with exposed edges. Now I make them on purpose whenever I host, and somehow the imperfect ones still disappear first.
Last Valentine's Day, I set up a grazing table with these cups and watched my friend's face light up when she realized she didn't have to share. She'd had a rough week and that tiny moment of having something entirely her own meant more than any grand gesture could. Sometimes the best gifts come in chocolate packages.
Ingredients
- 200 g dark chocolate (60% cocoa), chopped: The higher cocoa percentage creates cups that snap beautifully instead of crumbling, and that slight bitterness balances the sweet mousse
- 200 ml heavy cream: Cold from the fridge is non negotiable—it whips faster and holds its structure longer
- 100 g dark chocolate, chopped: Let this cool slightly after melting so it doesn't seize when you fold in the cream
- 2 tbsp powdered sugar: Dissolves instantly into cold cream unlike granulated sugar which can leave gritty spots
- 1 tsp vanilla extract: Add this last, right before folding, so you don't knock the air out of your whipped cream
- 1 cup fresh mixed berries: Choose berries that are dry and firm—wet ones will make your chocolate cups weep within an hour
- 2 tbsp chopped nuts: Toast them for 3 minutes in a dry pan first, then cool completely before garnishing
- 2 tbsp mini marshmallows: These soften slightly against the cold mousse in the most delightful way
- 2 tbsp chocolate curls or shavings: Use a vegetable peeler on a room temperature chocolate bar for the easiest curls
Instructions
- Melt the chocolate for cups:
- Work in 30 second bursts, stirring between each, until the chocolate is smooth and glossy—it should be the consistency of warm honey.
- Coat the cupcake liners:
- Use the back of a spoon to swirl chocolate up the sides, creating a bowl shape that's about 3mm thick all over.
- Set the chocolate shells:
- Pop the tray in the fridge for exactly 20 minutes—longer and they become brittle, shorter and they'll deform when you remove the liners.
- Prepare the mousse base:
- Melt the second chocolate amount gently, then let it sit until it feels barely warm to the touch, about 10 minutes.
- Whip the cream:
- Beat with a hand mixer on medium speed until you see soft peaks that droop slightly when you lift the beaters.
- Lighten the chocolate:
- Stir one spoonful of whipped cream into the melted chocolate first, then fold that mixture into the remaining cream.
- Fill the cups:
- Spoon the mousse into each chocolate shell until it reaches about two thirds up the sides.
- Add your toppings:
- Arrange the berries, nuts, and marshmallows on top of the mousse, then finish with chocolate curls.
- Final chill:
- Refrigerate for at least 20 minutes so the mousse firms up and the flavors marry together.
 Save Pin
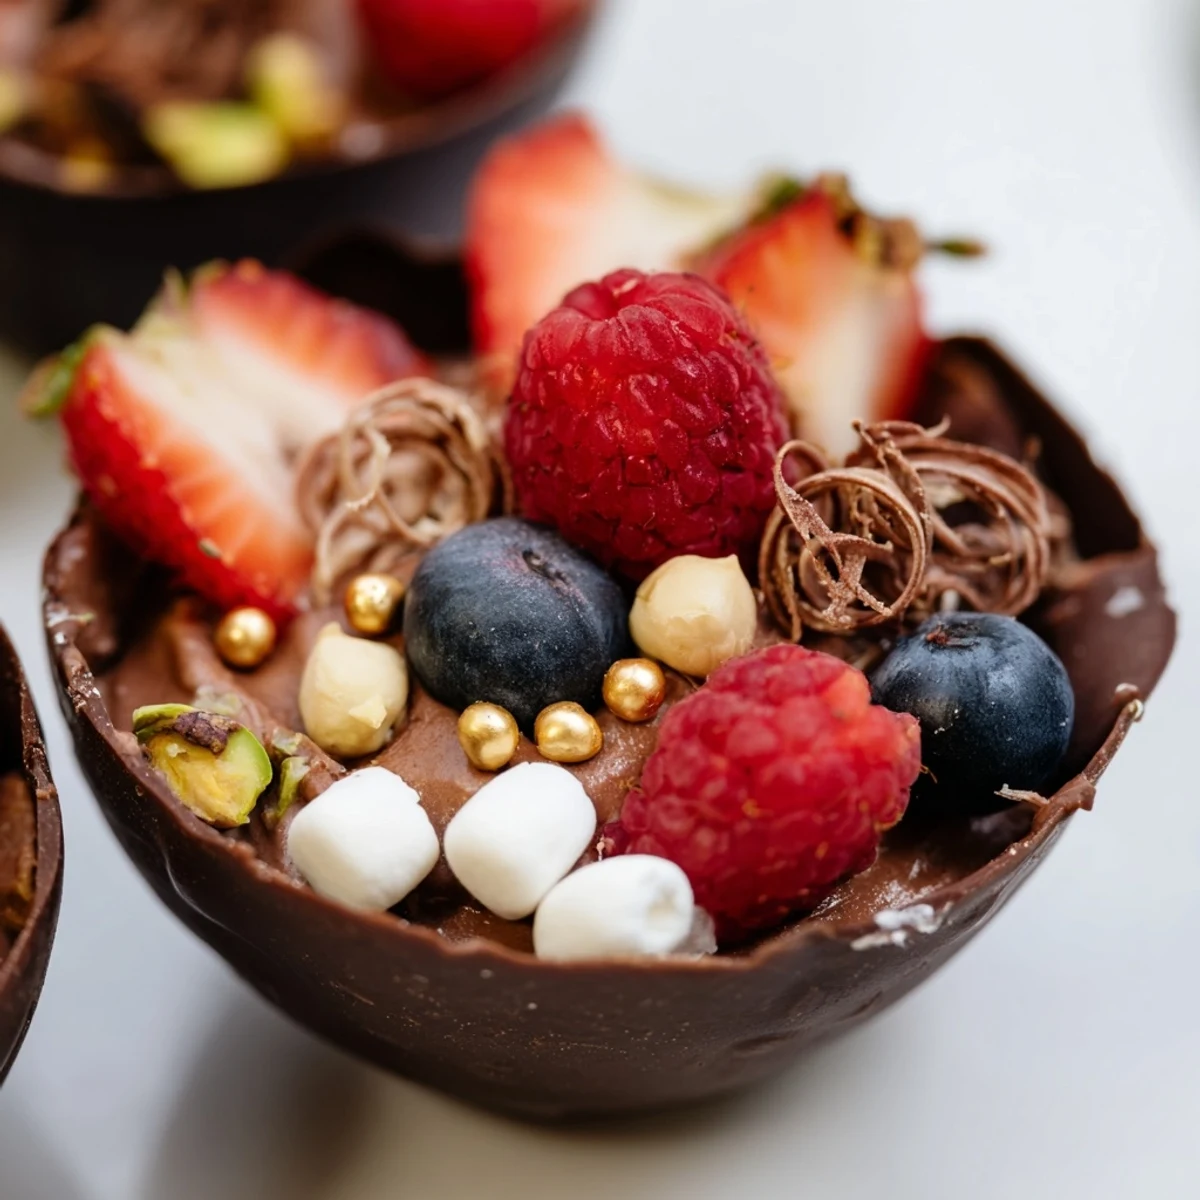
 My niece helped me make a batch last summer and decided every cup needed exactly three blueberries arranged in a triangle. She took such careful precision with each placement, and later I found her explaining to her dad that the blueberries were the crown jewels. Kids understand presentation better than we give them credit for.
Making Ahead
You can prepare the chocolate cups up to three days in advance—store them between layers of parchment paper in an airtight container. The mousse is best made the same day though, as it will start to deflate after 24 hours and lose that luxurious airy texture.
Chocolate Variations
White chocolate cups are stunning but more fragile, so aim for a slightly thicker coating when brushing the liners. Milk chocolate works beautifully and creates a sweeter, more nostalgic flavor profile that reminds me of childhood Halloween candy sorted by variety on the living room rug.
Presentation Ideas
Arrange the cups on a wooden board or marble slab with small bowls of extra toppings so guests can customize. Scatter some fresh mint leaves around the base and maybe a few whole strawberries for height. The visual impact when you bring this to the table is immediate and exciting.
- Label any toppings containing nuts for guests with allergies
- Keep extra chocolate curls in a cool place to refresh any that melt during serving
- Have small forks or spoons ready—these are meant to be savored slowly
 Save Pin
 These little cups have a way of making ordinary Tuesday nights feel like a celebration worth remembering.
Recipe Questions & Answers
- → Can I make chocolate cups ahead of time?
-
Yes, prepare chocolate cups up to 2 days in advance and store in an airtight container at room temperature. Keep them away from moisture to prevent melting or blooming.
- → What chocolate percentage works best?
-
Dark chocolate with 60-70% cocoa provides the ideal balance—bittersweet flavor that complements sweet toppings while maintaining structural integrity for cups.
- → Can I substitute heavy cream?
-
Coconut cream works for dairy-free versions, though texture will be slightly denser. Whip chilled coconut cream similarly to heavy cream for closest results.
- → How do I prevent chocolate cups from cracking?
-
Ensure chocolate is properly tempered by melting slowly and letting cool to 88-90°F before coating. Apply thick, even layers and chill completely before removing liners.
- → What other toppings work well?
-
Try crushed pretzels for saltiness, shredded coconut for texture, fresh mint leaves for brightness, or caramel drizzle for extra richness and visual appeal.