 Save Pin
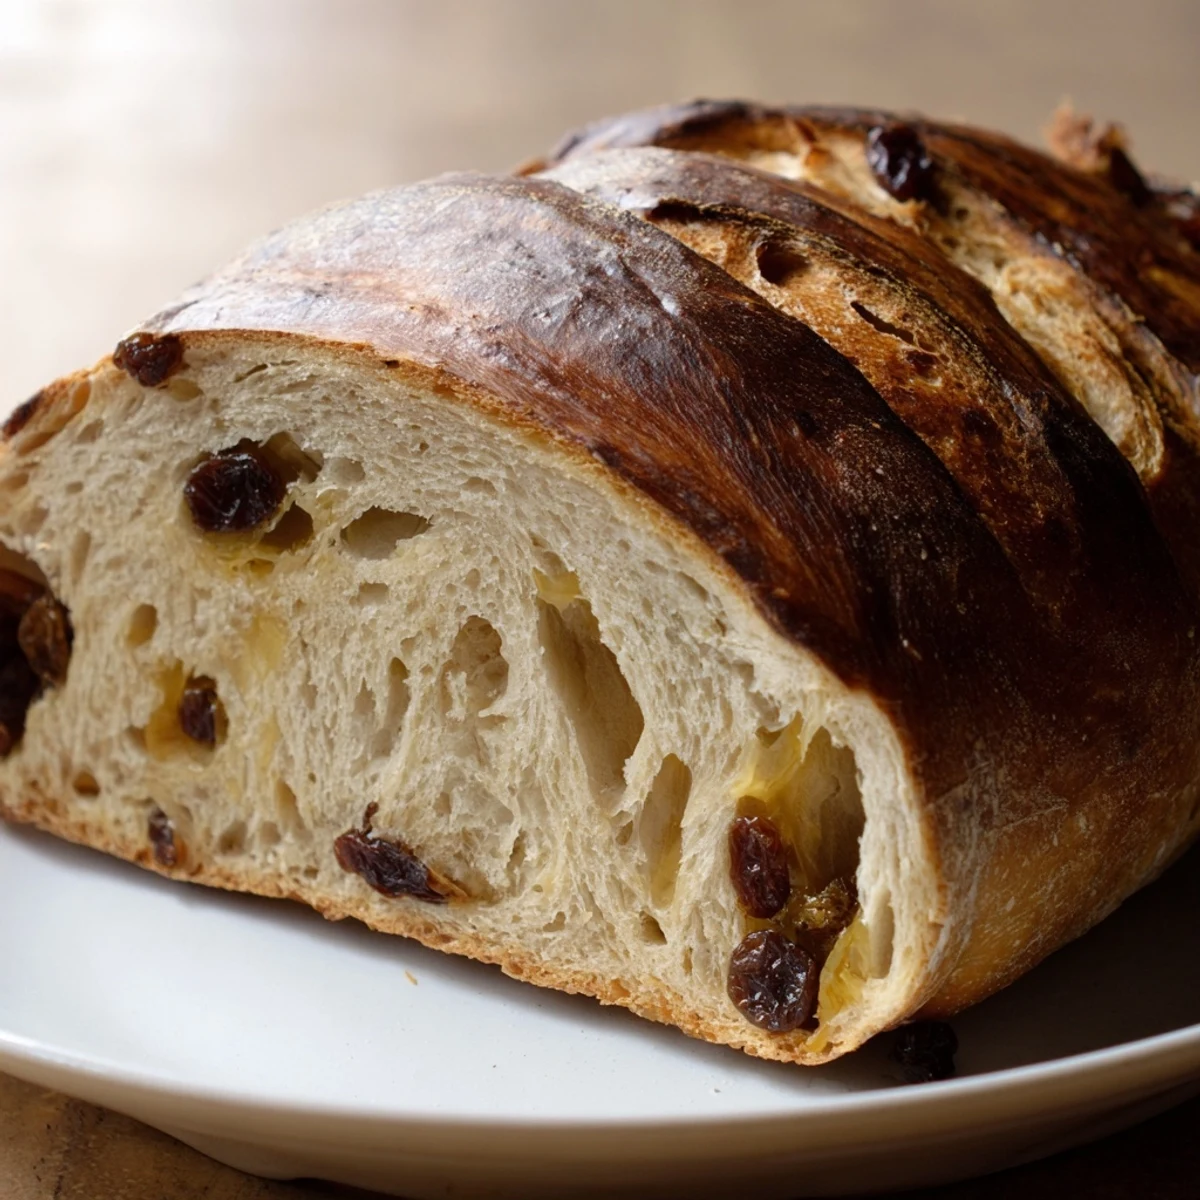
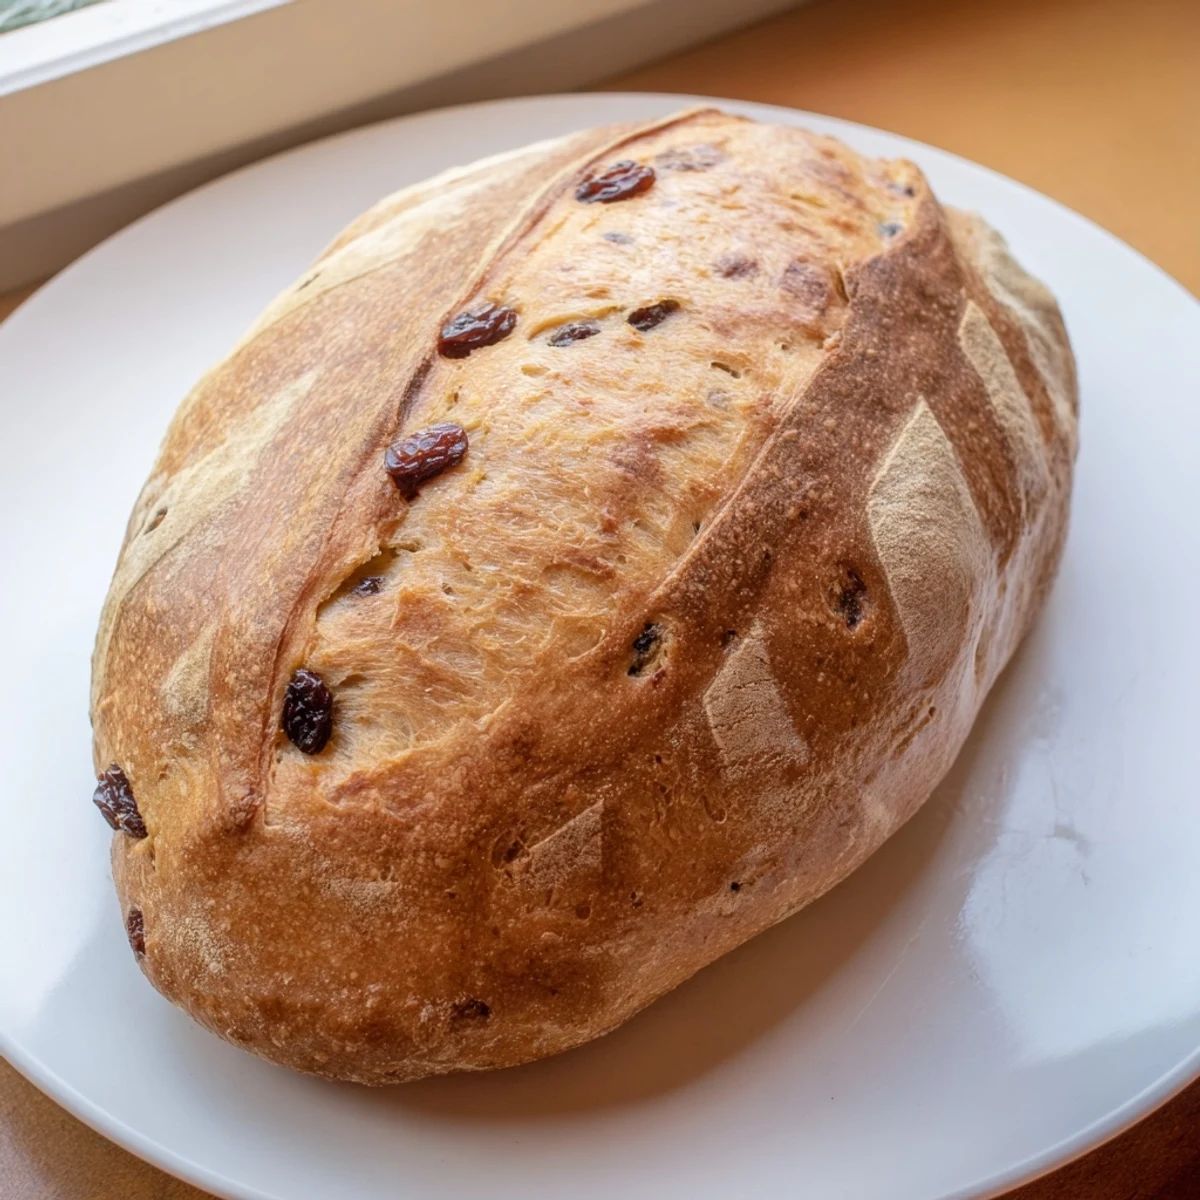
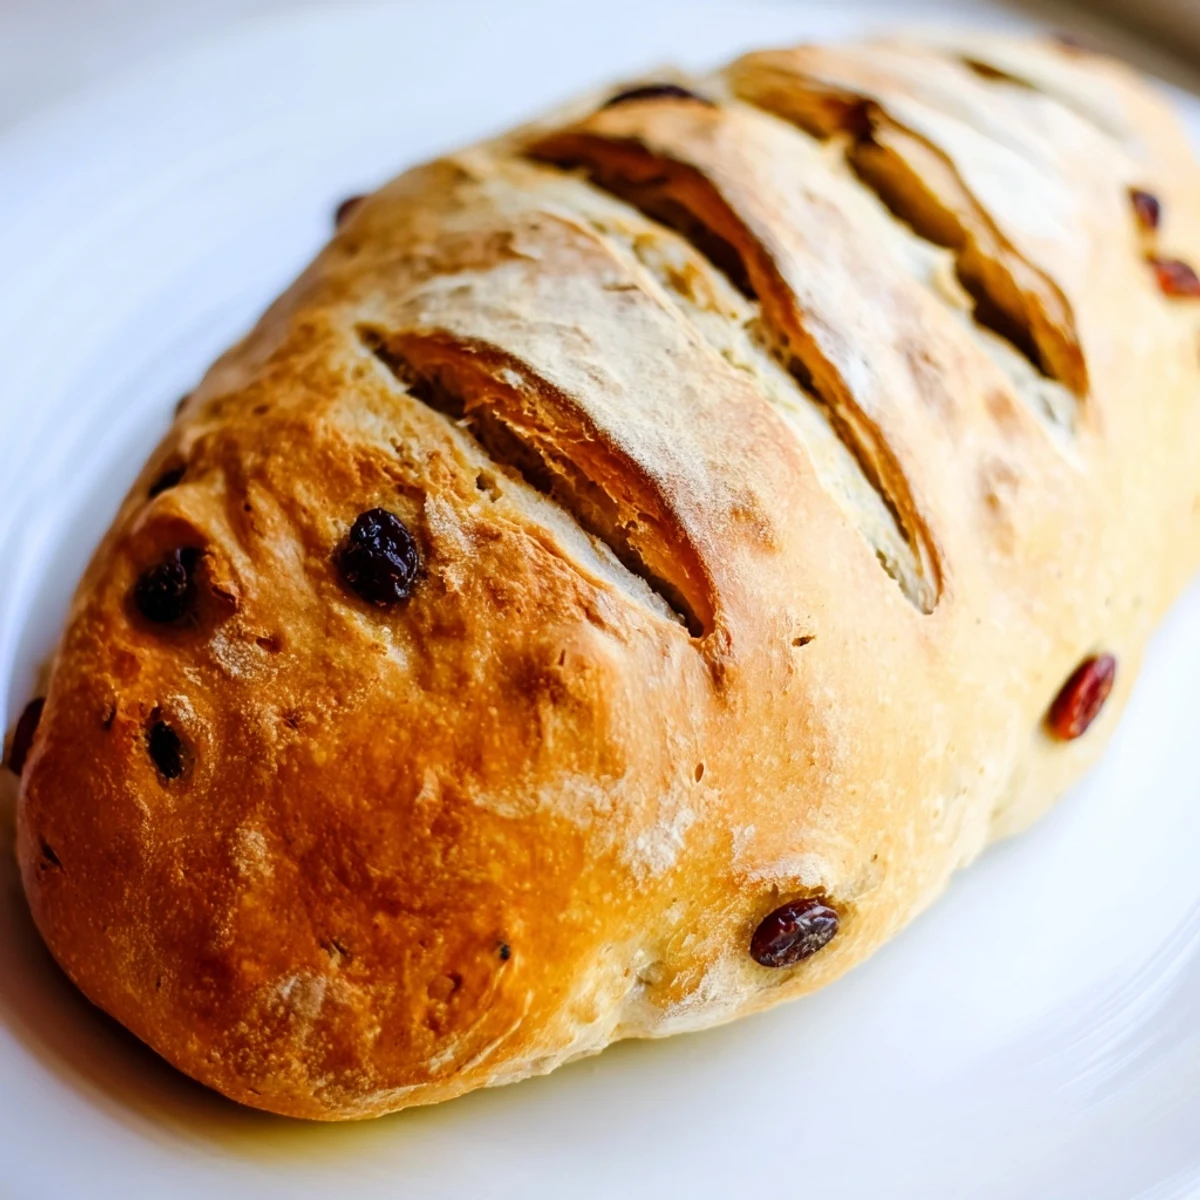
 Create a bakery-quality cinnamon raisin loaf in your own kitchen. This artisan bread combines the warmth of ground cinnamon with naturally sweet raisins, delivering a perfectly spiced crumb and crispy golden crust. The dough develops rich flavors during a slow rise, while the optional butter brushing adds an irresistible finish. Ideal toasted with butter or cream cheese, this loaf brings cozy comfort to breakfast tables and afternoon tea breaks alike.
The winter I moved into my first apartment with the thinnest walls imaginable, my downstairs neighbor started baking bread every Sunday morning. That cinnamon warmth would drift up through the floorboards, and I'd lie there wondering what kind of magic produced such comforting smells. When I finally got brave enough to knock and ask, she laughed and handed me this recipe, saying some breads are meant to be shared even before they're sliced.
Last Christmas morning, my brother stood in his pajamas holding a slice, steam curling off the butter melting into the crevices. He said this was the only gift he actually wanted, and I realized sometimes the most memorable presents aren't wrapped at all.
Ingredients
- Bread flour: The higher protein content gives this loaf structure and that beautiful chewy texture we associate with bakery bread
- Ground cinnamon: Two teaspoons hits the sweet spot where the aroma is unmistakable but doesn't overwhelm the yeast's work
- Salt: Don't be tempted to reduce this, it's what balances the sweetness and lets flavors actually sing
- Instant yeast: I keep a stash in my freezer because there's nothing sadder than being ready to bake and realizing you're out
- Granulated sugar: Feeds the yeast and tenderizes the crumb while giving just enough background sweetness
- Warm water: Think bathwater temperature, about 110°F, too hot kills the yeast and too cold makes it lethargic
- Raisins: Plump them in warm water for ten minutes before adding if they seem especially dried out
- Unsalted butter: Softened butter incorporates into the dough better than cold, creating those tender air pockets
- Melted butter for brushing: This optional step gives the crust that gorgeous sheen and extra flavor burst
Instructions
- Mix the dry foundation:
- In a large mixing bowl, whisk together bread flour, ground cinnamon, salt, instant yeast, and sugar until everything is evenly distributed. This step matters because clumps of cinnamon can create bitter spots in the finished bread.
- Bring the dough together:
- Pour in the warm water and add the softened butter, stirring with a wooden spoon until you get a shaggy, sticky mass that looks like it might never become bread. Trust the process.
- Knead until magic happens:
- Add the raisins and knead by hand or stand mixer for 7 to 10 minutes, until the dough transforms from sticky and chaotic into smooth, elastic, and slightly tacky. You'll know it's ready when you can poke it and the dough bounces back instead of leaving a dent.
- Let it rise:
- Shape the dough into a neat ball, place it in a lightly greased bowl, and cover with a damp towel or plastic wrap. Let it rise in a warm spot for 1 to 1.5 hours, until it's doubled in size and feels like a marshmallow when you press it gently.
- Shape your loaf:
- Gently turn the dough onto a lightly floured surface and shape it into a round or oval loaf, being careful not to deflate all those beautiful air bubbles you just created.
- Second rise:
- Place the loaf on a parchment-lined baking sheet or in a floured proofing basket, cover it, and let it rise again for 45 minutes until it's puffy and passes the gentle finger poke test.
- Get your oven ready:
- Preheat to 425°F and if you're using a Dutch oven, put it in the oven now so it gets screaming hot, which creates that spectacular crust.
- Score the surface:
- Use a sharp knife or lame to make a few shallow slashes on top of the loaf, which gives it room to expand in the oven and creates that artisan bakery look.
- Bake with steam:
- Transfer the loaf into the hot Dutch oven or onto the baking sheet, cover with the lid or tent with foil for the first 20 minutes, creating steam that helps the crust develop perfectly.
- Finish with golden color:
- Remove the lid or foil and bake for another 20 minutes until the loaf is deep golden brown and sounds hollow when tapped on the bottom, like it's full of secrets.
- Butter and rest:
- Brush with melted butter if you want extra richness and flavor, then let the loaf cool on a wire rack for at least 1 hour because slicing into hot bread is the quickest way to ruin all your hard work.
 Save Pin
 My daughter now requests this for her birthday instead of cake, which says something about how some foods become woven into your family's story before you even realize it's happening.
Getting The Perfect Rise
I've learned that finding a genuinely warm spot in winter kitchens can be tricky, so I'll sometimes preheat my oven for just one minute, then turn it off and place the dough inside. The residual warmth creates the perfect proofing environment without risking overheating those delicate yeast organisms.
Mastering The Dutch Oven
The first time I used a Dutch oven for bread, I forgot the lid was hot and burned my palm reaching for it. Now I keep thick oven mitts nearby and remind myself that the steam created by that covered baking is what gives professional bread its crackly, restaurant-quality crust.
Storage And Serving Ideas
This bread actually improves in flavor on the second day as the cinnamon redistributes throughout the crumb. Store it wrapped in a cloth bag or paper towel, never plastic, which turns the crust sad and soggy.
- Toast thick slices and top with cream cheese for an instant breakfast upgrade
- Make the most incredible French toast you've ever experienced
- Dry slightly stale cubes for cinnamon raisin bread pudding that will disappear in minutes
 Save Pin
 There's something profoundly satisfying about pulling a fragrant, golden loaf from the oven and knowing you created something that will make people's eyes light up.
Recipe Questions & Answers
- → Can I use active dry yeast instead of instant yeast?
-
Yes, active dry yeast works well. Dissolve it in the warm water first and let it sit for 5 minutes until foamy before adding to the dry ingredients.
- → Should I soak the raisins before adding them?
-
Soaking isn't necessary for this dough. The raisins will plump nicely during baking as they absorb moisture from the bread.
- → How do I know when the bread is fully baked?
-
The crust should be deep golden brown, and the bottom should sound hollow when tapped. An instant thermometer inserted into the center should read 190-200°F.
- → Can I make this without a Dutch oven?
-
Absolutely. Bake on a parchment-lined baking sheet. Tent loosely with foil for the first 20 minutes to create steam, then remove for the final bake.
- → How long will this loaf stay fresh?
-
Store wrapped at room temperature for 2-3 days. For longer storage, slice and freeze in an airtight bag for up to 3 months. Toast frozen slices directly from frozen.
- → Can I substitute the raisins with other dried fruits?
-
Dried cranberries, chopped dates, figs, or currants all work beautifully. Keep the total amount the same for best results.